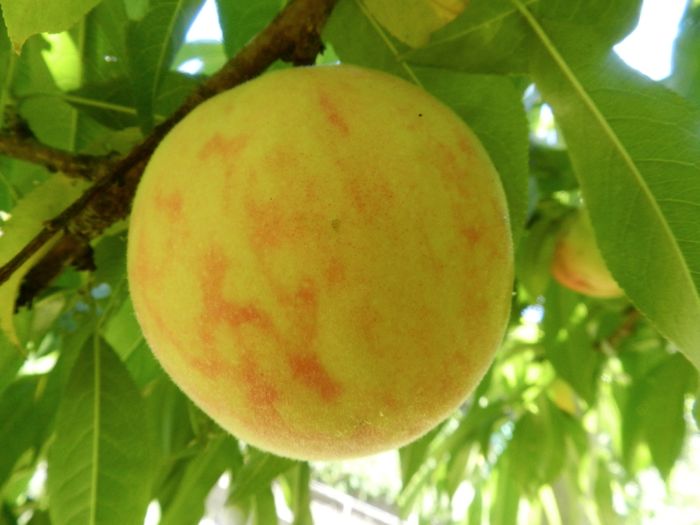
I’m waiting. The chipmunks, birds and raccoons are waiting, too, for that moment of perfect ripeness. Who will reach for it first?
Monthly Archives: July 2012
Maintaining The Chicken Run
Due to predators and the fact that I like my gardens intact, my chickens spend the majority of their time in their runs. Anyone who keeps poultry knows that even the densest sod is no match for the dinosaur-like feet of a flock of hens. In no time at all grass turns into dirt. And then it becomes a mixture of dirt and chicken manure.
Active and young hens will keep the ground loose enough. Regular raking and tidying up will keep the manure from becoming a problem. Low spots can be filled in with coarse builders sand, which will also helps with the drainage. A compost in the run will give the girls something to do for hours on end. So, an enclosed run can be a fine place for a small flock of backyard hens.
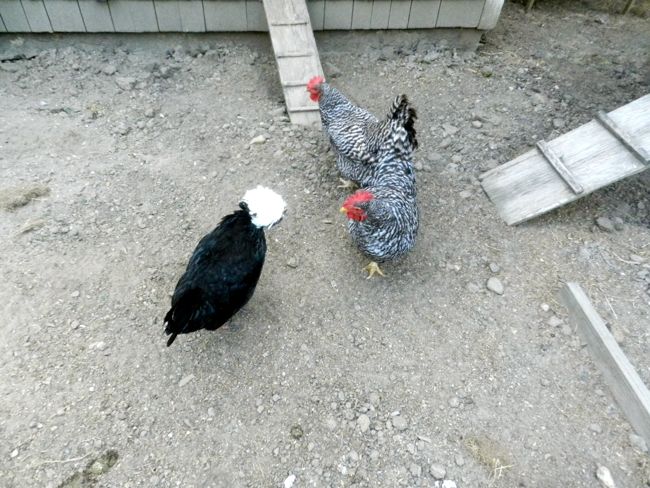
But I have a flock of elderly hens. They no longer scratch the ground. They sunbathe. They peck leisurely at little treats. They stand around. The other day I noticed that despite the heat and the drought, that there was standing water and algae near the faucet.
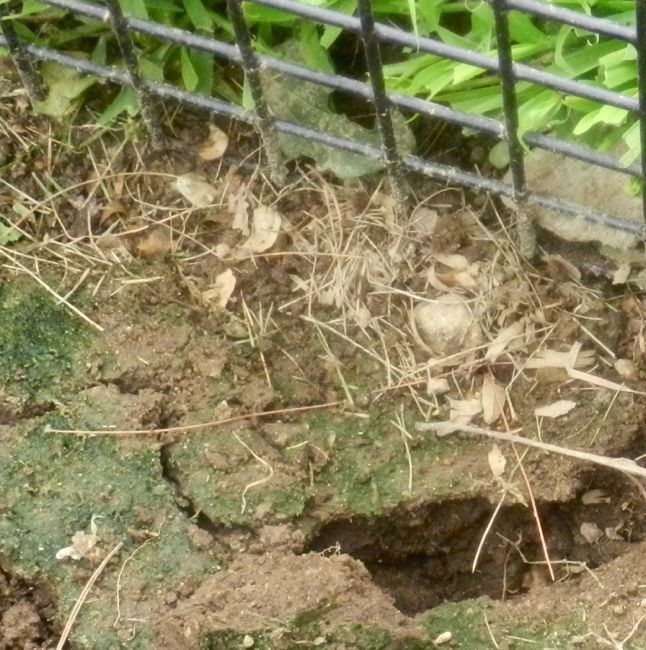
The earth in the pen had become so compacted that it wasn’t draining at all. There was a layer of dirt that broke into pieces like brittle concrete. It was time to do some maintenance. I used a pitchfork to turn over the layer of hardpan. Here I’ve taken a break halfway through the job.
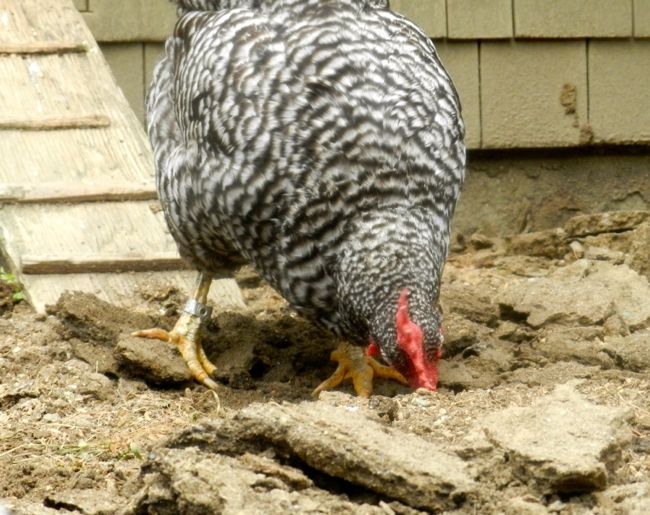
The chickens were delighted. Without any work (barely any bending over!) there were tiny tidbits for them to find and eat.
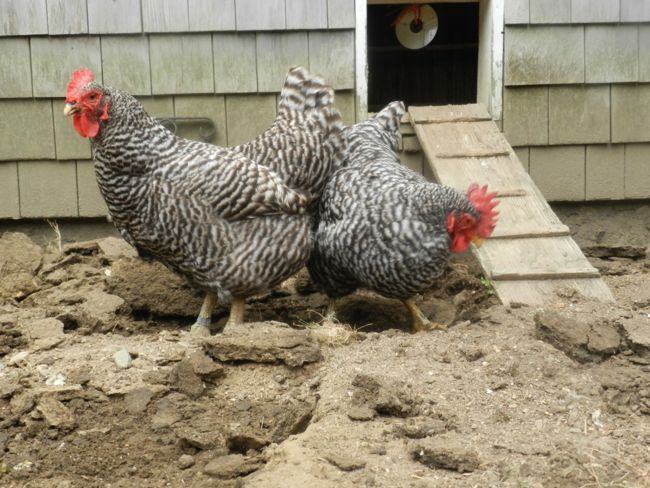
The girls were more active than I’ve seen in a long time.
However, the old hens still didn’t scratch. If the young Gems had been put in this pen the clods would have flown in all directions. It would have been shredded and spread in no time. But, after a day, my elderly hens hadn’t broken up a single lump of dirt. I went in the with rake and smoothed it out.
It rained the evening after I did this chore, and the water drained quickly away. Standing water and a damp environment almost always precede respiratory ailments. So, not only does it look better, but the pen is now a healthier place for my old girls.
I recommend that everyone does this sort of pen maintenance on at least a half-yearly basis.
Even Candy appreciated the newly-fluffed dirt.
Yuck! My Hens Have Messy Bottoms!
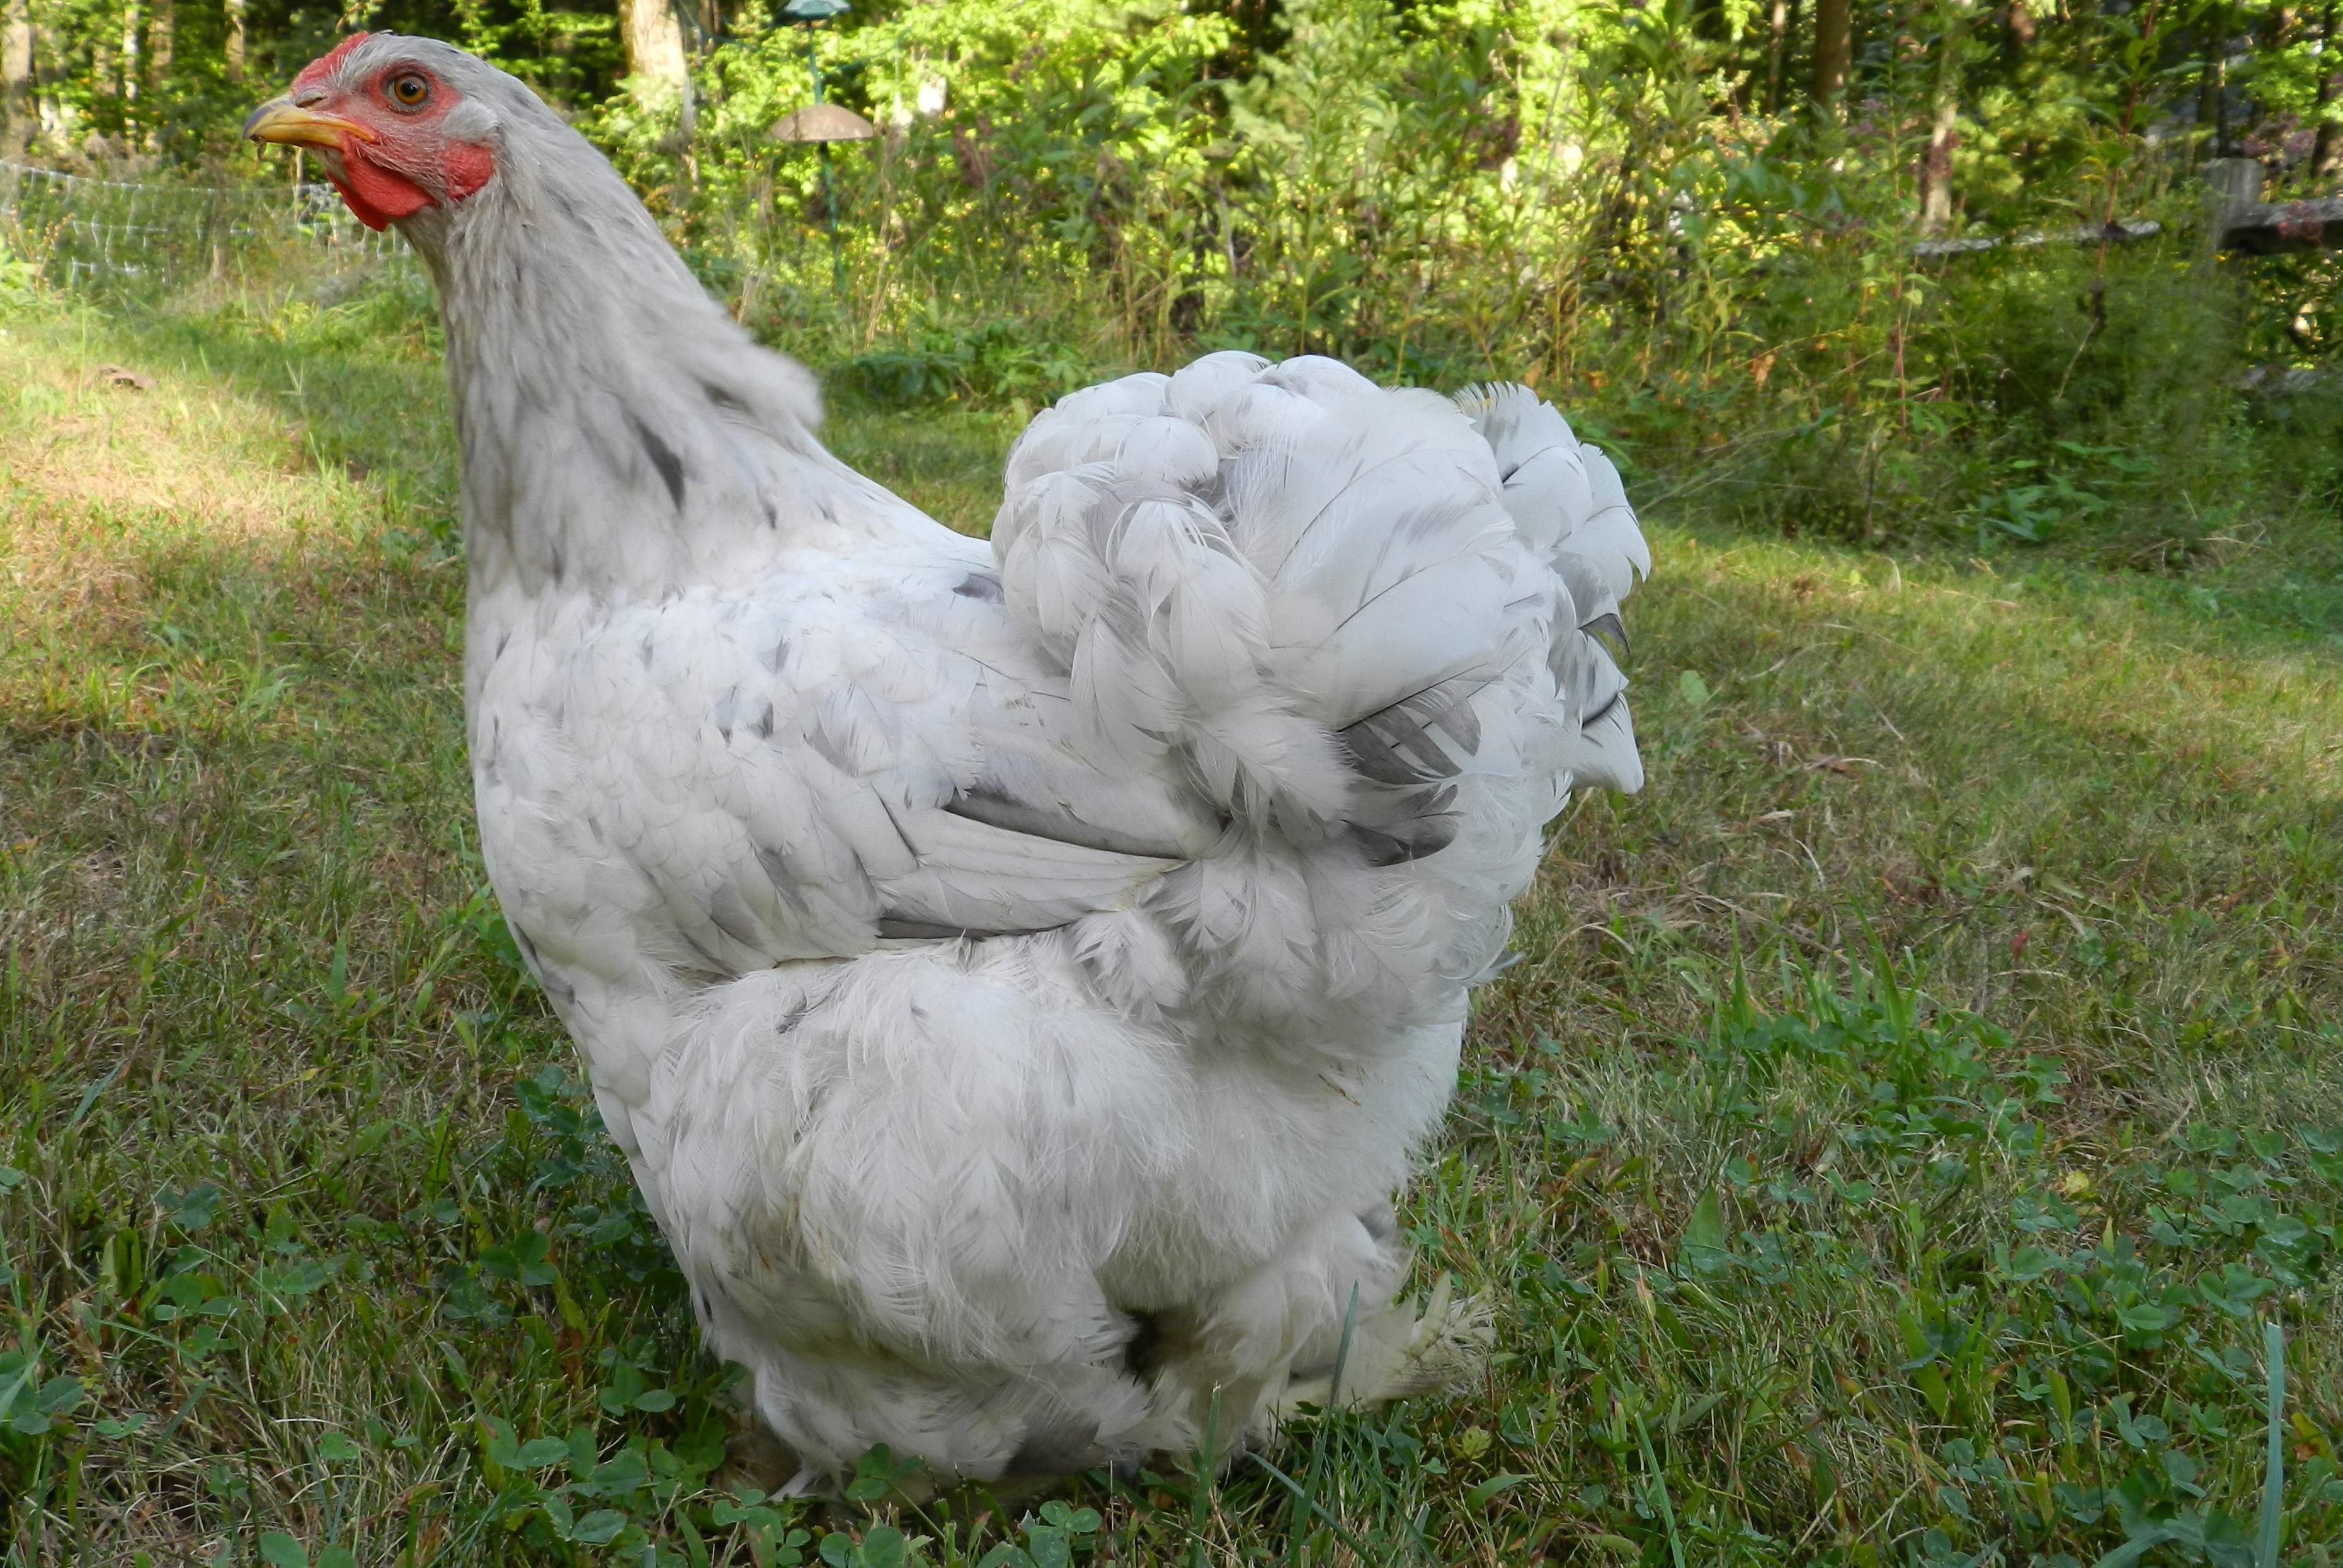
One of the reasons that people choose to have chickens is that they are so decorative. Feathers shimmer in a range of hues. Their fluffy-feathered bottoms are both charming and comical. Some breeds are sleek, and some, like my cochin, Pearl, look like fussy Victorian ladies.
What we don’t picture, when we get chickens for the first time, is all of unpleasant stuff that comes out of their backsides. Chickens poop. A lot. Some of it gets stuck on their feathers, especially if the manure is at all runny.
Diarrhea is often the first sign that your hen is sick. However, not all hens with messy bums are ill! Sometimes there’s nothing medically wrong with the chicken, and those clods of manure attached to her feathered bottom simply got stuck and dried on before reaching the ground. Don’t worry. It will eventually fall off. If it’s a real mess you can give your hen a bath. But it’s not necessary.
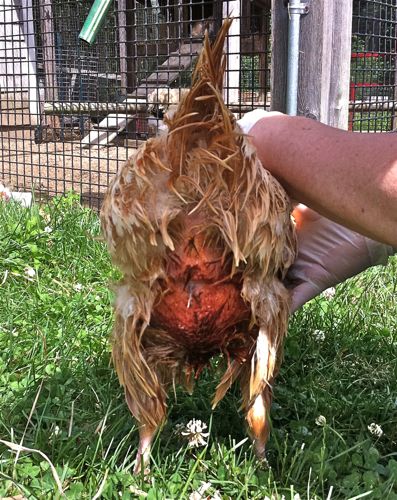
Then again, some hens have a continuous stream of smelly, thin, runny poo stuck to their feathers. This is often a sign of vent gleet, which is a yeast infection. Vent gleet can be an ongoing problem. Buffy arrived with this ailment and over the years I’ve treated it, and kept it in check, but it never fully disappears. To give a hen with vent gleet some relief, clean give her an epsom salt bath (follow the directions here.) If you’re lucky it will clear up for good. Some hens, though, like Buffy, have persistent cases. I’ve had Buffy for six years and her fluffy Orpington vent feathers have always been yucky. She’s not a hen that I pick up much!
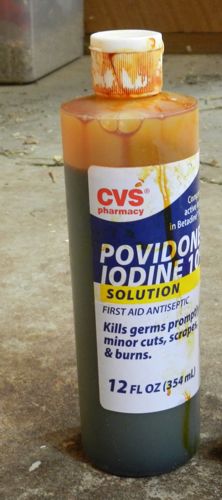
Some hens get mysterious skin ailments. A couple of years ago, Eleanor developed a hot, thick, red skin rash around her vent. Epsom salt baths seemed to make her comfortable but the symptoms didn’t go away. For hens like Eleanor and Buffy, there’s one additional tool in my medicine kit and that’s povidone. Povidone is similar to iodine, but is a stronger, broader spectrum bactericide. (It’s more expensive than bactrine, but worth it.)
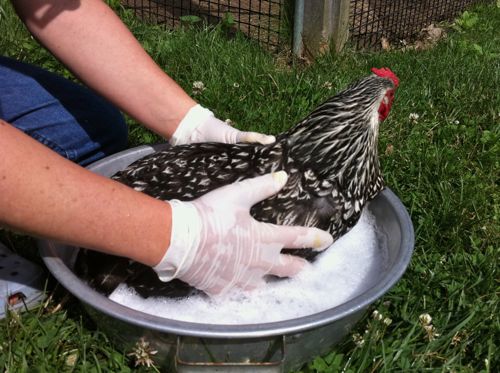
For the full treatment, first bathe the hen. Since you will be cleaning the feathers of caked-on manure, it’s not a bad idea to wear disposable gloves. After bathing, do a thorough rinsing off with clean water. If it’s a hot day, you can hold her under a hose. Here is Maizie getting bathed.
Once the hen is cleaned up, squirt the providone on the bare skin near the vent and rub it in. Use gloves and don’t wear clothes you care about. This stuff stains!
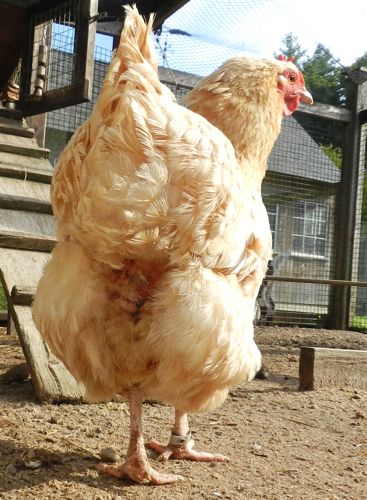
This is Buffy’s bum several weeks after treatment. Still no runny, stinky secretions!
Messy bums aren’t the only unsightly butt issue. Sometimes there’s feather loss. That’s covered in a separate FAQ!
Lastly, if your hen has serious diarrhea (not the thin stream like vent gleet, but copious, off-color and liquid) then it could be a sign of a serious underlying disease, like cancer or an infection. If that’s the case, you’ll see other symptoms, like lethargy and discomfort, and sadly the external help mentioned here won’t help.
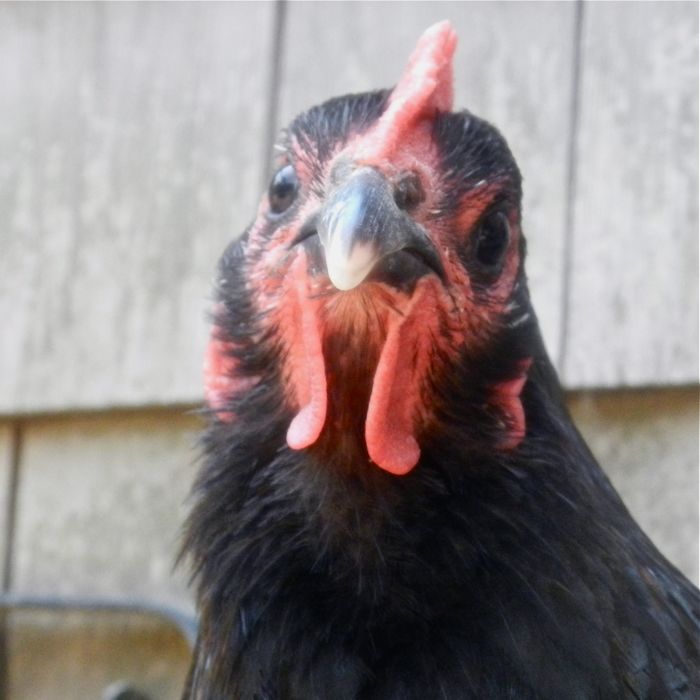
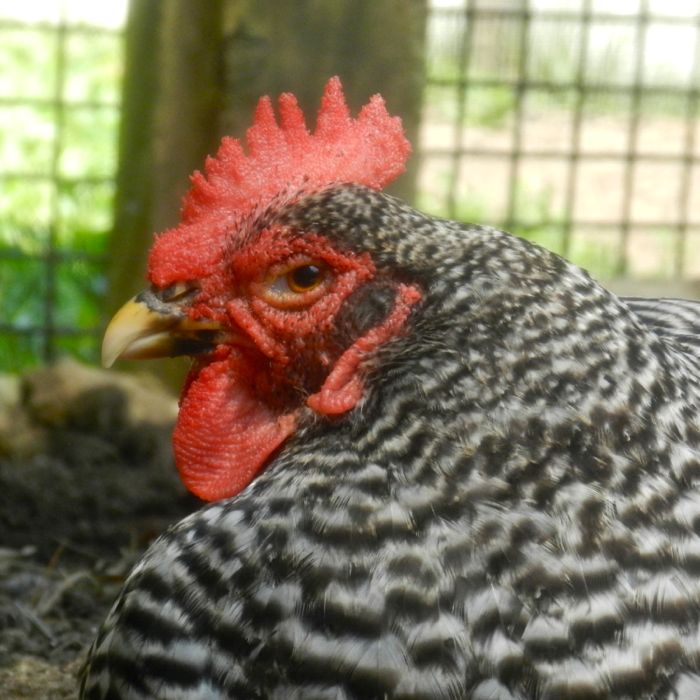
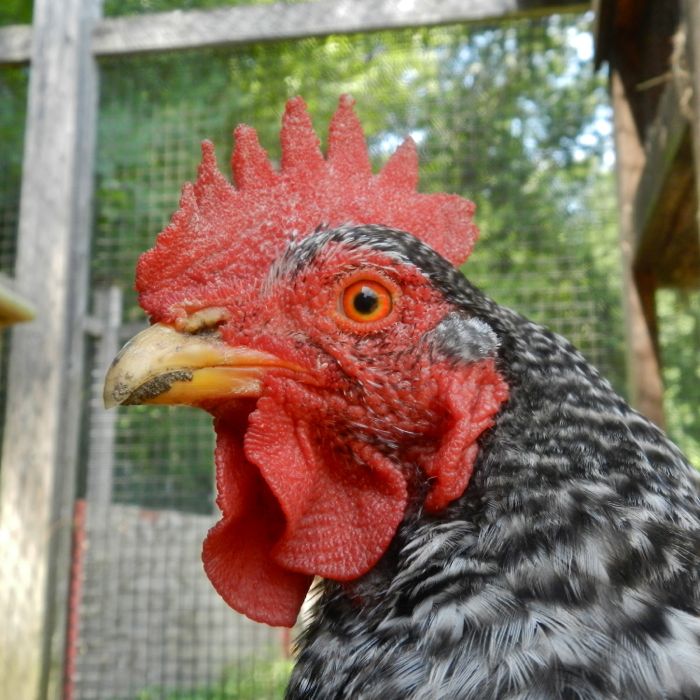
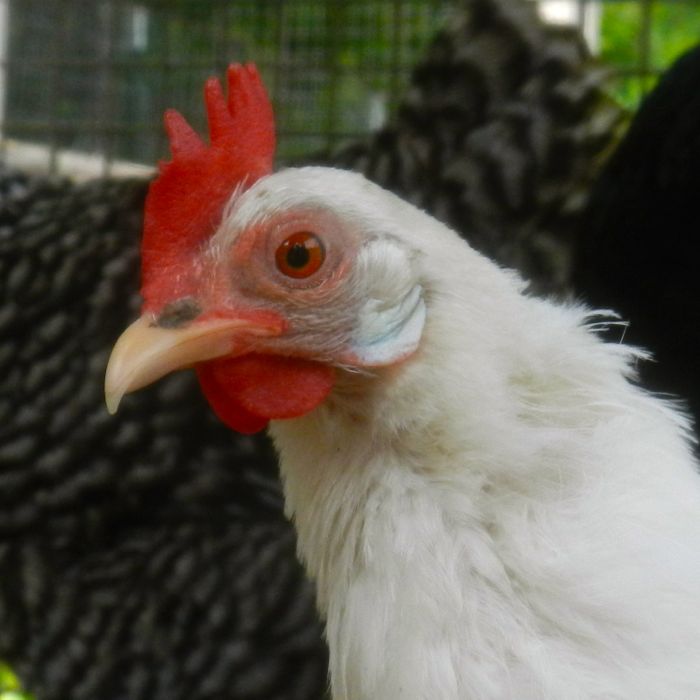
Old Hen Portraits
No Knead Bread
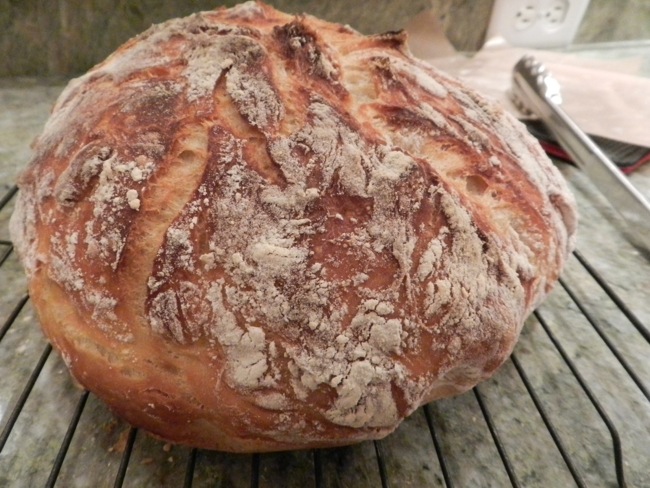
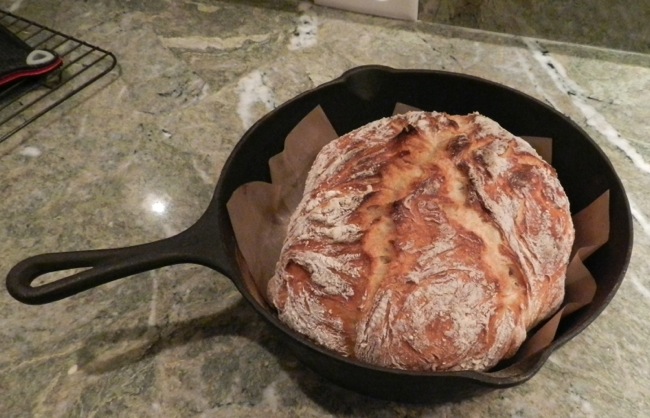
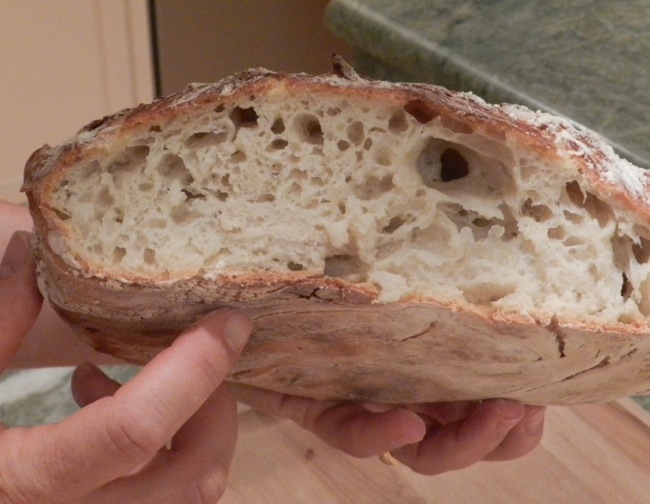
A loaf of bread that looks like this
can either be an expensive splurge from a bakery (if you can find it, as the “artisan” loaves at the supermarket are usually pale knock-offs) or you can make it for under a dollar a home. All you need is five basic ingredients and fearlessness. Yes, sometimes baking takes bravery, and this bread requires handling heavy and dangerously hot cast iron. It also requires a quick, surety in handling. That said, once you get the feel for the technique, you’ll find it fun and rewarding to make.
Back in 2006, Mark Bittman, the New York Times food writer, posted baker Jim Lahey’s No Knead Bread recipe and it went viral. Since then there have been many variations. What follows is mine.
2 cups bread flour (this has a higher protein then all-purpose, but all-purpose will do if that’s all that’s available)
1 cup whole wheat flour (or you can use all white)
1/2 teaspoon instant yeast (this is different than the regular yeast. I use saf-instant)
1 1/2 teaspoons salt (I use bread salt from King Arthur)
2 cups water
Stir the dry ingredients to evenly disperse the salt and yeast, and then pour in the water. Stir until well combined. It will be wet and has more in common with a sourdough starter than a regular homemade bread dough.
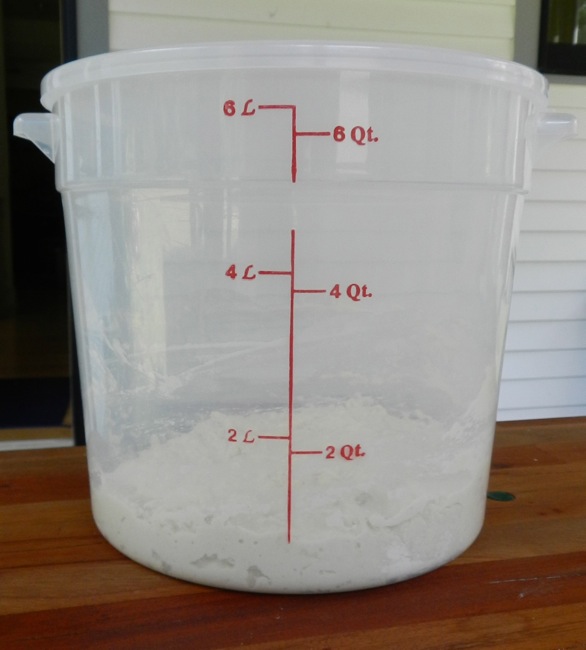
I do the mixing and the raising in a plastic bucket with a lid and marked measurements. The lid keeps the dough moist and I can clearly see when the dough is “doubled in bulk” (one of those admonishments you never know if you have right!)
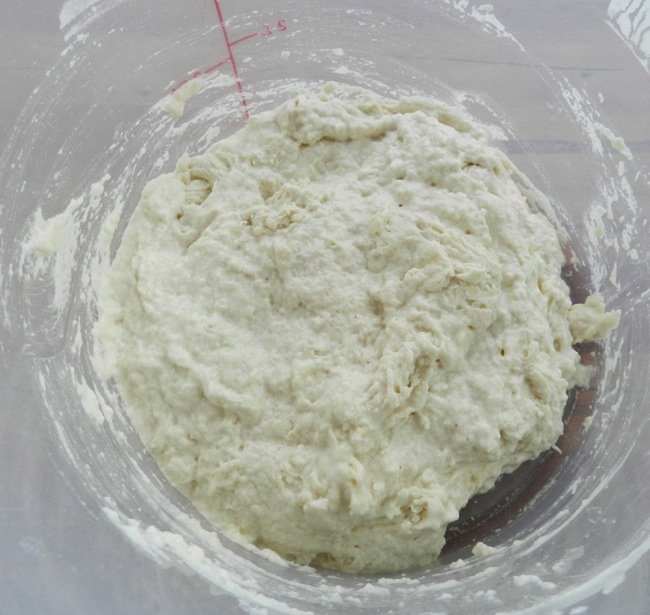
It starts out looking like this:
Let it rise. Many of these no-knead recipes say to let rise for a full twenty-four hours, and yes, you’ll get more of a sourdough flavor. But on a warm day I start it in the morning and bake it off for dinner. But, don’t rush it. The first rise needs to be at least four hours.
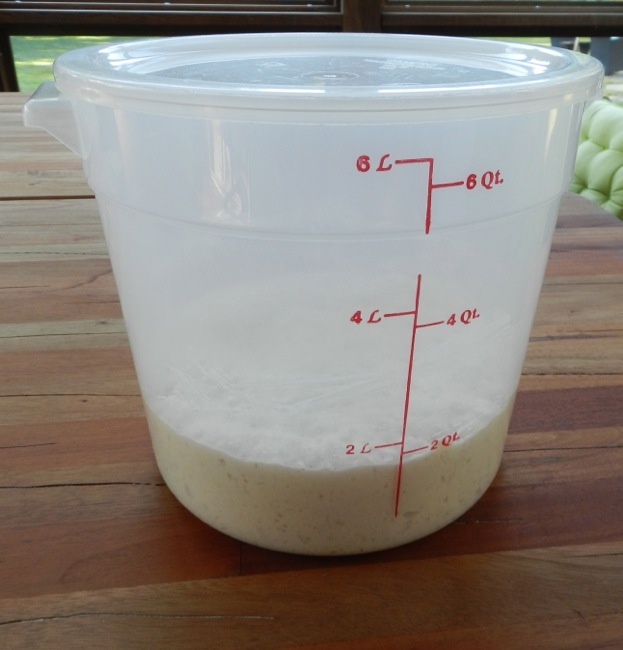
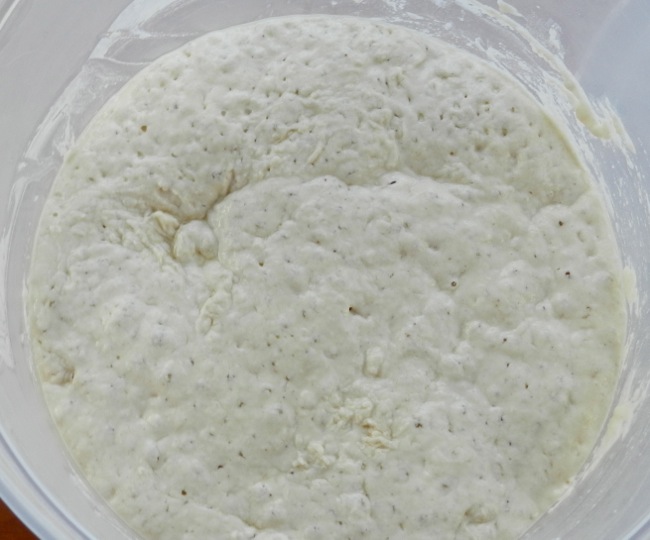
It’s ready for the next step when it doubles,
and looks like this:
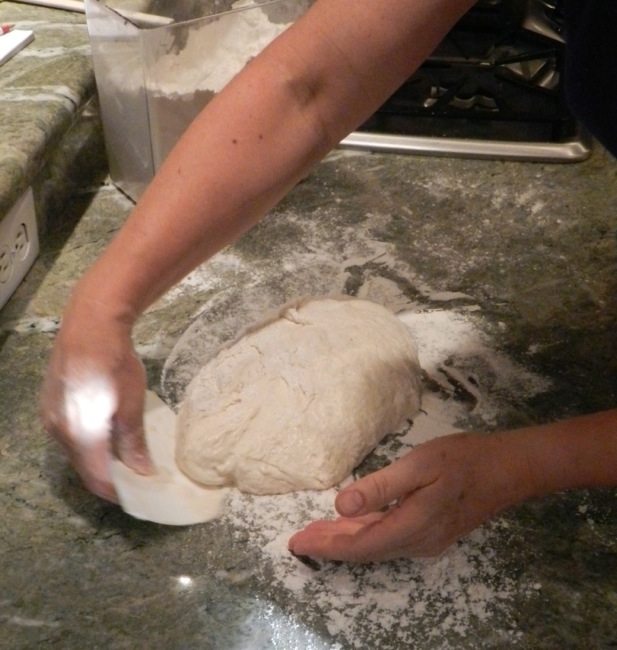
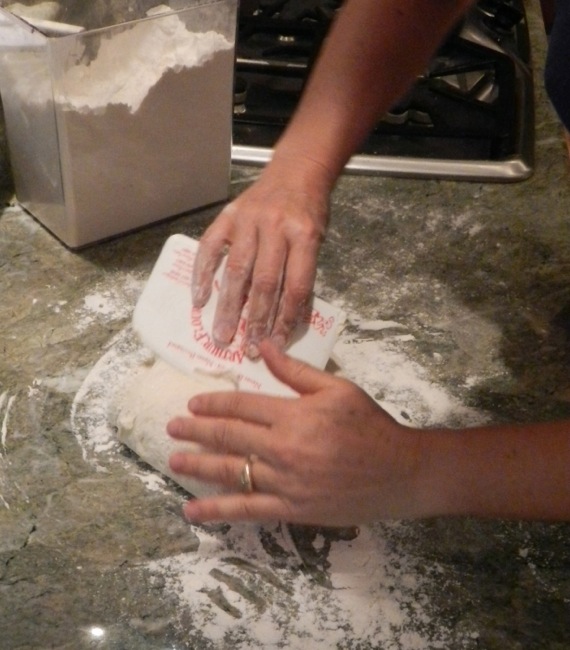
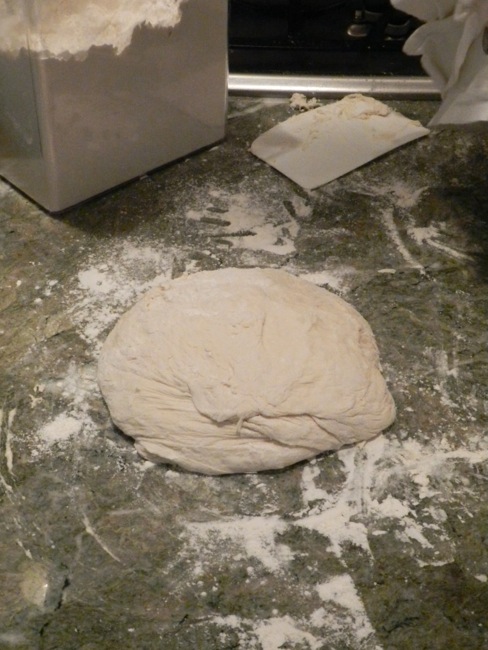
Generously flour a board or your countertop. Using a dough scraper, turn the sticky mass onto the work surface. Handle as lightly as possible, dusting with flour now and again to keep it from sticking to the board and your hands, while folding it over until it has some semblance of a round.
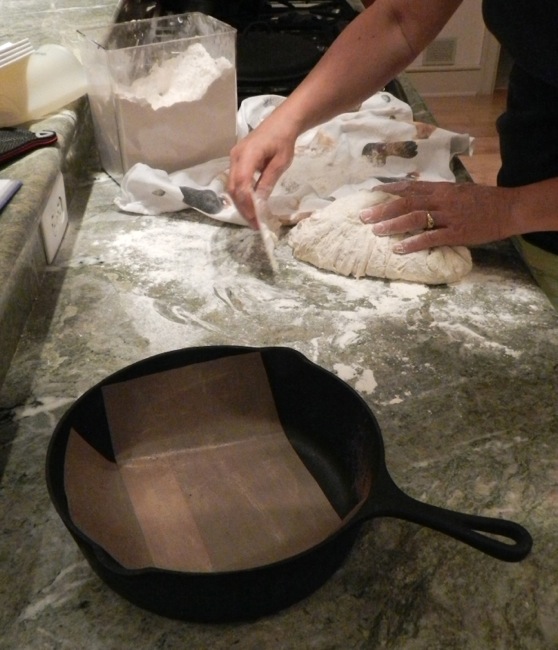
Dust with flour and cover with a linen towel that has also been dusted with flour (nothing worse than uncovering it later and having half of it stuck to the towel.)
Let rise an hour or two, until it looks more like a typical dough. It will be springy and still wet, but should have some shape.
Meanwhile, get out your heavy, lidded pot. I use a vintage, cast iron one. The reason that this bread ends up so beautifully chewy and crusty is because for the first half of the cooking it steams while it bakes at a high temp. Cast iron is ideal for this. The pot shouldn’t be more than 10 inches in diameter; too much width and the bread will flatten like a focaccia. Put the pot into a 450 degree F oven and preheat the pot for 30 minutes. Remove it from the oven VERY CAREFULLY. It’s heavy, awkward and dangerously hot.
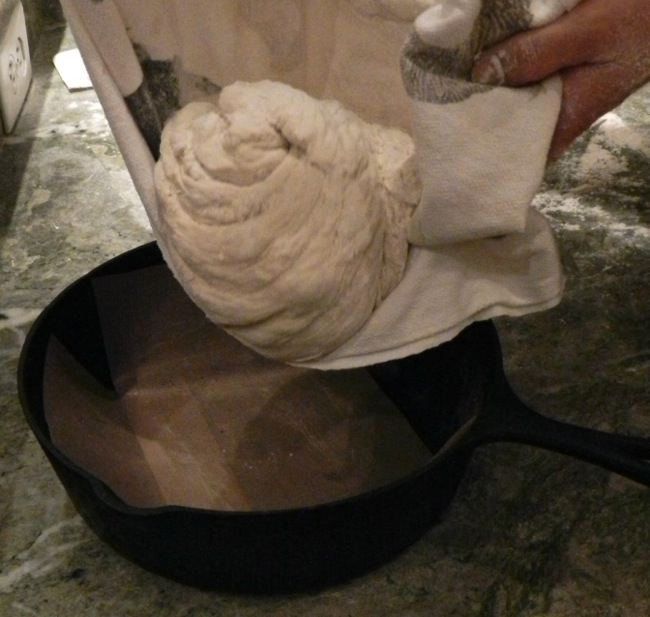
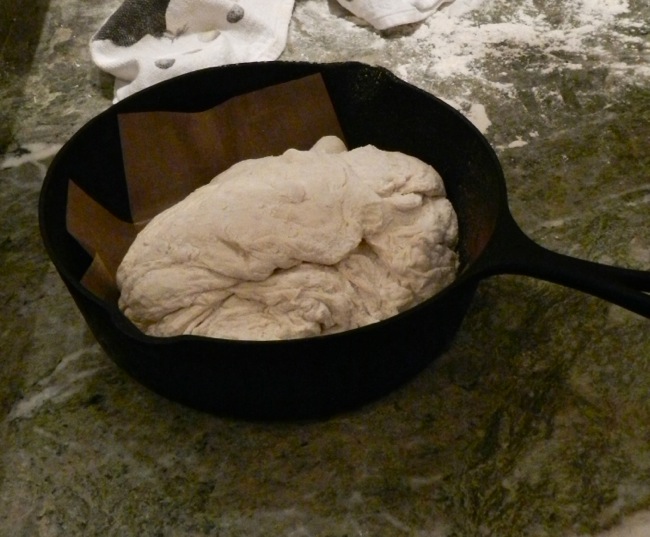
Once again, dust the towel generously. Using the dough scraper, lift the dough onto the linen, and then roll it off and into the pot. Although the bread shouldn’t stick, once in awhile it will, so I use non-stick baking liner that I cut into a strip to fit the bottom of the pot. This also works as a convenient tab when removing the bread from the pot.
It will look rough with some dustings of dry flour. That’s good.
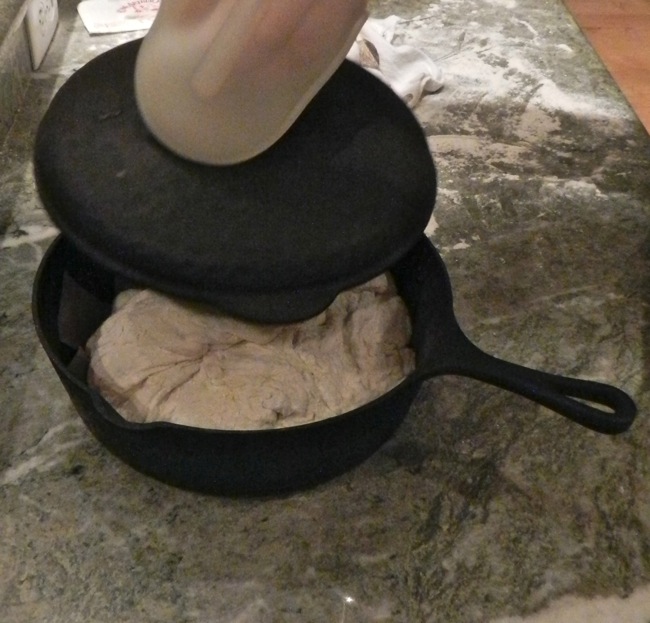
Cover and bake for 25 minutes.
Then, reduce the oven temperature to 350 and remove the lid WITH CAUTION as it is very, very hot. Set the lid down somewhere safe, like your cooktop. Continue to bake for about 30 minutes until the bread develops a browned crust. Remove from the oven with two sets of oven mitts.
Turn out the bread and let cool on a wire rack.
Enjoy!
