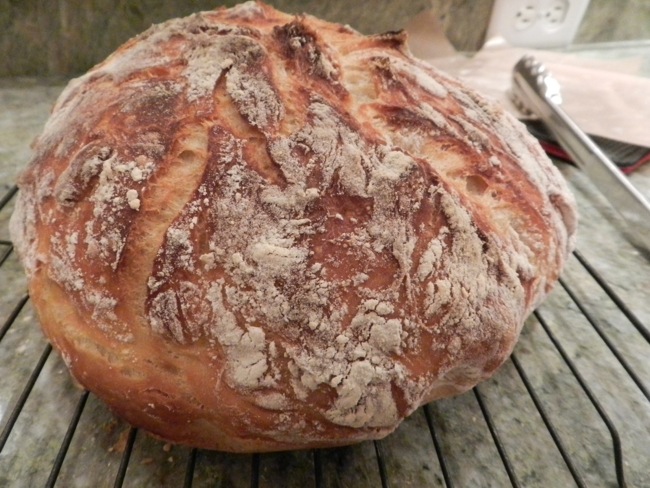
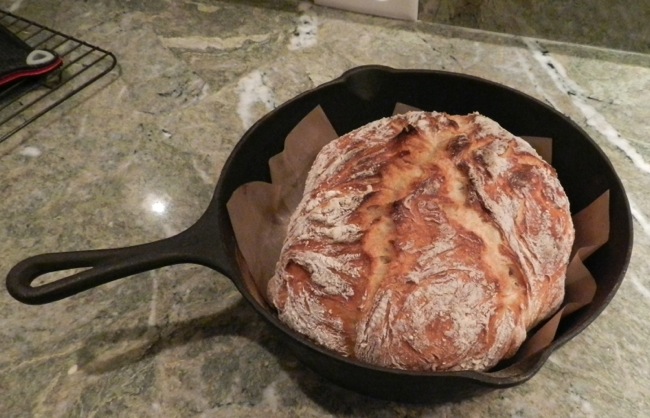
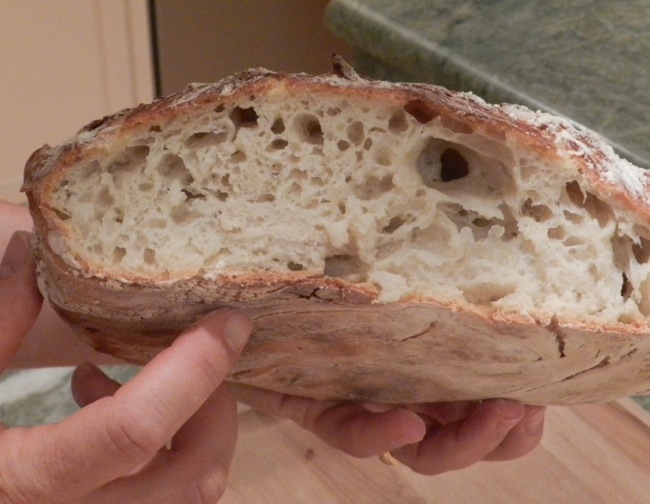
A loaf of bread that looks like this
can either be an expensive splurge from a bakery (if you can find it, as the “artisan” loaves at the supermarket are usually pale knock-offs) or you can make it for under a dollar a home. All you need is five basic ingredients and fearlessness. Yes, sometimes baking takes bravery, and this bread requires handling heavy and dangerously hot cast iron. It also requires a quick, surety in handling. That said, once you get the feel for the technique, you’ll find it fun and rewarding to make.
Back in 2006, Mark Bittman, the New York Times food writer, posted baker Jim Lahey’s No Knead Bread recipe and it went viral. Since then there have been many variations. What follows is mine.
2 cups bread flour (this has a higher protein then all-purpose, but all-purpose will do if that’s all that’s available)
1 cup whole wheat flour (or you can use all white)
1/2 teaspoon instant yeast (this is different than the regular yeast. I use saf-instant)
1 1/2 teaspoons salt (I use bread salt from King Arthur)
2 cups water
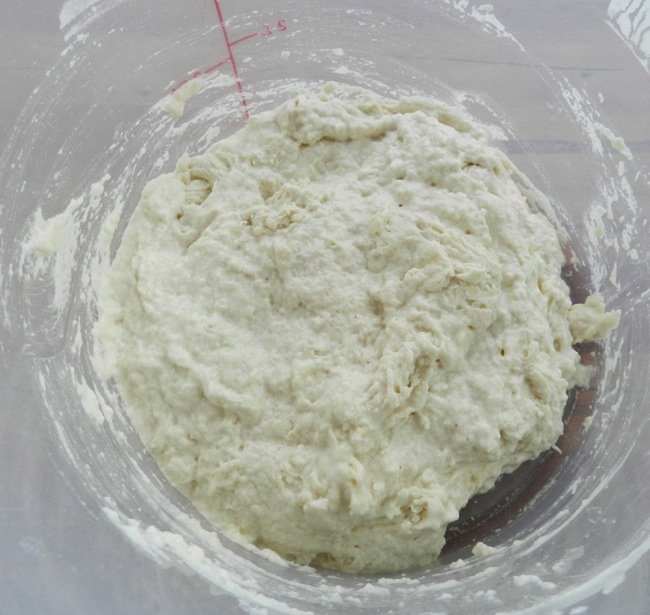
Stir the dry ingredients to evenly disperse the salt and yeast, and then pour in the water. Stir until well combined. It will be wet and has more in common with a sourdough starter than a regular homemade bread dough.
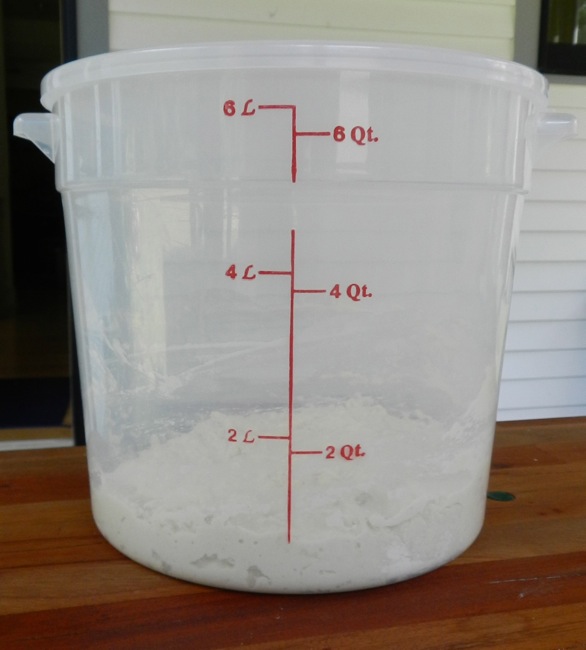
I do the mixing and the raising in a plastic bucket with a lid and marked measurements. The lid keeps the dough moist and I can clearly see when the dough is “doubled in bulk” (one of those admonishments you never know if you have right!)
It starts out looking like this:
Let it rise. Many of these no-knead recipes say to let rise for a full twenty-four hours, and yes, you’ll get more of a sourdough flavor. But on a warm day I start it in the morning and bake it off for dinner. But, don’t rush it. The first rise needs to be at least four hours.
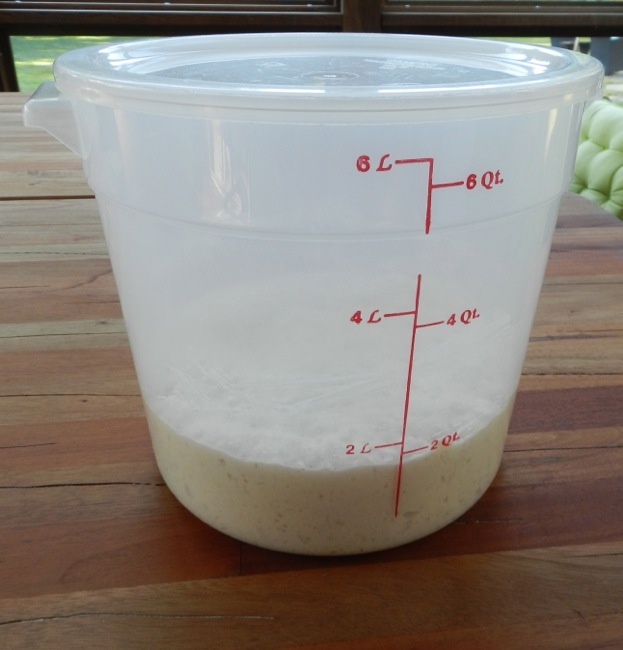
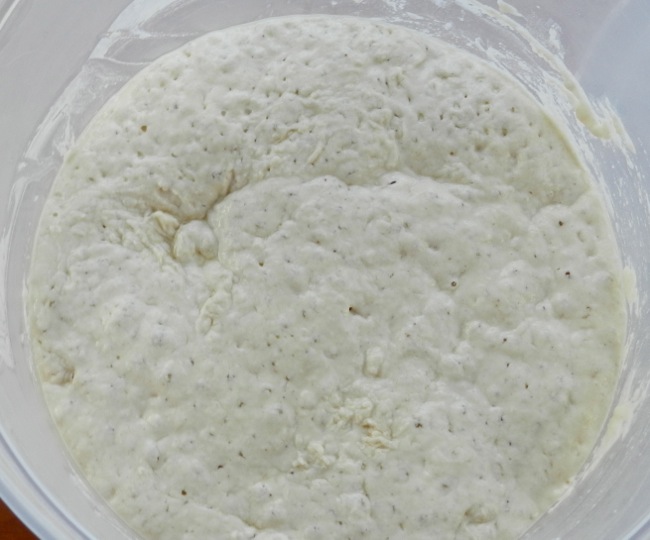
It’s ready for the next step when it doubles,
and looks like this:
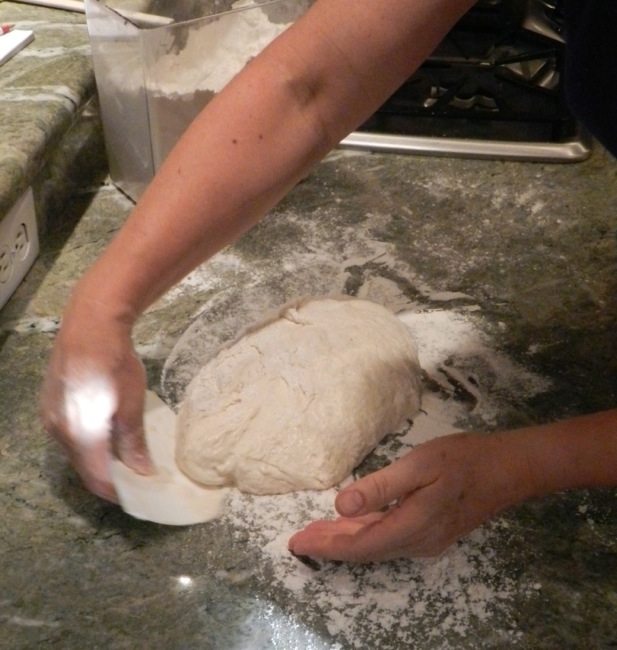
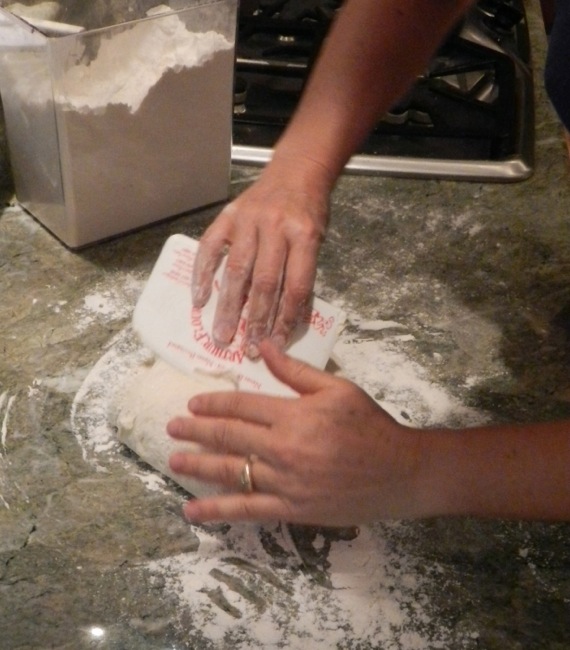
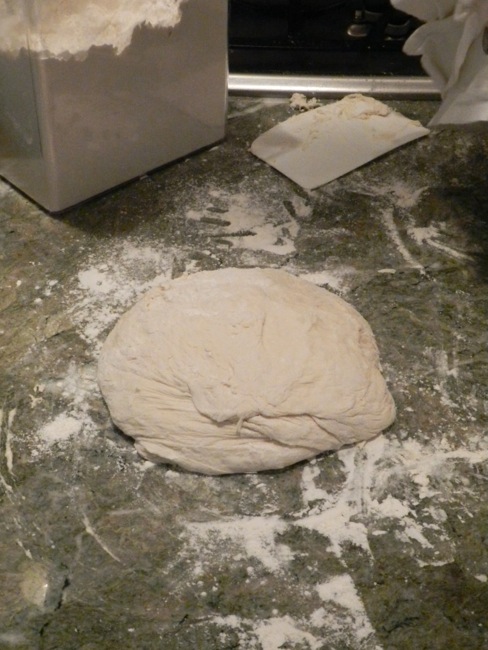
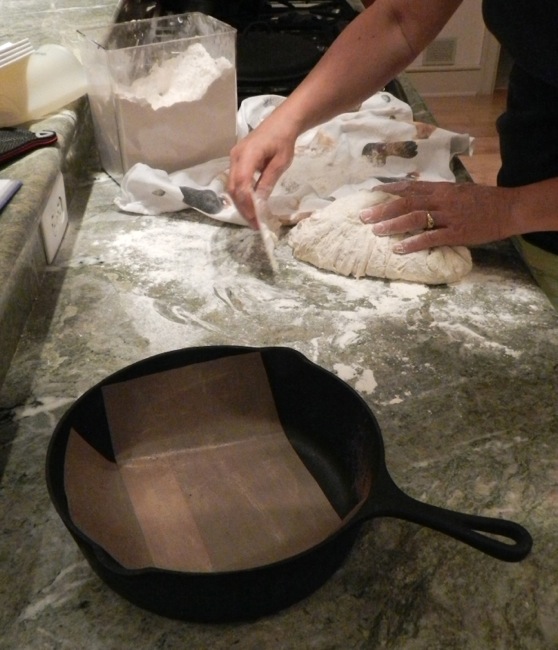
Generously flour a board or your countertop. Using a dough scraper, turn the sticky mass onto the work surface. Handle as lightly as possible, dusting with flour now and again to keep it from sticking to the board and your hands, while folding it over until it has some semblance of a round.
Dust with flour and cover with a linen towel that has also been dusted with flour (nothing worse than uncovering it later and having half of it stuck to the towel.)
Let rise an hour or two, until it looks more like a typical dough. It will be springy and still wet, but should have some shape.
Meanwhile, get out your heavy, lidded pot. I use a vintage, cast iron one. The reason that this bread ends up so beautifully chewy and crusty is because for the first half of the cooking it steams while it bakes at a high temp. Cast iron is ideal for this. The pot shouldn’t be more than 10 inches in diameter; too much width and the bread will flatten like a focaccia. Put the pot into a 450 degree F oven and preheat the pot for 30 minutes. Remove it from the oven VERY CAREFULLY. It’s heavy, awkward and dangerously hot.
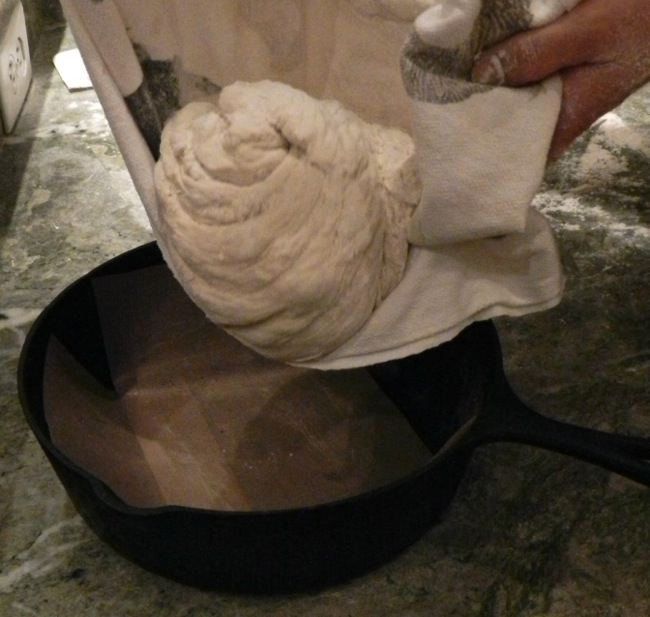
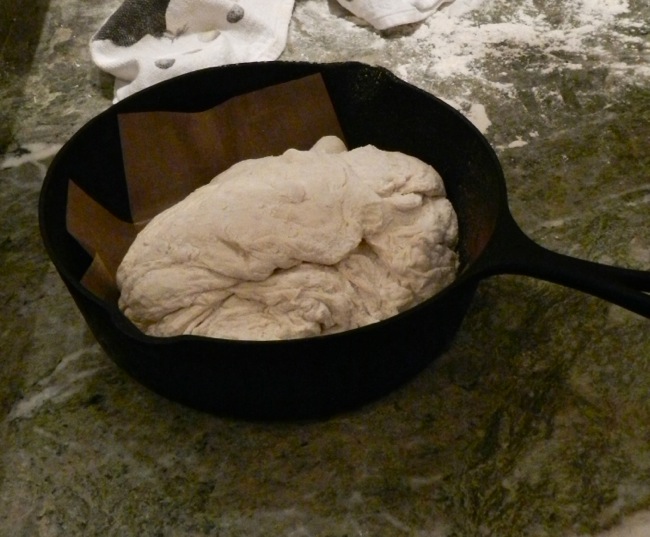
Once again, dust the towel generously. Using the dough scraper, lift the dough onto the linen, and then roll it off and into the pot. Although the bread shouldn’t stick, once in awhile it will, so I use non-stick baking liner that I cut into a strip to fit the bottom of the pot. This also works as a convenient tab when removing the bread from the pot.
It will look rough with some dustings of dry flour. That’s good.
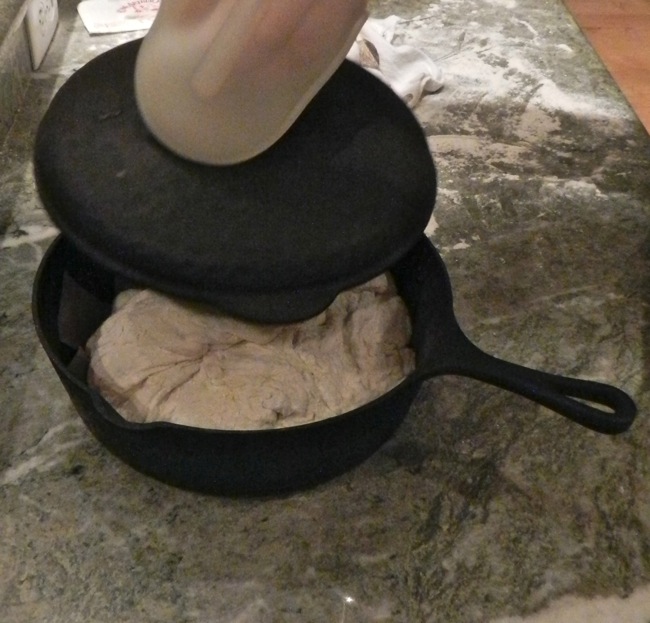
Cover and bake for 25 minutes.
Then, reduce the oven temperature to 350 and remove the lid WITH CAUTION as it is very, very hot. Set the lid down somewhere safe, like your cooktop. Continue to bake for about 30 minutes until the bread develops a browned crust. Remove from the oven with two sets of oven mitts.
Turn out the bread and let cool on a wire rack.
Enjoy!
