Spontaneous Cooking From Garden To Table

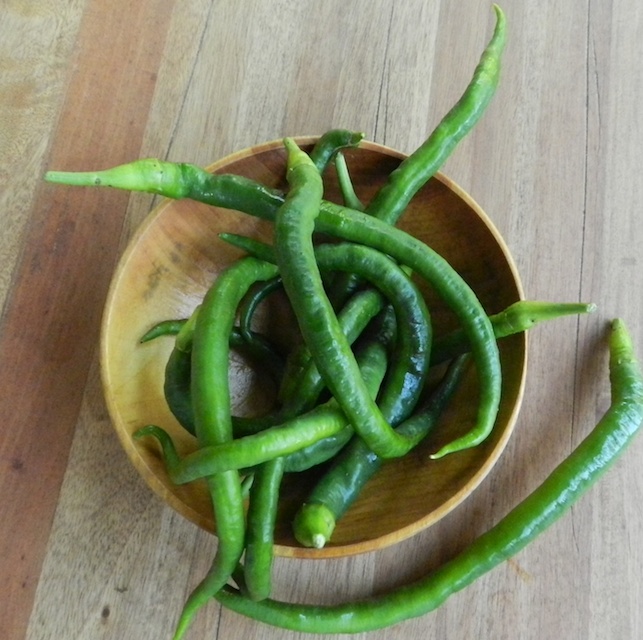
There are days when it’s too hot to cook, or I don’t have time, or I don’t have all of the ingredients needed, or I’m just too tired to face the work. But, once in awhile, there’s a “perfect storm” of weather, harvest, time and desire. Yesterday was one of those. My kitchen counter was spilling over with produce. On Saturday, I’d shopped at the tiny farmers market two miles up the street from home. I’d bought a dozen ears of the corn and some hot peppers from a friend in town who sells the excess from her backyard garden at a small table at the market.

DSCN3328


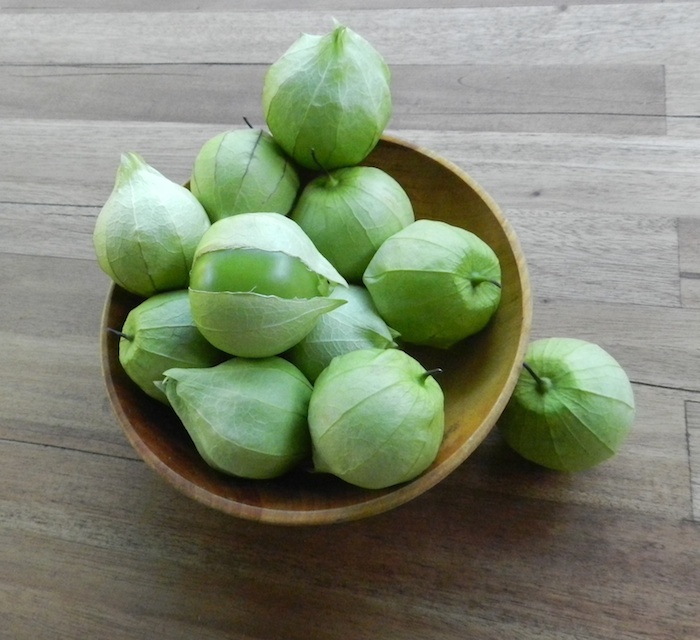
My next-door neighbor, John, has such a productive garden that his friends get handed brown paper bags full of the excess. I’d been the lucky recipient of garlic, peppers, eggplants and tomatillos. (I left a dozen eggs on his porch.)

DSCN3326


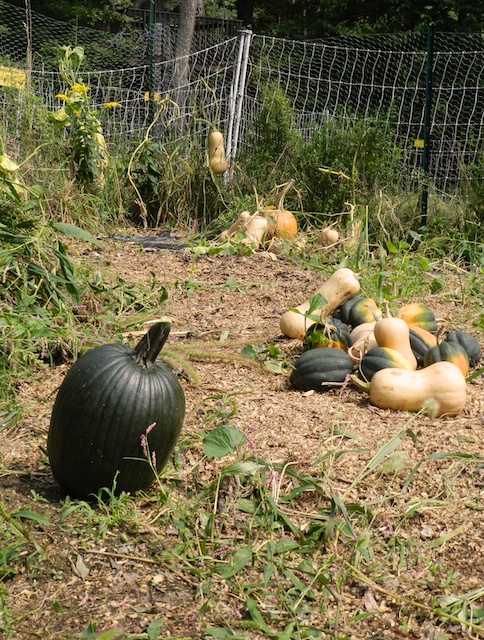
I’m still harvesting herbs, tomatoes, chard and carrots. As I said, the counters were full. It was one of those mornings that you open the windows wide and let the breeze in. Fall! Chilly but not cold. Perfect cooking weather. And so I did.

This is spontaneous from the garden and coop to the kitchen cooking. I don’t have recipes for you, but perhaps you’ll have the perfect storm of end-of-summer produce and weather and time, be inspired, and get into the kitchen too.

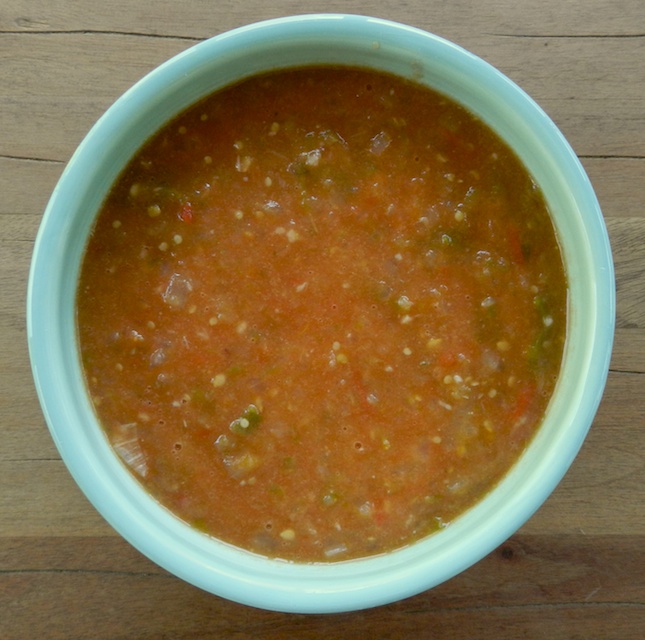
With tomatillos, tomatoes, garlic, onion, and hot peppers, I made a piquant sauce. There’s a jar in the fridge and several containers in the freezer for winter taco dinners.

DSCN3340


With the eggplant, onions, garlic, mint, basil and tomatoes, I made a bruschetta topping. It is so good on pita crackers topped with ricotta insalata cheese!

DSCN3349


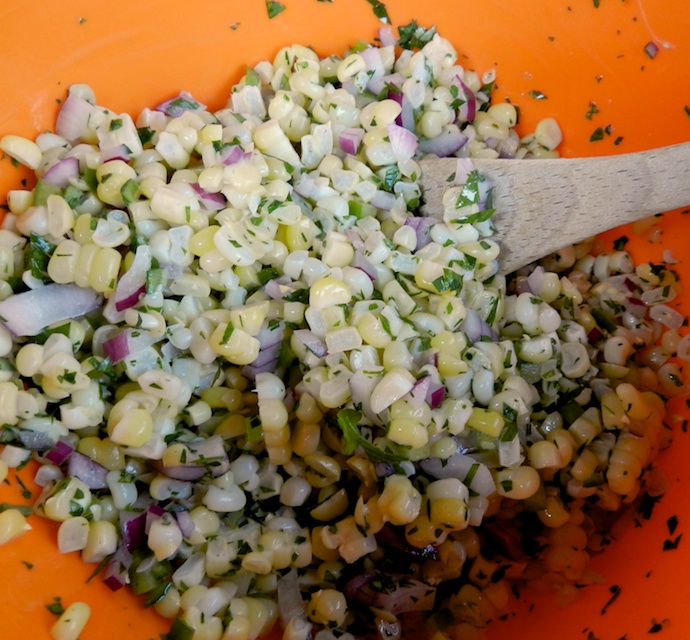
Using the corn, onion, herbs, and peppers, I tossed together this salad.

DSCN3333


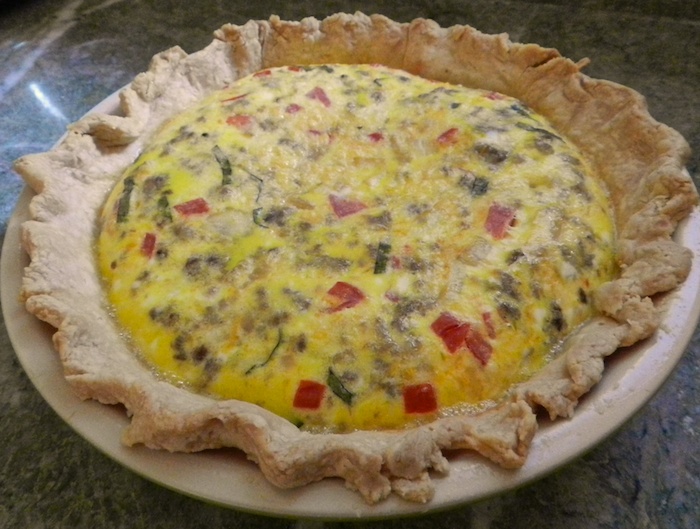
With eggs, tomatoes, onions, basil and a sausage from a farmer in the next town over, I made this quiche.

DSCN3353


By noon the food was stored and the kitchen was cleaned up. It was that sort of day.

Who I Met At Brimfield

On Friday, I spent seven hours treasure hunting the fields of the Brimfield Flea Market, and I didn’t see even a quarter of the booths.

There was excitement in the air. That one special object that you’ve been searching for might be around the corner. Or, you might fall in love with something that you don’t even know exists until the moment that you see it.

IMG_5374


It’s the sort of place where total strangers chat with you. There are a lot of quirky characters. Most are delightful.

IMG_5379


I do, however, give a wide berth to the men smoking cigars. And don’t vendors realize they lose business if their stock smells of cigarette smoke?

IMG_5372


When I sat at a picnic table to have lunch, a man eating across from me told me all about his obsession, which is something called pulled glass. Despite the zillions of things displayed at Brimfield, it was all that he looked for. He was like a bloodhound on the trail.

IMG_5373


The weather was perfect. It was the sort of cool, breezy, and sunny day that makes putting up with everything else that New England throws at us worthwhile. It put most everyone in a good mood.

IMG_5378


Of course, there are always exceptions.

IMG_5377


I didn’t come home with much, just a few old farming magazines and two egg cups. It was a very pleasant day.

IMG_5381

Hidden In Plain Sight

In the past I’ve been able to grow pumpkins and other hard winter squashes using a practice of benign neglect. The pumpkin patch is dug over in the spring, compost added, plants set into the ground and then the whole thing is ignored until harvest. One can get rather smug about one’s systems until things go horribly wrong, as they finally have done this summer.

Over the summer, the plants flourished. There was a jungle of huge pumpkin leaves. Weeds sprang up, too. Bees hummed. Sure, there were a few squash borers, but the plants still thrived. Squash were spied in the lush undergrowth. In the last few weeks, the plants wilted, from, what I thought, was typical fall mildew.

DSCN3162


But a closer look revealed a serious pest hidden right in plain sight. Isn’t evolution amazing? The mature squash bug is exactly the same color as dead squash leaves. Train your eyes to look and you might see one.

DSCN3175


Look again and you’ll see a ravenous, rampaging army. I cut off some infested leaves and tossed them to the Gems. They are even too nasty for the chickens to eat.

DSCN3188


This late in the season, the squash bugs continue to lay eggs and multiply.

DSCN3197


My system of letting the hens turnover the pumpkin patch in fall and spring to control insects helps to keep the borers in check, but it turns out that squash bugs overwinter as adults. I couldn’t just pull out the diseased plants and compost them, as that’s exactly the environment that the insects thrive in. The only thing to do was to bag up all of the plant matter (and as many insects as I could grab with it). The extension service info says that gathering and throwing out all of the plants will help to control the borers, too. Any bugs left on the ground will lack shelter and hopefully will die in the cold.

DSCN3199


Underneath the weeds and the plants was a sparse harvest.

DSCN3201

I’ve learned that mulch, even plastic, creates a safe haven for these insects. That bit of advice (read today, sadly too late) was proven true, as the strip of black plastic mulch I’d put in the pumpkin patch (because I had some leftover and thought I’d try it) was swarming with squash bugs, and the few vegetables there were ruined by the suckers.

At least the chickens were willing to help clean that up.

DSCN3223


I’ve more work to do before I’ve got the squash bug infestation under control. I’ve learned my lesson that you can only ignore a garden for so long until the neglect catches up with you. But, with gardening, a failure in one corner doesn’t mean a failure everywhere. Last night friends came for Rosh Hashanah dinner. Side-dishes included honeyed carrots, tomato, cucumber and basil salad, chard with a dressing of lemon juice and toasted mustard and coriander seeds, and rice with minced herbs. All from the garden.

A Good Small Coop

Now that backyard chickens are so trendy, lots of companies are selling coops on-line and at feed stores, garden centers and even box stores. Most of these coops are too small for the number of chickens that they claim that they house. They are dark, poorly ventilated, and inappropriate for most climates.

Bungalow_000_Lg


With coops, size matters, and the more space the better. My preference is for walk-in coops. But, if you’re in an urban environment, on a tight lot, and need to maximize the footprint, then a raised coop that utilizes the space below can be used, if it is designed and built right. This one is done right.

coop2-e1375999291451-300x350


Kara O’Brien, the builder is a home remodeler, and made use of discarded materials, from stair treads to windows and a door. Here is a photo of the coop from the other side, when it was halfway built. There’s light, ventilation and air space.

image001

The run is not large enough as is, but Kara has expanded it. A coop like this is charming and a good home for hens.

For more ideas, go to my Small Coop Ideas Pinterest board. For specific dimensions and details that I recommend for small coops, read this post.

Coop Dimensions And Design Criteria

If you’re thinking about putting chickens your backyard, there’s a bewildering selection of prefab coops, building plans and advice out there. Unfortunately, many of the coops are poorly designed and are far too small for the number of birds that they advertise that they can house. There’s also been a plethora of “reinvented” coop ideas. I’m all for fun design, but not at the expense of the health of my hens.

Here’s what your laying hens really need:

Interior floor space: A minimum of 4 square feet per chicken of interior floor space. This doesn’t count the nesting boxes (some coops have them on the floor) or the exterior covered run space.

Interior air space: Chickens need to roost at least 30 inches up off of the ground, and have head space to do that comfortably.

Roosts: 6 inches per hen. I prefer rounded roosts. Hens have special ligaments in their legs that lock in place when they sleep. This is how they can sleep without falling off the perch. To do this, they need to be on a round roost. Roosts should be at least 18-inches off of the floor to allow the hens to breathe clean and dry air while sleeping. If possible, have roosts at varying heights because that helps with flock dynamics. A ladder-style roost is best, so that the heavy hens can hop up and down. There should be head room above the top run to allow for air flow.

Windows: Sunlight is essential in a coop. Hens have very poor night vision. Even if it’s daylight outside, if it’s dark in the coop, your chickens won’t get moving, eating, or laying their eggs if they can’t see to hop off of the roost. Also, sunshine is a natural sanitizer. And, the hens appreciate a sunny spot on a damp and cold day to sit in. Finally, windows allow you to look in, and sometimes you need to know what’s going on in the henhouse!

Ventilation: Soffits in the eaves are not enough. A cupola is best, as it very effectively pulls damp air up and out. Vents near the eaves are good, but must be large enough. Windows that open when it is hot are a necessity.

Pop door: This is the small door that the chickens use to go in and out. In cold weather, they can come and go, but the barn will remain cozy.

Nesting boxes: Plan on 2 or 3 for seven or fewer hens. For a large flock have 1 box for every 5 birds. These can be homemade or purchased. Mount these about about 6 inches off of the ground. If they’re higher than the roosts, then the hens will sleep in them  – something that you don’t want them to do.

Exterior space: Provide at least 8 square feet per bird for the fenced run.

Flooring: You can have anything from dirt to wood to concrete. If you do have a dirt floor, then make sure that you can protect your hens from digging predators and rats with underground fencing. If you have wood, you can add a sheet of inexpensive vinyl to keep it from absorbing moisture and to ease cleaning. I have concrete floors in my coops, which is an initial expense, but makes for secure and clean housing.

You’ll also need an area for dust bathing, and a sheltered place, whether inside or out, for the food and water dispensers. You’ll need storage for grain, bedding and tools. I prefer coops and runs that I can walk into for ease of cleaning and also so that I can spend time with my chickens. Don’t be swayed by the ads that tout small starter coops. Buying one will be an expensive mistake, as you’ll need replace it later on. Design and build the right housing from the start and you’ll have a healthy, peaceful, productive flock.

2013-03-06@08.48.26

6 x 8 foot design from a 1930 catalog

If you’re looking for ideas, I have a Pinterest board with examples of small coop designs.