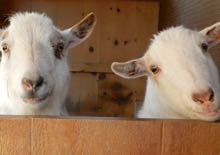
The goats are ANGELS.
Look at how Caper has gotten into the spirit of the costume. Angelic!

Oh well, maybe not.
Happy Halloween!
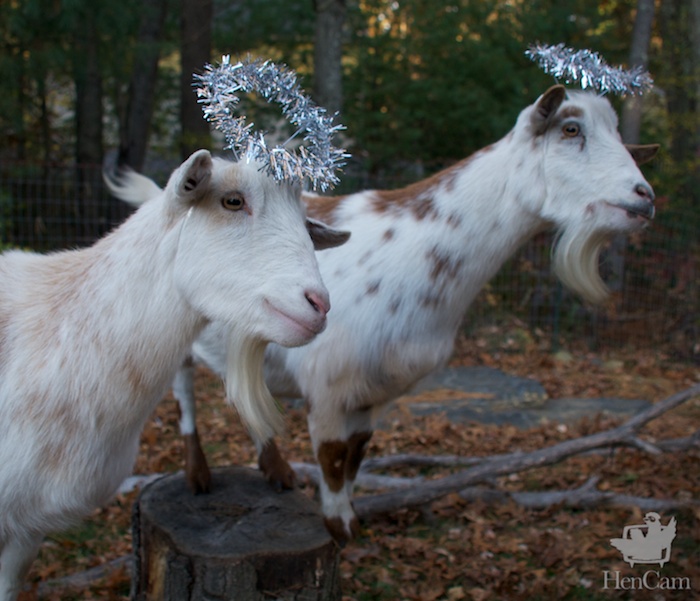
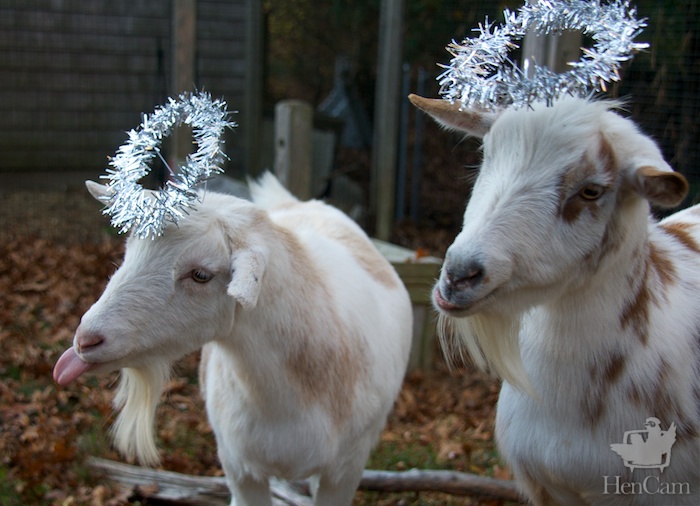
The goats are ANGELS.
Look at how Caper has gotten into the spirit of the costume. Angelic!
Oh well, maybe not.
Happy Halloween!
I think this is a chicken costume.
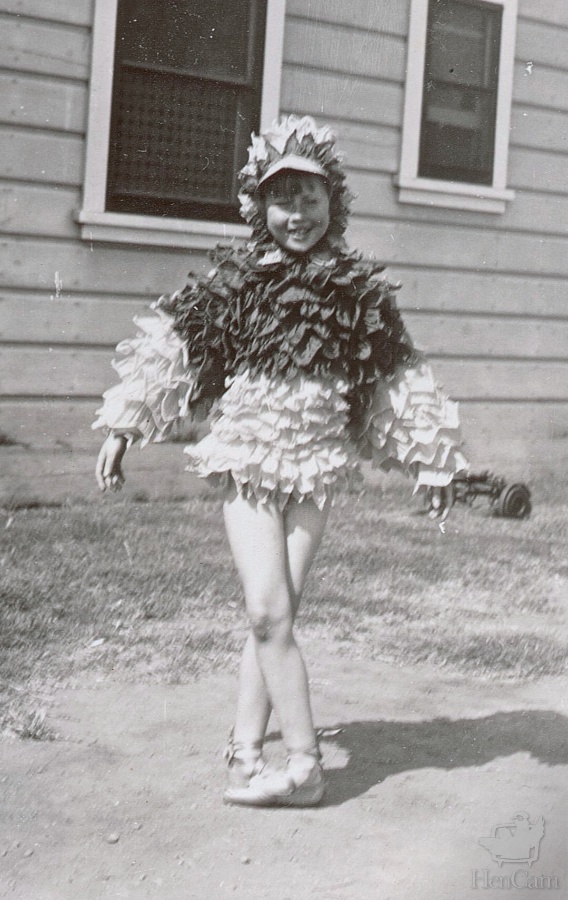
Then again, there’s no comb on her head. Still, I think she’s a chicken.
A chicken wearing ballet shoes. What role could she be dancing? This snapshot has no history attached to it. So, we’ll just have to imagine.
Thoughts?
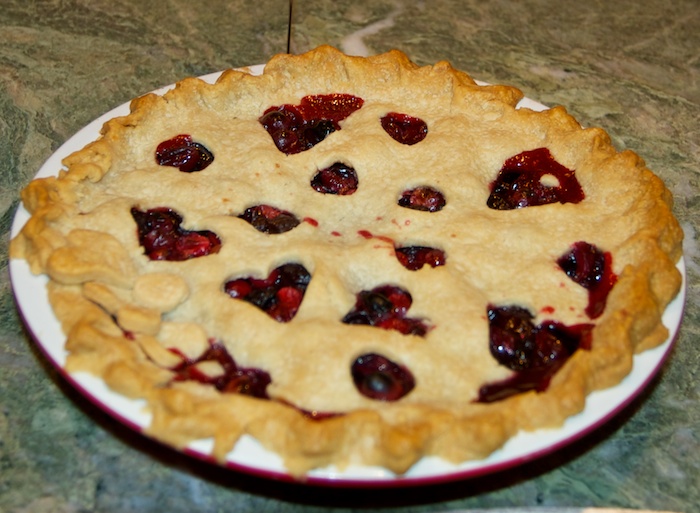
Baked fruit is all well and good, and I’m never one to turn down a bowl of stewed peaches (with ice cream, please) or applesauce dished out as a dinner side. But, put that fruit into a crust and you have the magic that is pie. That crust is all important. It must be golden. It must be the perfect texture, neither too hard to penetrate with a fork, nor so soggy that it sags. It must be flaky and yet hold together. The demands of a perfect crust can put off even the most avid cook. Never fear! I’ve put together a tutorial of my all-butter pie crust.
Baking making a perfect pie crust does take experience. Crusts require handling just so. Give it a try. Try it again. Don’t worry. Just do it. Even the mistakes are delicious, after all, butter and flour always tastes good.
The recipe is posted on my FAQ page, here. A version of it will appear in my upcoming Farmstead Egg Guide and Cookbook, out in March of 2014.
I want to hear about the pies you’re baking!
I like to keep homemade crusts on hand. I never know when I’ll have the urge to make a tart or a quiche or a chocolate pie. So, over the years I’ve perfected an all-butter crust that I can use immediately or freeze. Here is how I do it:
There are four basic ingredients. Flour. (I use unbleached, all-purpose King Arthur flour. If you can find it, white pastry flour is even better and will make a softer crust.) Frozen unsalted butter. Kosher salt. Ice water.

Each 2-crust recipe uses: 2 cups of flour, 1/2 teaspoon salt, 1 1/2 sticks butter (6 ounces) and some water.
When you scoop flour into a cup, it can be compacted or loose, and your measurement inaccurate. For consistency I use a digital scale (10 oz = 2 cups flour). An added benefit is that weighing speeds the process (no fluffing the flour necessary)
Cut the butter into cubes. It should be frozen solid, so use your best chefs knife. If you find it too difficult to cut frozen butter, cut chilled butter into cubes and then freeze. Blending this dough with frozen butter is the key.
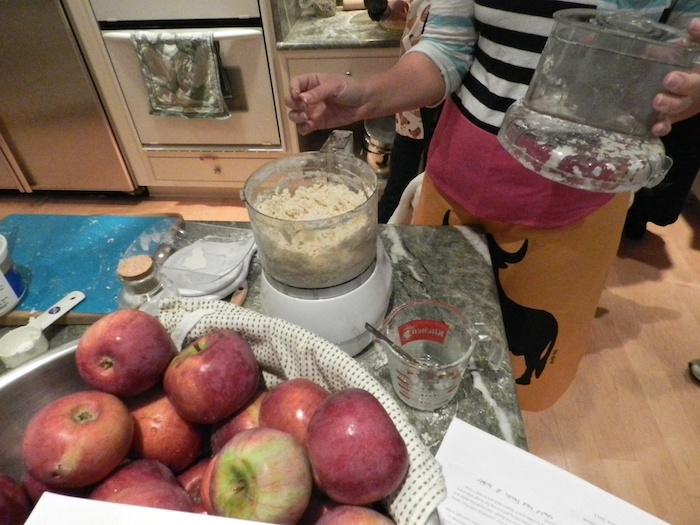
I use a food processor, which can, if overused, make the crust tough. Pulse the butter, flour and salt in the processor until the butter is the size of small peas. Pulse with quick bursts, not letting the machine run for more than a couple of seconds at a time.

Pulse in just enough water (about 6 tablespoons) so that the dough becomes crumbly and barely holds together. I pulse and pour at the same time.

Many pie crust recipes recommend putting the dough in the refrigerator for a half-hour or more. I’ve found that the butter-filled dough becomes too hard to work. By using frozen butter, the dough is chilled but malleable and is ready to be rolled out right away.
Upend it onto a lightly floured counter. Shape into a flat circle with your hands. Use your palms. Avoid poking with your fingers or doing anything that makes the dough sticky. At this stage you want to add as little flour as possible.

Divide this dough in half. Shape each into a circle. Refrigerate the half that you are not immediately working with.
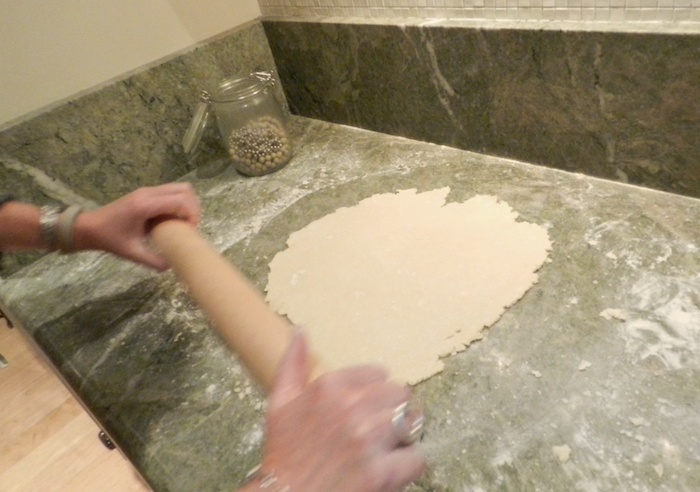
Lightly dust your work area with flour. Shape the dough into a flattened circle. The rolling pin you use can make all the difference in success. Use a long, even pin like the one pictured. My rolling pin has years of butter worked into the wood grain. It is almost nonstick. I put rubber rings on the ends. These help me to make each crust an exact 1/4-inch thick.

Start with your dough in a fat circle and end with a thin circle. To do this, roll from the center out, and after every pass with the rolling pin, pick up and move your dough a few degrees. Roll the pin away from you, never towards you. It’s an outward stroke. Lift the dough frequently, and it will not stick to the counter. Do not try to flatten the dough with brute strength, but instead, roll, roll, roll. If the top gets sticky, pick up the dough and turn it over so that the floured side is now towards the rolling pin. If you have to add flour to the work surface, use only a light dusting.

You will see bits of butter in the crust, but the whole should be smooth and pliable. At this point, the crust can be set into the pie plate.
But, for crusts that I freeze, I want them in perfect circles and so I use a large, 12-inch, tart pan as a cutter.

The bonus is that the edges are prettily fluted.

Don’t reuse the extra dough for another crust – a second rolling will make it overworked and tough. Instead, get out cookie cutters and use the pieces to decorate the pies, or turn them into cookies.

Wrapped well, butter crusts stored in a freezer will stay fresh for a half year. To freeze, place on a cookie sheet, with parchment paper circles between them.

Then wrap tightly and label. To use frozen crusts, take one out of the wrapping and place on a pie plate. As it defrosts, it will sag into place. When it is just soft enough to press into the pan it is ready to use.

NOTE: To prebake a pie shell: Preheat the oven to 375ºF. Lay a piece of tin foil or parchment on the crust and then fill the pie with weights. If you don’t use weights, the center will bubble up and the sides will shrink down. I have ceramic weights designed for this task, but in a pinch you can use uncooked rice or beans. Bake for 12 minutes, remove the weights and foil and continue to bake. If you are filling the crust with pudding, then bake until thoroughly done and lightly brown. If the pie will be cooked further with the filling then bake until only slightly golden.

Making pie crusts is one of those cooking skills that you get better at each time you do it. I enjoy the seeing the transformation from such simple ingredients to a glossy crust. I like the feel of working with the dough. Embrace the process. Don’t expect perfection the first time (or two or three). But, do keep in mind that it’s hard to go wrong with butter and flour. If you make a mess, if you’ve overworked the dough, or added too much flour, roll it out anyway, toss on some grated cheese and make crackers (bake at 400ºF for 15 to 20 minutes). Have fun. Let me know how it goes.
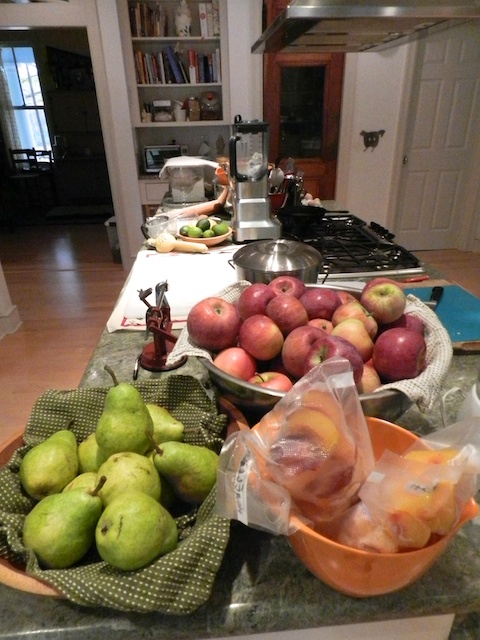
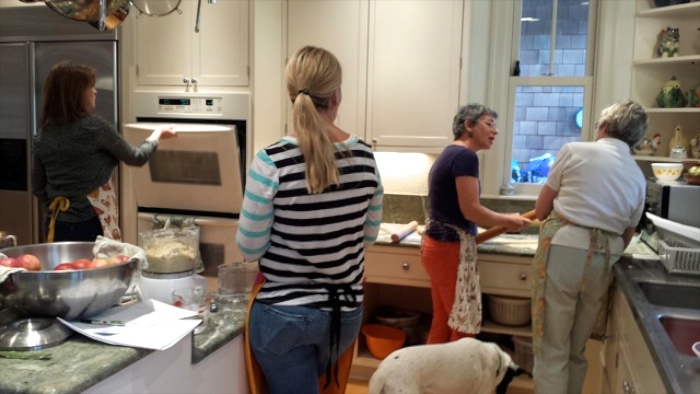
On Saturday, five women spent the the afternoon in my kitchen to learn how to master pie crust. All of the ingredients and tools were ready for their arrival.
We made tea, talked about our favorite pies, and got to work. A lot of flour flew, as can be seen on my shirt (I should have worn a full apron, but couldn’t resist wearing this cute vintage one.)

I taught them how to make dough in the food processor. Handled correctly, with the right proportions of fat and water to flour, this machine can turn out the perfect crust. We looked, we handled, we pressed. With pastry it’s all about knowing when to stop. It takes an experienced eye.
Everyone mixed perfect crust to roll. There’s a technique to it, which they all got good at. I showed them what type of rolling pin works and what doesn’t. The proper tools matter.
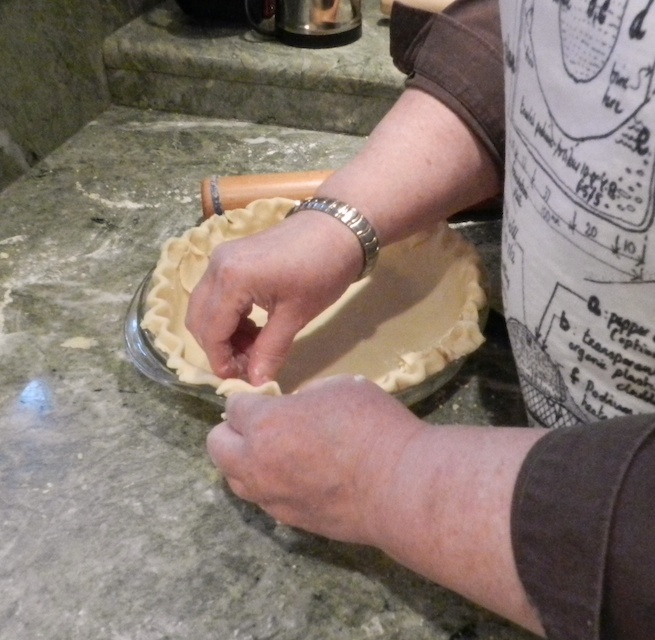
We crimped and fluted.
There was a lot going on. Lily helped to tidy up anything that landed on the floor.
We made pies.
Marcia took home this classic apple. That’s a cinnamon stick in the center – a signature of my (and now her) apple pies.
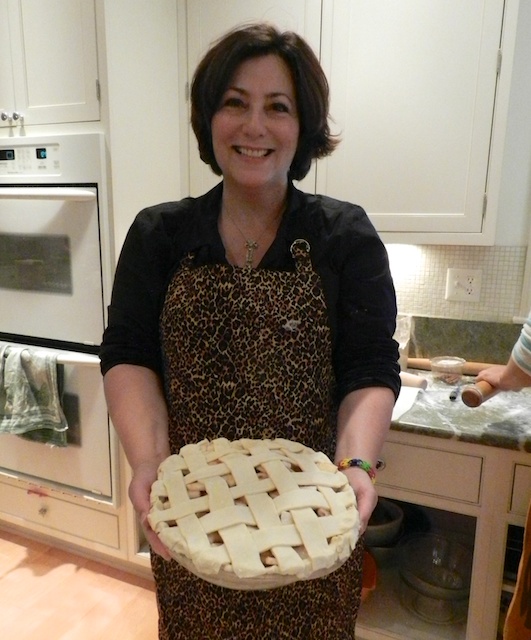
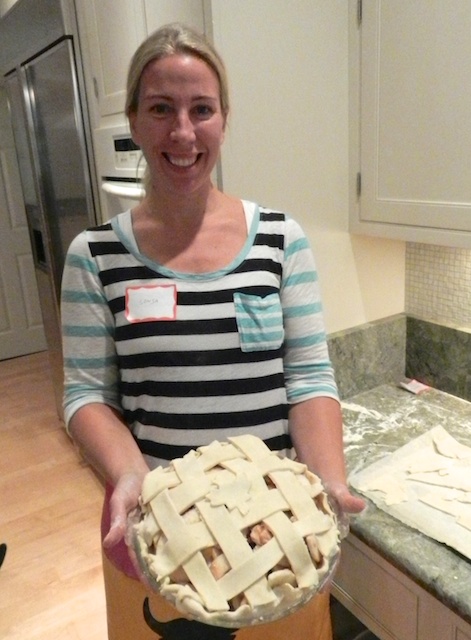
Yemina has always wanted to make a lattice crust, and she did!
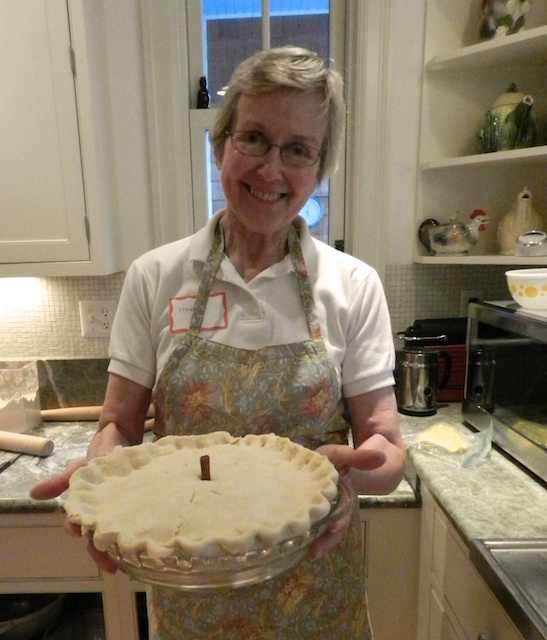
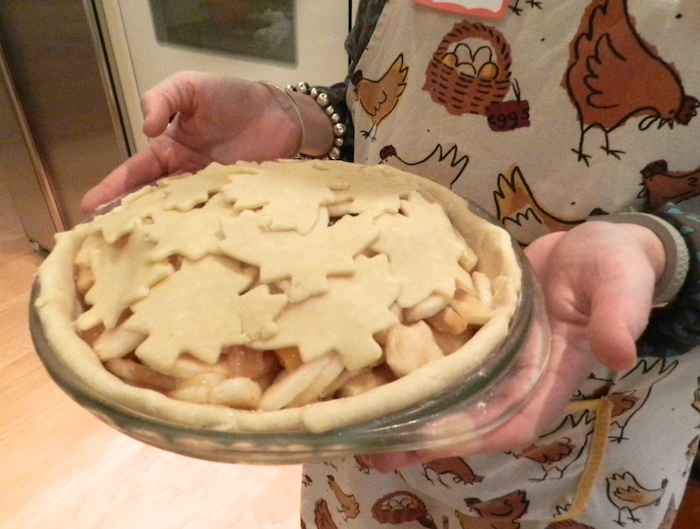
Jane graced her pie with maple leaves. (Of course my students had the best aprons.)
Sonja was inspired by the Yemina’s lattice and Jane’s maple leaves and created this beautiful pie (while telling us about her miniature donkeys which we are all insanely jealous of).
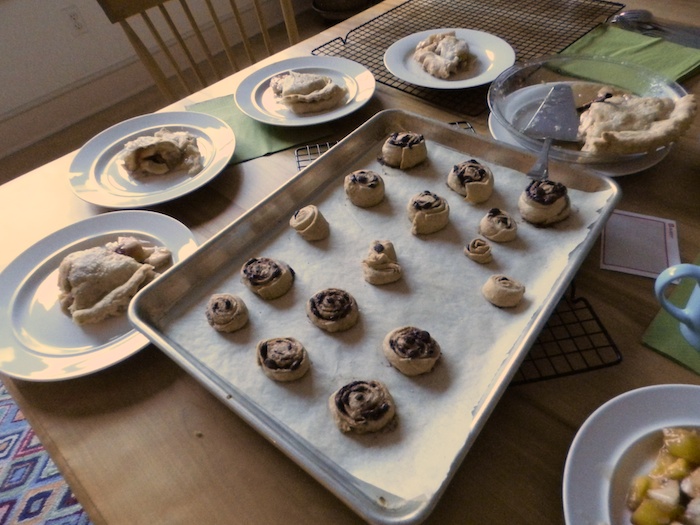
Luckily, there was one crust “failure” and so I was able to make pie crust cookies (cinnamon, sugar and chocolate chips.) We also put together a Meyer Lemon Pie. We were that busy! Finally, we made more tea and sat down to eat.
Everyone went outside to say hello to the goats. Phoebe showed them how fast she can run. The chickens clucked. No one wanted the afternoon to end, and so we agreed that they’ll come back for a bread baking class.
Note: I’ll be posting an apple pie recipe later this week. Watch for it!