I’m taking a few days to spend time with family. I’ll get back to daily blogging next week.

I’m taking a few days to spend time with family. I’ll get back to daily blogging next week.
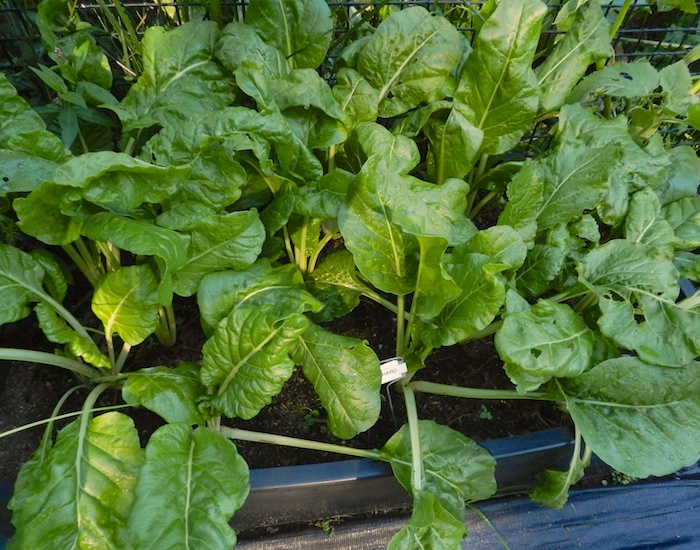
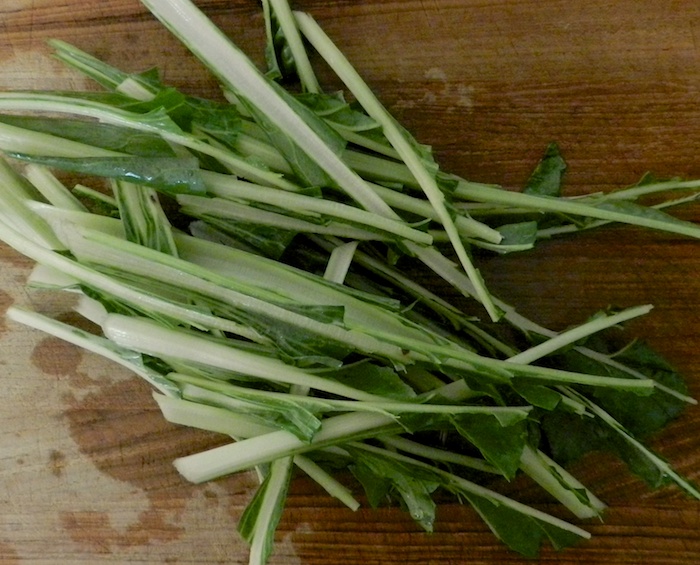
You never know what will be a success in the vegetable garden. This year my bell peppers withered and fell off of the plants. Total fail. But the chard keeps unfurling green, sturdy, and almost unscathed by pests. It requires frequent harvesting.
Before working with it in the kitchen, I give the leaves a quick wash to get the worst of the dirt off.
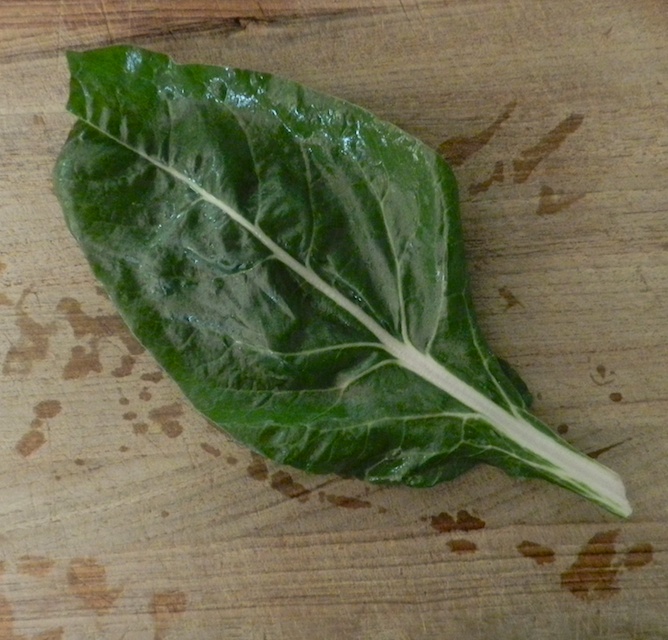
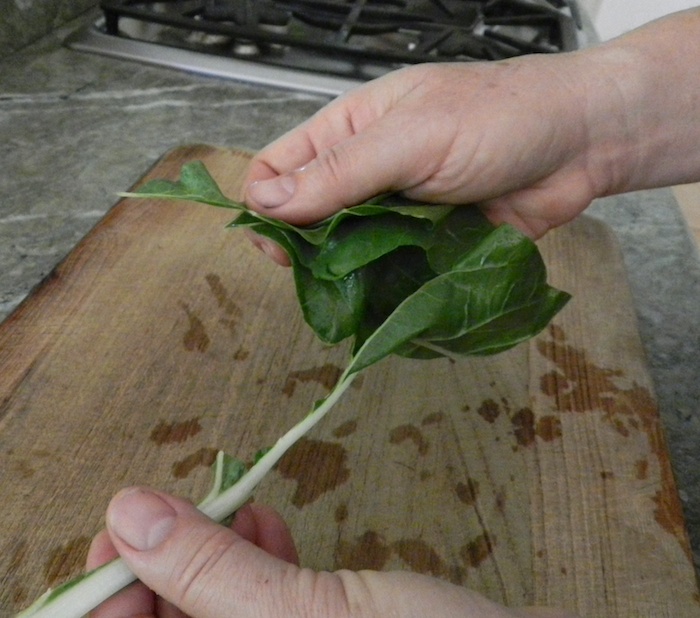
It’s best to cook the ribs and dark parts separately so that the tender leaves don’t turn to mush while waiting for the ribs to soften. The easiest way to separate them is simply to tear the greens off of the rib.

I do this all the way down the plant.
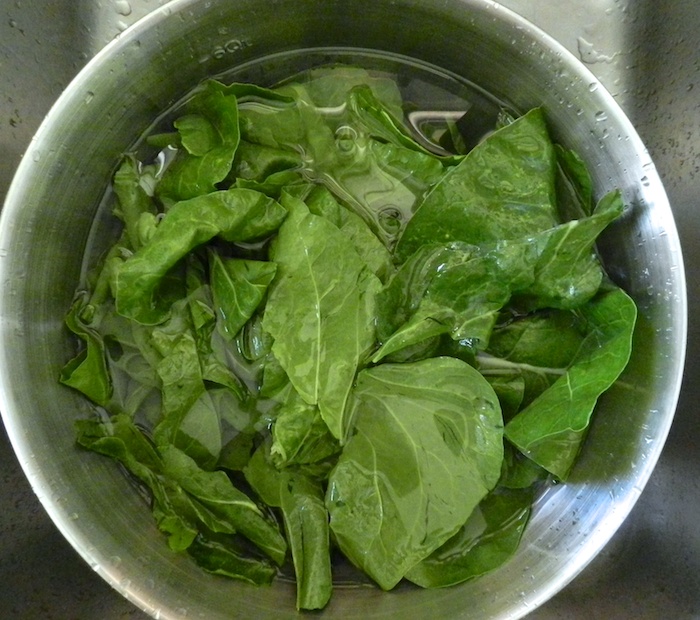
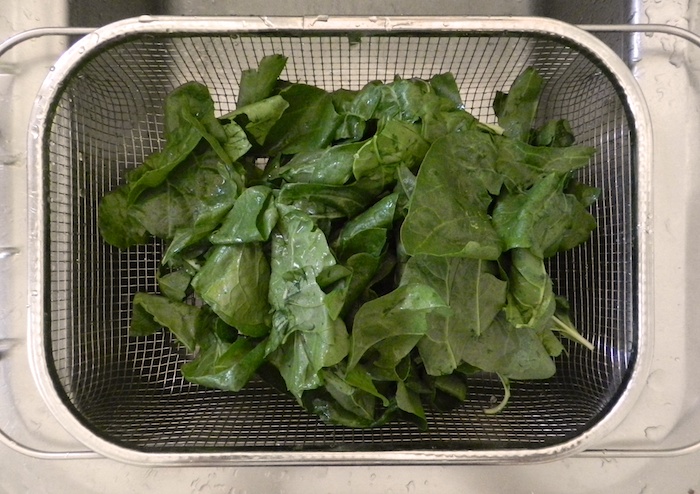
I wash the leafy parts into a bowl of water. Swirl, lift out, change the water. This can take three dunkings before the grit is thoroughly rinsed off.
The ribs are edible, and chopped are a nice addition to vegetable soups. But, I have such an abundance of greens, that in all honesty, I don’t want to bother with them. Luckily, I have goats who love crunching them down, and so Pip and Caper get the ribs. The chickens also devour chard, even the insect-chewed and wilted plants. Only the choicest vegetables go onto my own table.
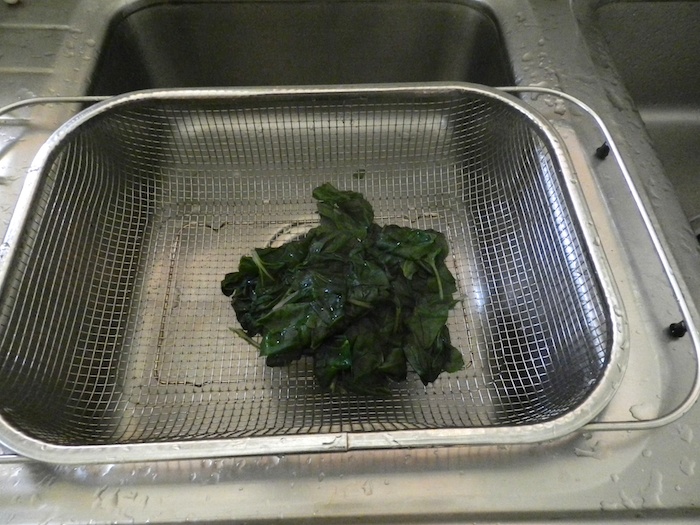
Here they are raw and ready to work with. Greens give off a lot of water when cooked, and so you shouldn’t add them raw to recipes other than soup. These chard leaves were destined to go into a frittata, and also get made into a cold, dressed vegetable side-dish.
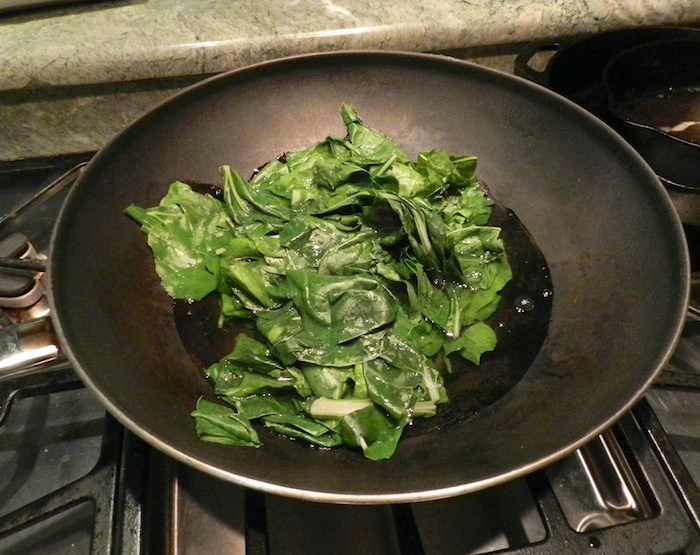
When cooked, greens shrink down to less than a quarter of their volume. So, start them in a big pot. I use a wok with about an inch of boiling water in the bottom. I put in the greens, and, using tongs, turn them over constantly as they shrink and wilt. Here they are after only one minute.
One more minute and they are done.
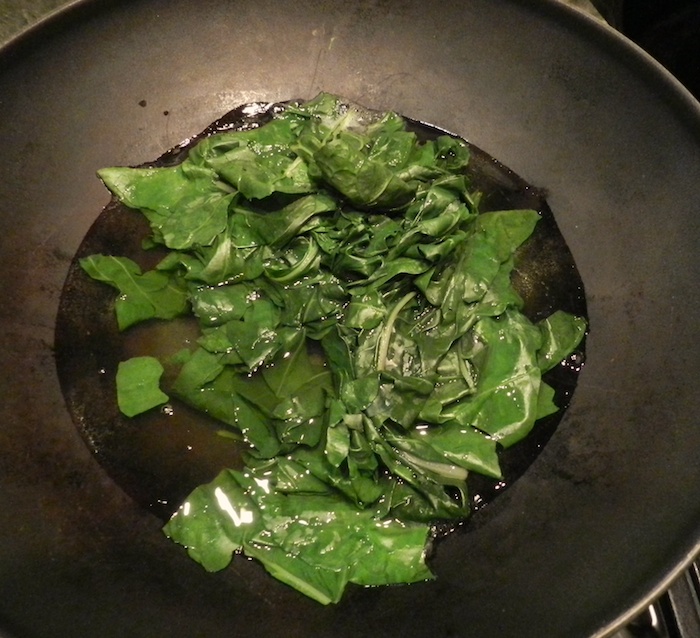
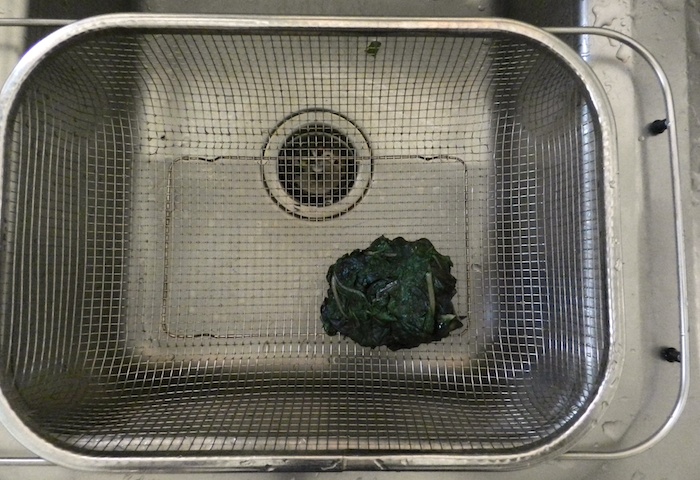
Drain them in a colander.
When cool enough to handle, squeeze out the excess moisture. This is what you end up with. Doesn’t look like much does it? But, you know how many leaves went into this!
Chopped, these cooked chard greens can be added to lasagna, stratas, omelets, or just about anything. You can squeeze on fresh lemon juice and stir with the best extra virgin olive oil that you have, add salt and a bit of red pepper flakes to make a traditional Italian dish. Use dark sesame oil and toasted sesame seeds for an Asian side.
Cooked chard can be frozen. I use a vacuum sealer and it stays fresh until cold weather arrives and I’m ready to make hearty winter soups.
I’ve just planted my fall crop of spinach. I’m hoping that it will be as successful as the chard. But, you never know with gardening.
Twiggy, my white leghorn, is quite the character. She’s a lean, flashy, white and red streak. You might catch sight of her in the nesting box – briefly – while she lays. Right after, though, she jumps up. stands in the pop door, loudly announces her achievement and goes back to zipping around the yard. Her vivacious personality would be enough to convince me to keep her around, but a hundred years ago, farmers switched to white leghorns because of how many eggs they laid.
Imagine going from keeping utility birds, that laid 100 eggs per year, to this.
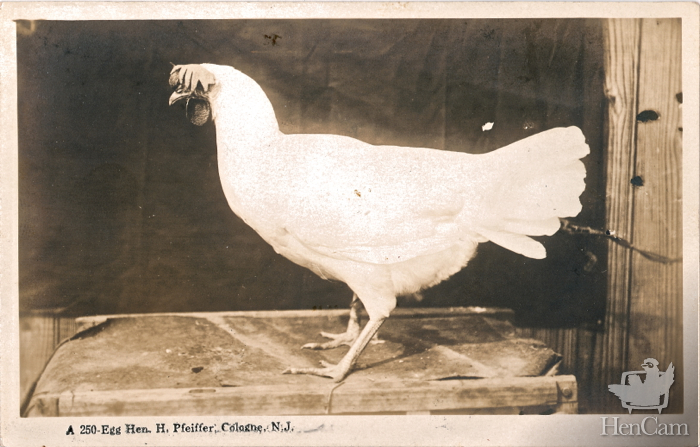
All of a sudden, instead of chickens being animals that ate scratch and occasionally brought in a little money, a farmer could make a living off of a flock. He or she (and yes, there were many women poultry farmers) could specialize. With little land, and a minimal investment, a person could start an egg farm. This photo was taken in the 1920s when people had hen fever.
For awhile it seemed as if keeping leghorns on pasture was a way to the good life. Soon enough, though, the economic landscape changed, and refrigeration, trucking, antibiotics and caged systems altered everything. Fortunately, the white leghorn did not disappear. Mine doesn’t provide a livelihood, but she is supplying the eggs for a frittata for dinner tonight, which is a good life for both of us.
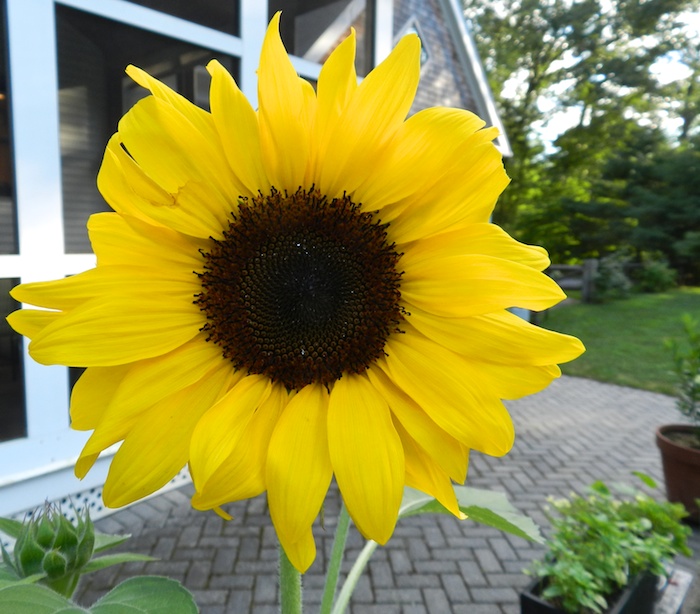
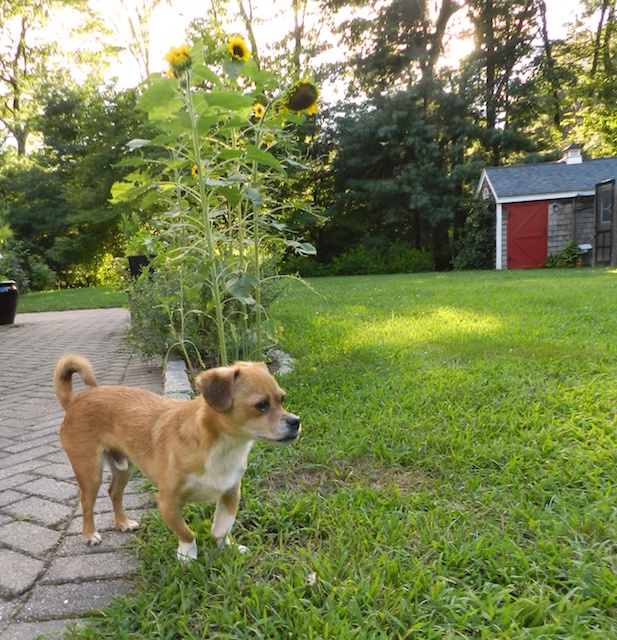
Every year I plant sunflowers in my herb bed. Big, bold, late-summer blooms are so cheering.
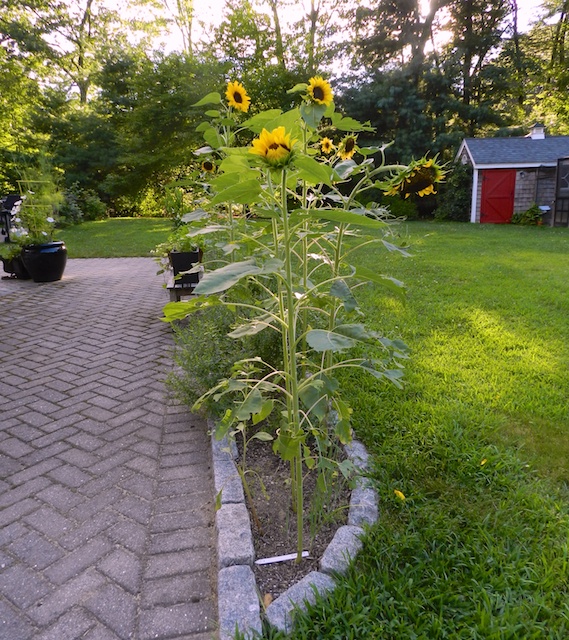
Almost every night we eat dinner on the screened porch and so I plant a mid-height sunflower, that has substance (I’m not fond of dwarf varieties) but that won’t block the view. This year, when purchasing seed packets, I realized that I needed to add a criteria other than size and color to my selection process. Because sunflowers are now popular as cut flowers, many of the varieties are pollen-free hybrids. That means that the blooms won’t leave a dusty mess around the vase, and the centers will be a perfect black.
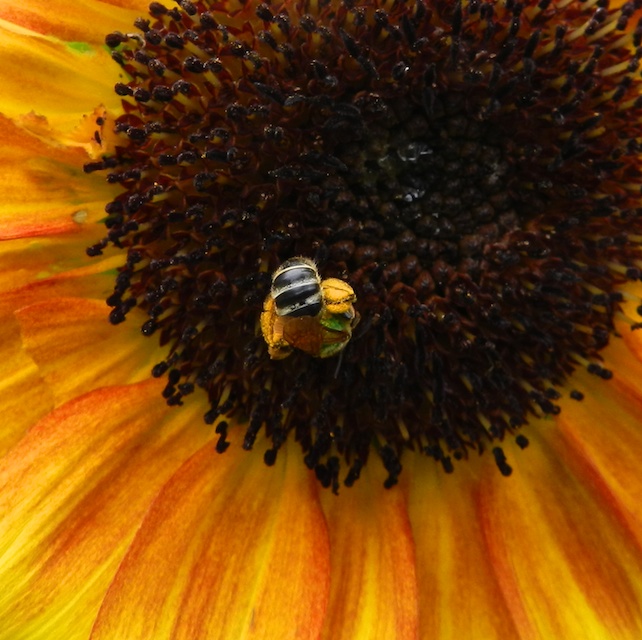
But, no pollen means no bees, and I like seeing their fuzzy legs covered in gold.
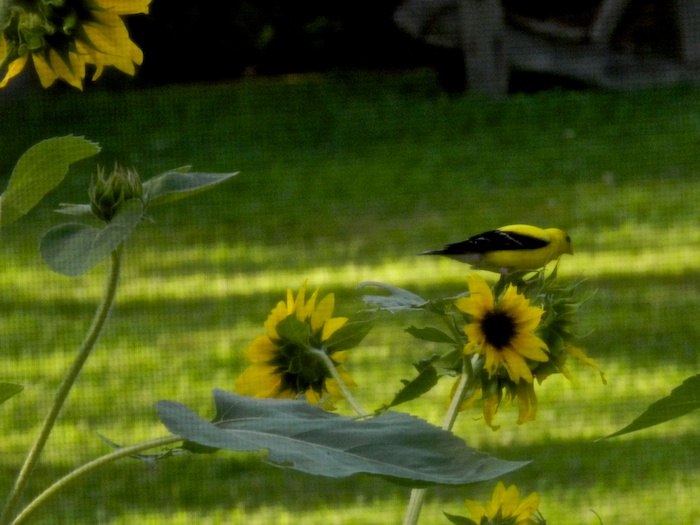
And no pollen means no seeds for the goldfinches to eat.
Although my sunflowers start out beautiful,
they don’t stay that way for long. Sustaining the local creatures takes it’s toll.
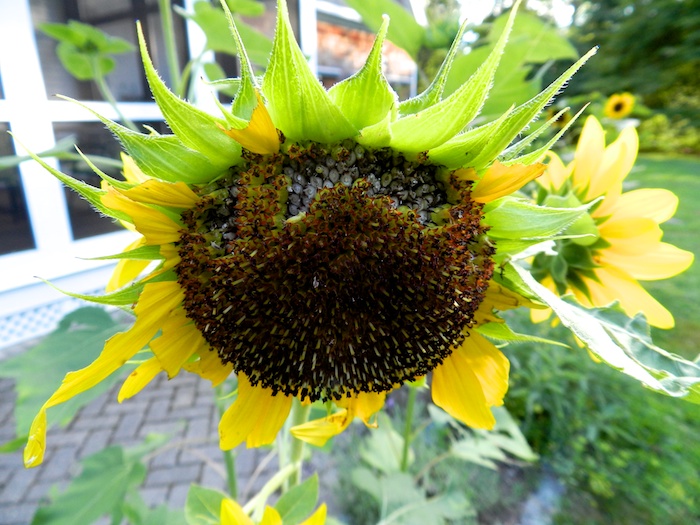
In the large scheme of garden design, raggedy edges don’t matter. Besides, all you need are adorable garden ornaments to distract from the imperfections.
If you’ve been following this blog for any length of time you know that I like my barns clean and tidy. I keep them swept. Feed is stored in labeled galvanized cans. Bedding is skipped out daily. But, caring for animals is innately dirty and messy. There’s manure, feathers and fur, spilled feed, uneaten treats and dust. Gardens produce weeds and rotten things. Despite my tendencies towards neatness, that’s fine with me, too. I’ve figured out a system that keeps all of that detritus in check, and even turns it into a positive part of animal keeping and gardening.
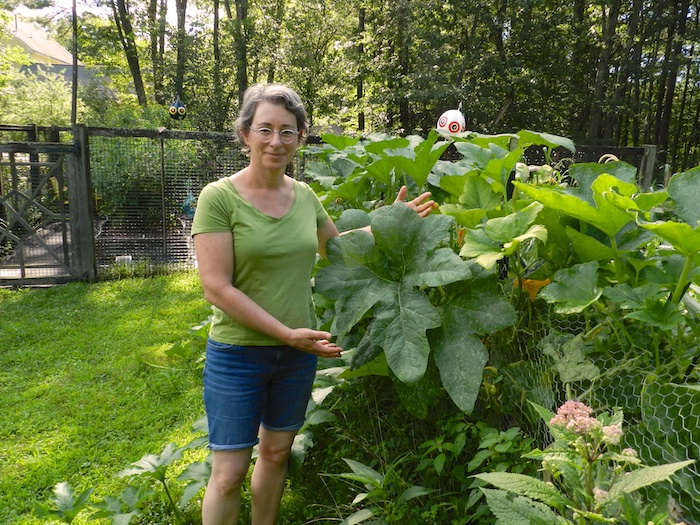
I have compost piles in the chicken pens. This takes care of anything that is even potentially edible by the hens, and some stuff that is not, but that they will shred and turn into lovely dirt. I have bins set aside near the vegetable garden for the chicken manure (keeping this separate breaks the parasite cycle.) These two areas for compost take all of the waste, and with little effort, have provided me with glorious dirt that I’ve used in my gardens. That’s why my pumpkin patch looks like this.
But after giving the Big Barn a thorough cleaning after last month’s bout with respiratory disease, I ran out of room in the compost bins. At the same time, I realized that there were some things, like moldy bread, that I didn’t have a compost area for. I saw exactly what I wanted in a gardening catalog, but it would have cost around $150; instead of spending the money, I put my teenage son (who happens to like using power tools) to work.
With a few pieces of scrap wood and a new roll of hardware cloth he made this compost bin. I sited it out of sight, but in an easy to access spot between the asparagus bed and the chicken run.

It is 30-inches square. The dogs can’t get in, but the earthworms can. It has a hinged lid with a rod to keep it propped up (how clever is that, much nicer than the one in the catalog!)
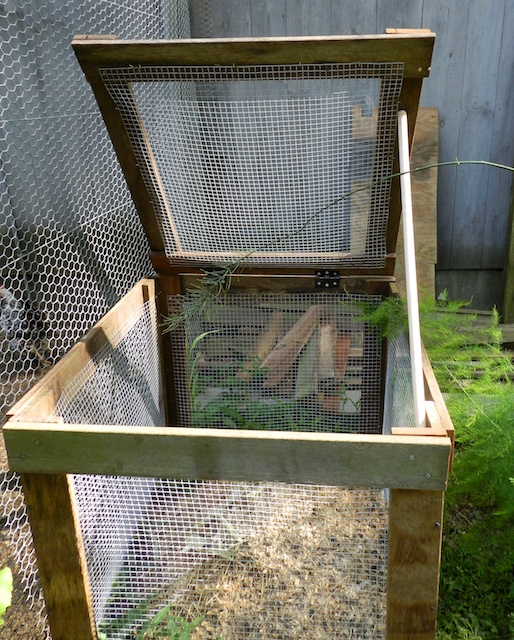
I’d say that it’s the perfect compost bin.