Baked Beets

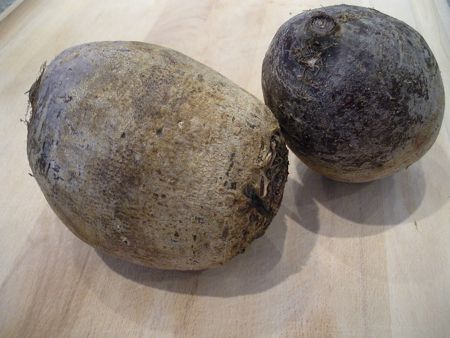
Here are beets bought at a farmers’ market.

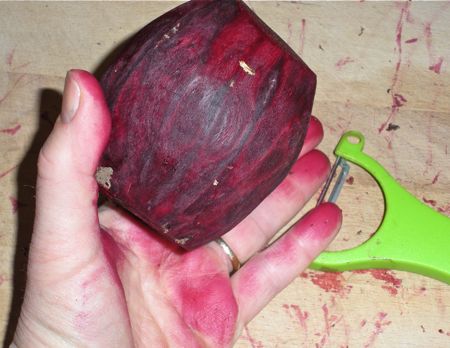
Typical of a root vegetable, they’re a bit gnarly and off-putting. But beets are actually not difficult to prepare. Some people bake them, and then slip the skins off, but I find that peeling them first is easier. Any way you do it, the’ll dye your hands bright red. It wears off in a day, but I usually wear disposable gloves when I work with beets.

Isn’t this beet looking prettier already? I love the color.

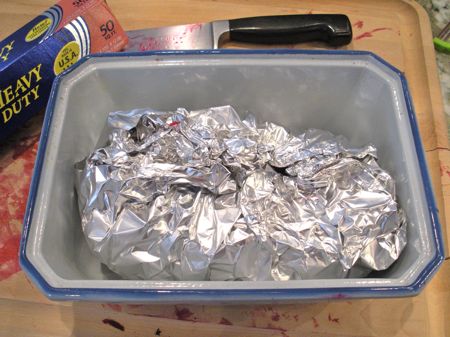
I’m going to make baked beets, so I chop them and put them in a heavy baking dish. To ease clean-up, I enclose them in heavy foil. These are juicy beets, but I add two tablespoons of water anyway, to ensure that they steam as they bake.

Put the dish in a 350º F oven for 90 minutes.

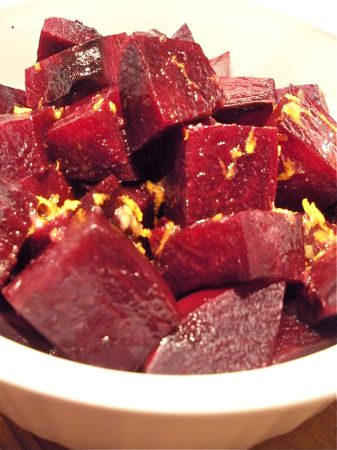
I like to eat plain baked beets right out of the oven – they’re like vegetable candy. I like them chilled atop a green salad. I also like to dress them and eat as a side-dish. Beets pair particularly well with citrus.

Baked Beets with Orange Dressing

1 pound baked beets, peeled and cubed
2 tablespoons fresh-squeezed orange juice
1 tablespoon extra-virgin olive oil
1 teaspoon grated orange zest (only if using an organic orange)
1/4 teaspoon salt (or to taste)

Whisk the dressing and toss with the beets.

Apple Bread Pudding

What’s for dinner? There’s not much in the house. The refrigerator is almost empty. There are basic ingredients in the freezer, but well, there’re all frozen.

I have two-thirds of a loaf of homemade bread a day past its prime.

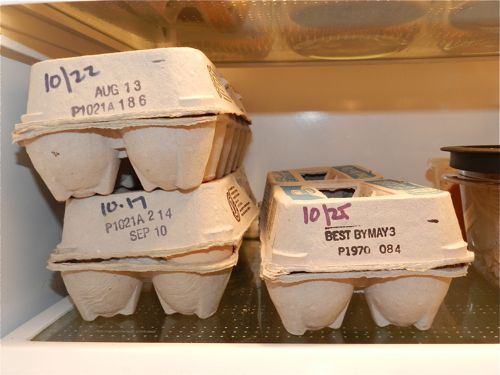
Thanks to the Gems, there are eggs.

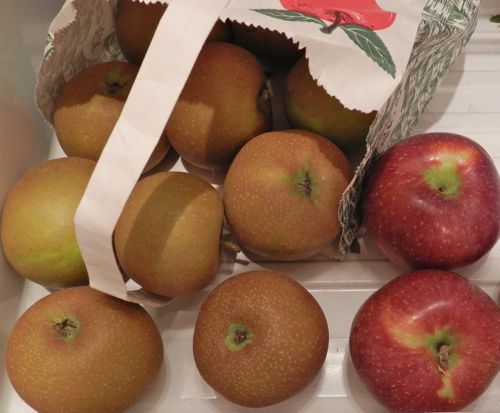
There are a few apples left from our visit to an orchard three weeks ago.

I’ll make a bread pudding, which is a fall-back recipe that everyone should have in their repertoire. This is what to do:

Cut the bread into cubes. If I toast them until dry the bread will hold it’s shape while baking. But, I like a soft custardy-custard, so I’m not going to bother with that step.

I put the batter ingredients into a mixing bowl and whisk together. The basic proportions are: 3 cups of milk, 1/2 cup sweetener, 6 eggs, 1/2 teaspoon of salt.

I use 1% milk. I actually like bread pudding made with lowfat dairy – cream is too heavy for my taste. For sweetener I combined honey and brown sugar, but this is flexible depending on the fruits used. Other times I might use sugar and maple syrup, or all white sugar. For Apple Bread Pudding, I’ll stir in a half-teaspoon of vanilla, too.

I get out 4 apples. I use my nifty hand-cranked gadget that, in a few turns of the handle, peels, cores and slices. I toss the apples in with the bread and add a handful of plump organic raisins. It all goes into a ceramic casserole. I pour the custard on top and press down so that the bread cubes are immersed in the batter. Let this sit so that the bread absorbs the egg mixture. Preheat the oven to 350ºF while the pudding rests.

While waiting for the oven to warm up, I take the apple peels out to the goats. My gadget makes long strands, which the goats like to slurp like spaghetti. This might be the best part of making Apple Bread Pudding. Notice Caper’s tail wagging with happiness.

Dust the pudding with cinnamon. Bake for about 45 minutes until the top begins to brown a bit and the custard is set. Lowfat milk batters are a tad watery and will take longer than if you use whole milk or cream. When you press on the surface you shouldn’t see any liquid ooze out. It should feel bouncy.

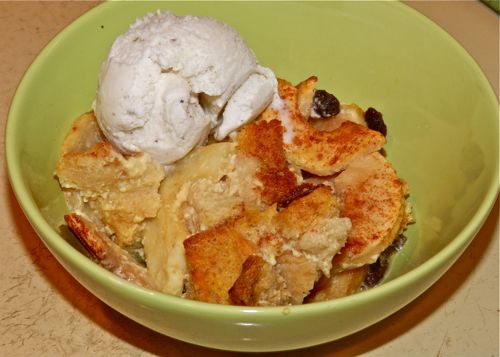
I’ve been reading diaries kept by a New York state farm family back at the turn of the last century. Supper was often what we’d consider dessert. They sometimes ate cream and berries for their evening meal, or had shortcake, or pancakes. This recipe, filled with eggs, which were precious back then, would have been an extravagance. But, they did love their ice cream, so I’ll have some, too.

Leave out the sugar, add cheese, and you’ll have a savory dinner, sometimes called a “strata.” No doubt I’ll be scrounging around the in the kitchen soon, thinking there’s nothing in the house to make for supper, when I spy the eggs and the bread and know that something easy to make and delicious is right there in front of me.

No Knead Bread

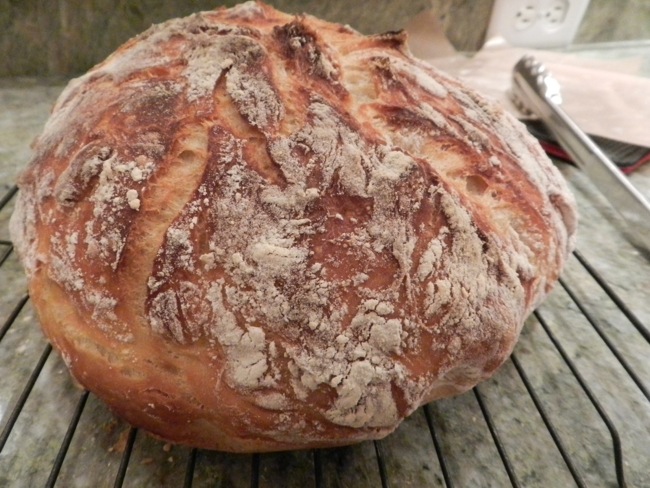
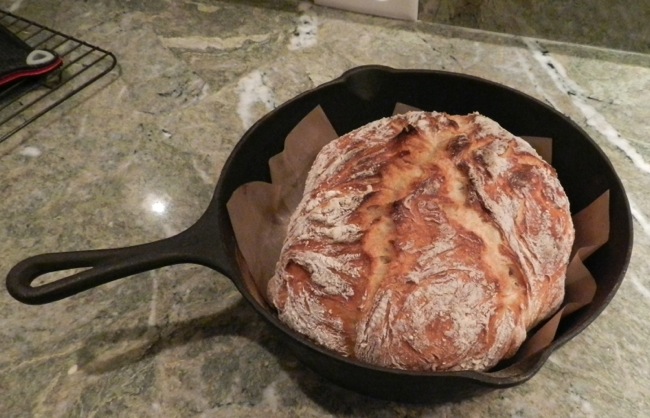
A loaf of bread that looks like this

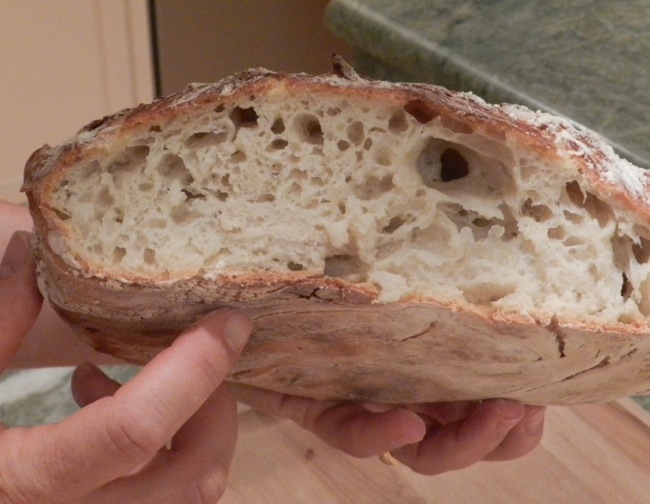
can either be an expensive splurge from a bakery (if you can find it, as the “artisan” loaves at the supermarket are usually pale knock-offs) or you can make it for under a dollar a home. All you need is five basic ingredients and fearlessness. Yes, sometimes baking takes bravery, and this bread requires handling heavy and dangerously hot cast iron. It also requires a quick, surety in handling. That said, once you get the feel for the technique, you’ll find it fun and rewarding to make.

Back in 2006, Mark Bittman, the New York Times food writer, posted baker Jim Lahey’s No Knead Bread recipe and it went viral. Since then there have been many variations. What follows is mine.

2 cups                      bread flour (this has a higher protein then all-purpose, but all-purpose will do if that’s all that’s available)
1 cup                        whole wheat flour (or you can use all white)
1/2 teaspoon           instant yeast (this is different than the regular yeast. I use saf-instant)
1 1/2 teaspoons     salt (I use bread salt from King Arthur)
2 cups                      water

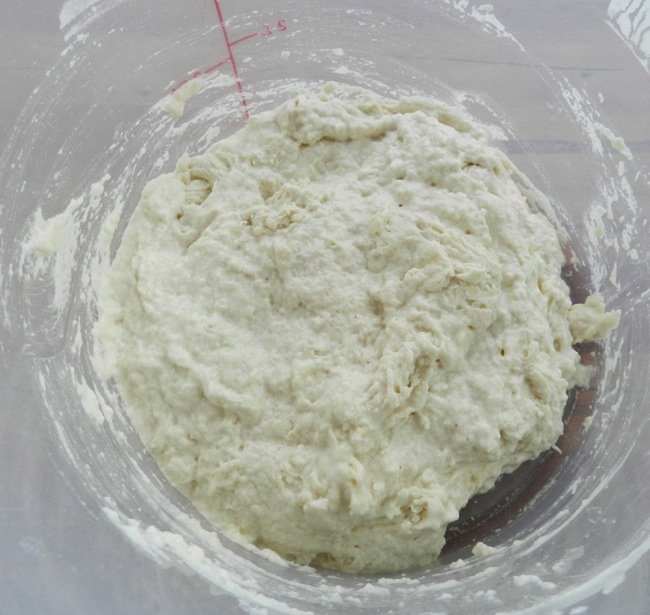
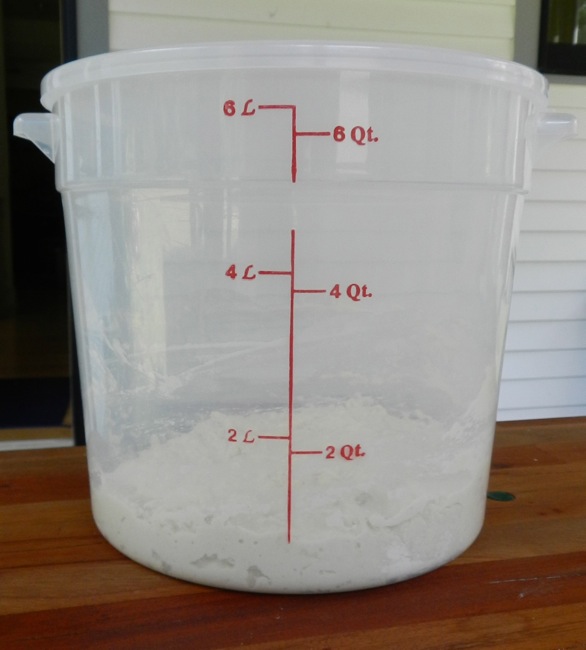
Stir the dry ingredients to evenly disperse the salt and yeast, and then pour in the water. Stir until well combined. It will be wet and has more in common with a sourdough starter than a regular homemade bread dough.

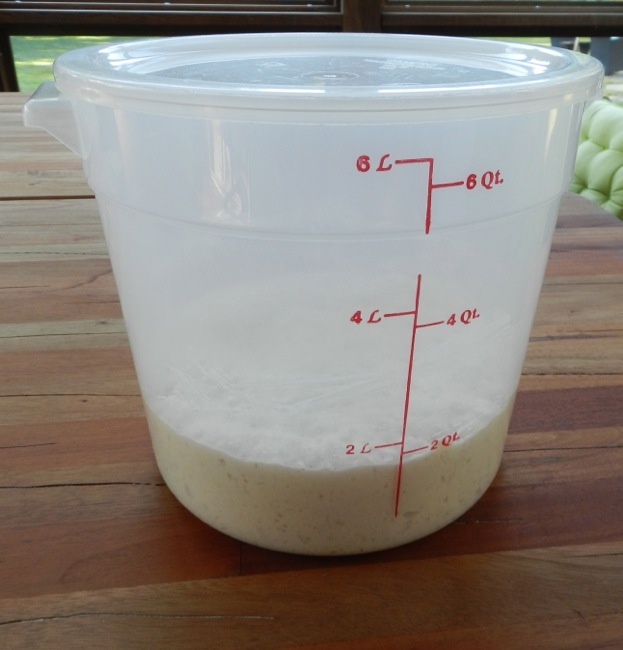
I do the mixing and the raising in a plastic bucket with a lid and marked measurements. The lid keeps the dough moist and I can clearly see when the dough is “doubled in bulk” (one of those admonishments you never know if you have right!)

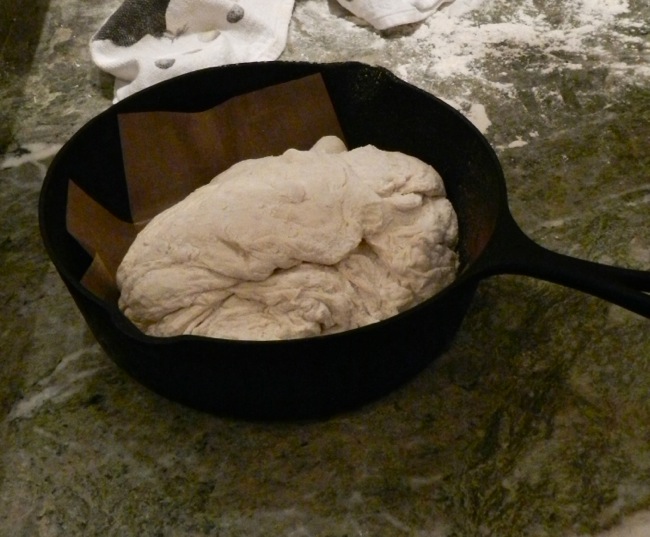
It starts out looking like this:

Let it rise. Many of these no-knead recipes say to let rise for a full twenty-four hours, and yes, you’ll get more of a sourdough flavor. But on a warm day I start it in the morning and bake it off for dinner. But, don’t rush it. The first rise needs to be at least four hours.

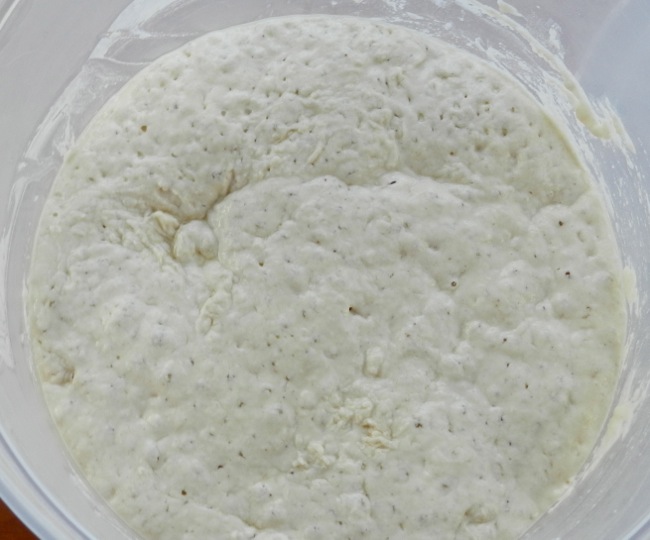
It’s ready for the next step when it doubles,

and looks like this:

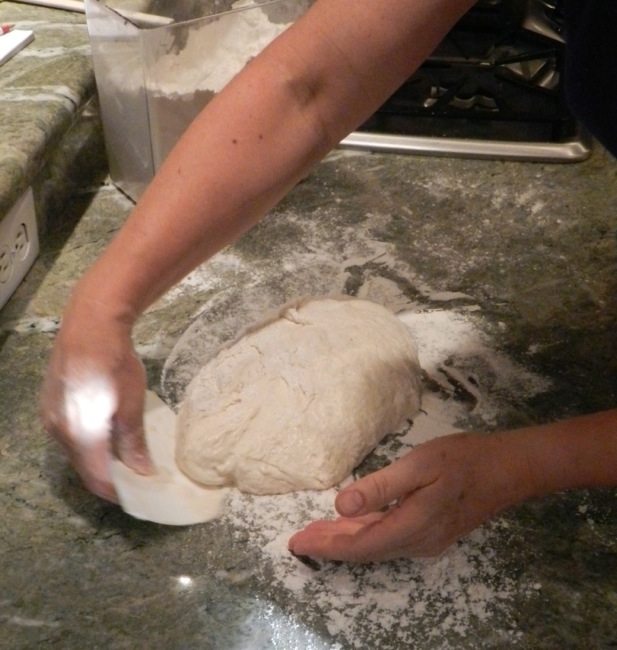
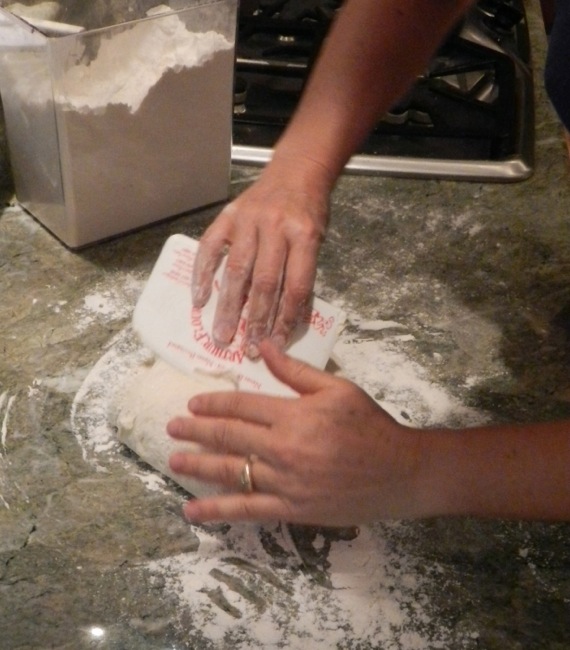
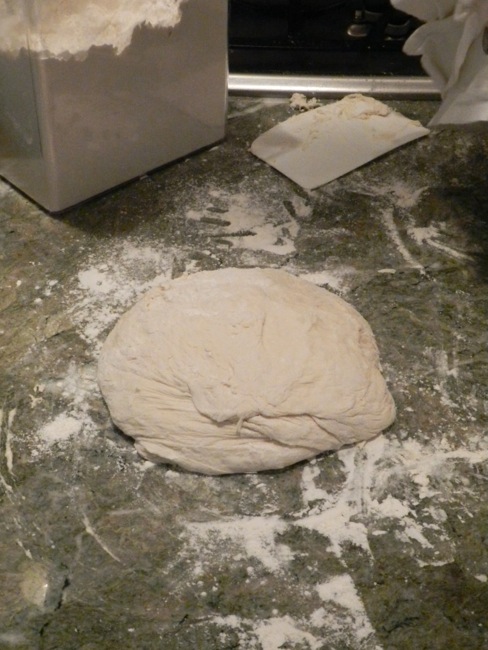
Generously flour a board or your countertop. Using a dough scraper, turn the sticky mass onto the work surface. Handle as lightly as possible, dusting with flour now and again to keep it from sticking to the board and your hands, while folding it over until it has some semblance of a round.

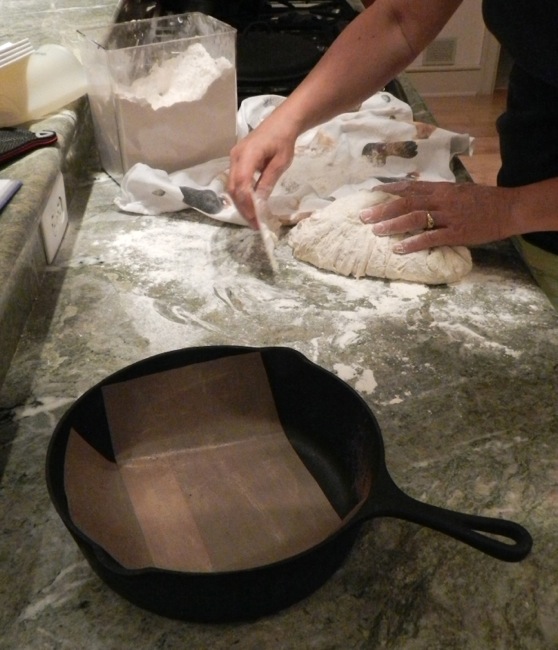
Dust with flour and cover with a linen towel that has also been dusted with flour (nothing worse than uncovering it later and having half of it stuck to the towel.)

Let rise an hour or two, until it looks more like a typical dough. It will be springy and still wet, but should have some shape.

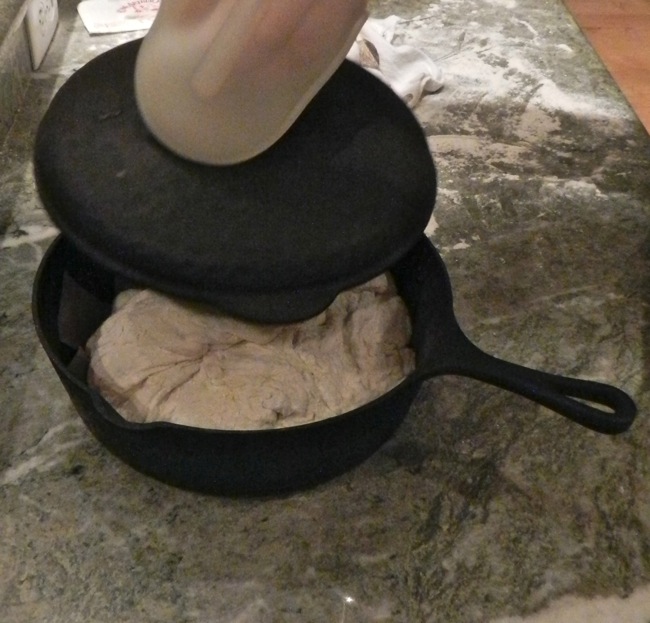
Meanwhile, get out your heavy, lidded pot. I use a vintage, cast iron one. The reason that this bread ends up so beautifully chewy and crusty is because for the first half of the cooking it steams while it bakes at a high temp. Cast iron is ideal for this. The pot shouldn’t be more than 10 inches in diameter; too much width and the bread will flatten like a focaccia. Put the pot into a 450 degree F oven and preheat the pot for 30 minutes. Remove it from the oven VERY CAREFULLY. It’s heavy, awkward and dangerously hot.

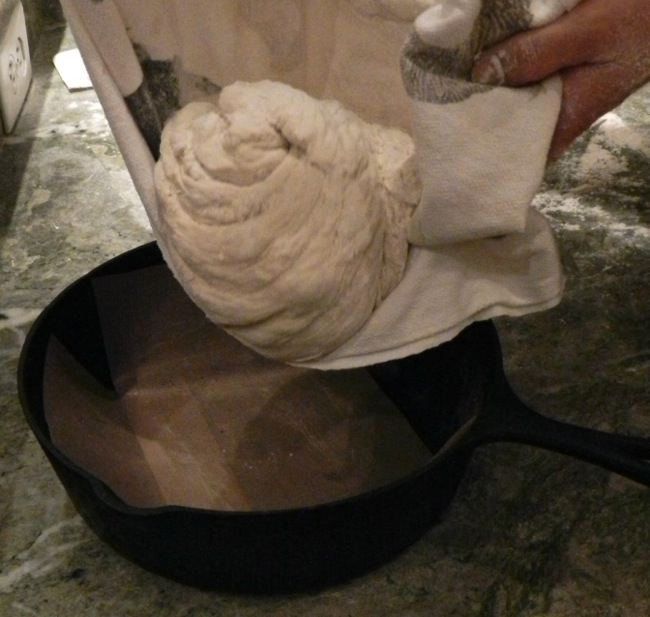
Once again, dust the towel generously. Using the dough scraper, lift the dough onto the linen, and then roll it off and into the pot. Although the bread shouldn’t stick, once in awhile it will, so I use non-stick baking liner that I cut into a strip to fit the bottom of the pot. This also works as a convenient tab when removing the bread from the pot.

It will look rough with some dustings of dry flour. That’s good.

Cover and bake for 25 minutes.

Then, reduce the oven temperature to 350 and remove the lid WITH CAUTION as it is very, very hot. Set the lid down somewhere safe, like your cooktop. Continue to bake for about 30 minutes until the bread develops a browned crust. Remove from the oven with two sets of oven mitts.

Turn out the bread and let cool on a wire rack.

Enjoy!

How To Make Applesauce

Making applesauce is ridiculously easy. It’s so easy that at first I thought I wouldn’t bother showing you how I do it. But then I thought that it’s one of those things that if you haven’t ever done it, you might not know how.

You’ll need apples. If, like me, you live near orchards and it’s apple picking season, you’ll have your choice of varieties. Cortlands, romes, macouns, jonagolds and mactintosh. Some are tart, some are sweet, some are for baking, and some are for eating out of hand, but all are good for sauce. The only ones I don’t use are the delicious, which I find are not at all like their name, but are too sweet and often mealy.

Give them a good rinse under running water. Quarter and remove the cores. I use a paring knife for this, but if you have a favorite coring tool, use it. Put the apples in a large, heavy pot. Add one cinnamon stick. Pour in just enough water to cover the bottom by a scant quarter-inch. Turn the heat on low and cover.
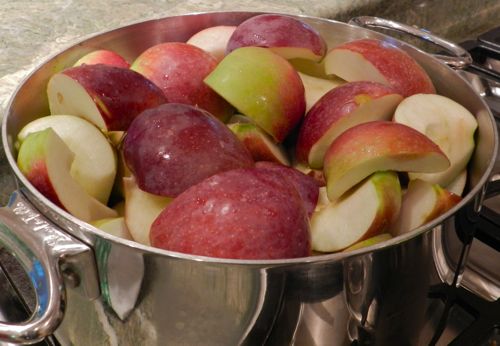
You might wonder why we food writers love to say, “put in a heavy pot.” The answer is that a pot with a thin bottom conducts heat unevenly, often warps, and slow, long-simmered recipes will scorch.

Cook, stirring occasionally, until all is soft, which takes about one hour when on very low heat. Apples vary in juiciness. If the sauce sticks to the pot before becoming soft, add a touch more water.

The next step requires a food mill, which is a handy device which squeezes the fruit through fine holes and separates it from the skin.
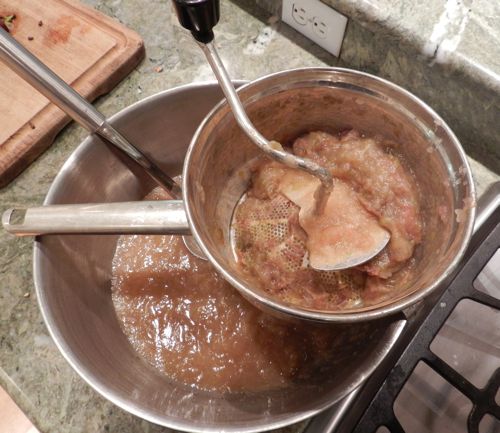
I cook the apples with the skin on for a couple of reasons. First of all, I don’t have to peel them, which saves a lot of time. Secondly, the red peel contributes a cheery color to the sauce. This year’s apples were so ripe, moist and thin-skinned that much of it went right through the fine mesh, adding even more color and flavor. If you don’t have a food mill, you can start with peeled apples and can skip this step.

That’s it! Adding sugar is unnecessary (in fact, when I see commercial applesauce with added sweeteners it makes me wonder about the quality of the apples). Applesauce stays fresh in the refrigerator for a week, or you can freeze it to have on hand all year until next apple season.

If you have chickens, there’s one more step to making applesauce.

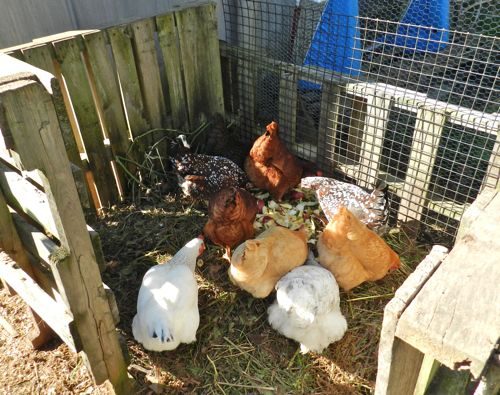
You’ll have a bucket full of cores. Take it out to the girls.
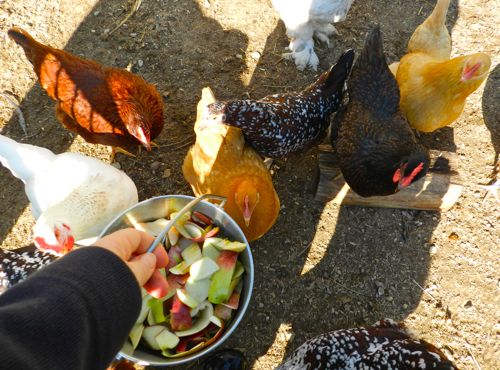
Put it in their compost area and listen to their appreciative clucks.
If you have goats, they might like apples, too. Or, not. Caper turns up his nose at the peels, but Pip loves them.

Cooling Cucumber Salad

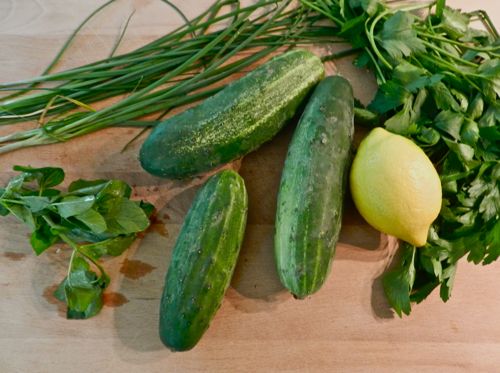
Often my recipes are inspired by what I have on hand.These are items that I usually have in the summer: Cucumbers, mint, parsley and chives from my garden, and a lemon from the market.

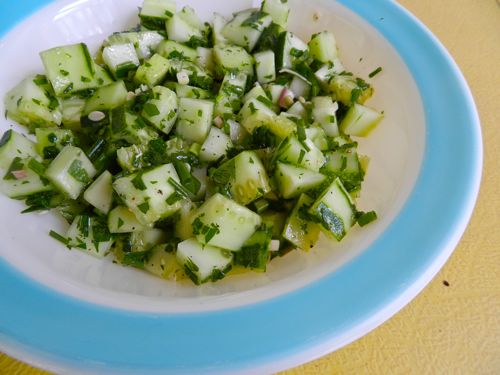
I partially peeled the cukes and then cubed them. Washed the herbs well, dried in a salad spinner, minced, and tossed them in. Squeezed the lemon and strained out the seeds over a measuring cup. A lemon usually yields about a quarter cup of juice, but it varies. I checked how much I had, then poured in good extra virgin olive oil to not quite match that amount.  Salt, pepper, whisk, toss.

Make it a main dish by adding feta cheese. Or, serve as a side dish. It goes nicely with salmon and egg salad sandwiches. (One can salmon, one large hard-cooked egg, mayo, pickle relish. Mash.)  It’s a summer menu that doesn’t heat up the kitchen.