Perfect Pie Crust to Use or Freeze

I like to keep homemade crusts on hand. I never know when I’ll have the urge to make a tart or a quiche or a chocolate pie. So, over the years I’ve perfected an all-butter crust that I can use immediately or freeze. Here is how I do it:

There are four basic ingredients. Flour. (I use unbleached, all-purpose King Arthur flour. If you can find it, white pastry flour is even better and will make a softer crust.) Frozen unsalted butter. Kosher salt. Ice water.

Each 2-crust recipe uses: 2 cups of flour, 1/2 teaspoon salt, 1 1/2 sticks butter (6 ounces) and some water.

When you scoop flour into a cup, it can be compacted or loose, and your measurement inaccurate. For consistency I use a digital scale (10 oz = 2 cups flour). An added benefit is that weighing speeds the process (no fluffing the flour necessary)

Cut the butter into cubes. It should be frozen solid, so use your best chefs knife. If you find it too difficult to cut frozen butter, cut chilled butter into cubes and then freeze. Blending this dough with frozen butter is the key.

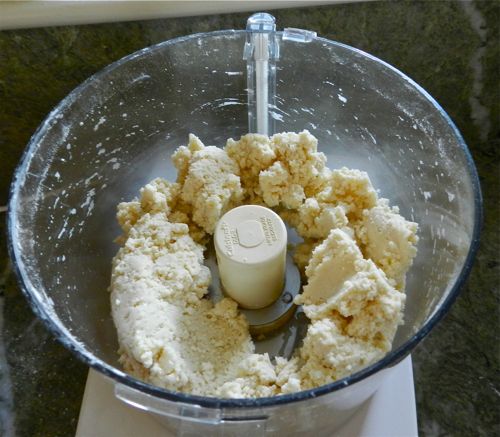
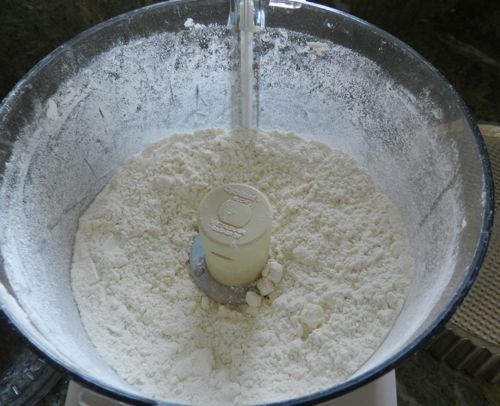
I use a food processor, which can, if overused, make the crust tough. Pulse the butter, flour and salt in the processor until the butter is the size of small peas. Pulse with quick bursts, not letting the machine run for more than a couple of seconds at a time.

Pulse in just enough water (about 6 tablespoons) so that the dough becomes crumbly and barely holds together. I pulse and pour at the same time.

Many pie crust recipes recommend putting the dough in the refrigerator for a half-hour or more. I’ve found that the butter-filled dough becomes too hard to work. By using frozen butter, the dough is chilled but malleable and is ready to be rolled out right away.

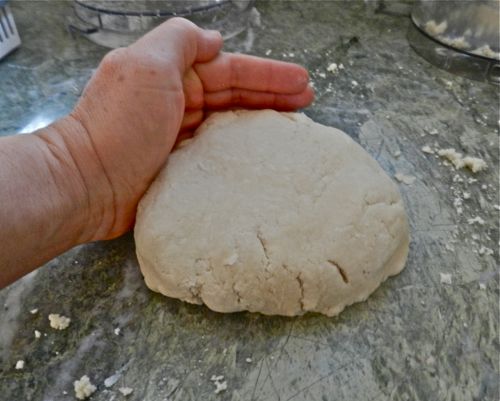
Upend it onto a lightly floured counter. Shape into a flat circle with your hands. Use your palms. Avoid poking with your fingers or doing anything that makes the dough sticky. At this stage you want to add as little flour as possible.

Divide this dough in half. Shape each into a circle. Refrigerate the half that you are not immediately working with.

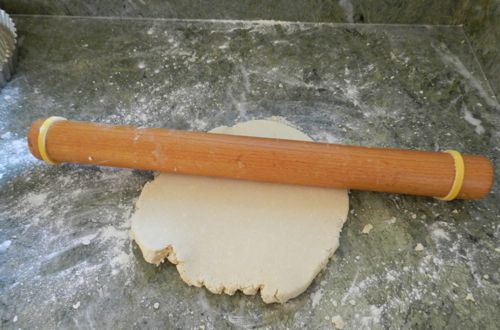
Lightly dust your work area with flour. Shape the dough into a flattened circle. The rolling pin you use can make all the difference in success. Use a long, even pin like the one pictured. My rolling pin has years of butter worked into the wood grain. It is almost nonstick. I put rubber rings on the ends. These help me to make each crust an exact 1/4-inch thick.

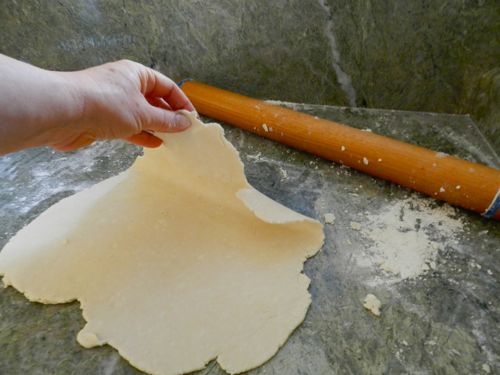
Start with your dough in a fat circle and end with a thin circle. To do this, roll from the center out, and after every pass with the rolling pin, pick up and move your dough a few degrees. Roll the pin away from you, never towards you. It’s an outward stroke. Lift the dough frequently, and it will not stick to the counter. Do not try to flatten the dough with brute strength, but instead, roll, roll, roll. If the top gets sticky, pick up the dough and turn it over so that the floured side is now towards the rolling pin. If you have to add flour to the work surface, use only a light dusting.

You will see bits of butter in the crust, but the whole should be smooth and pliable. At this point, the crust can be set into the pie plate.

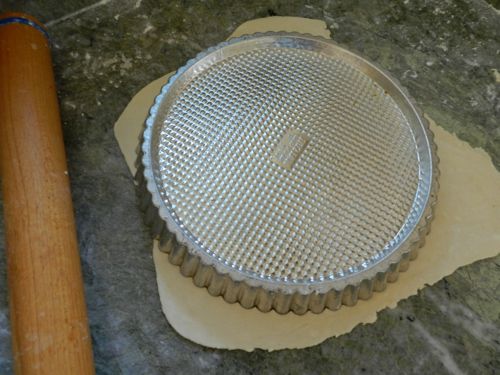
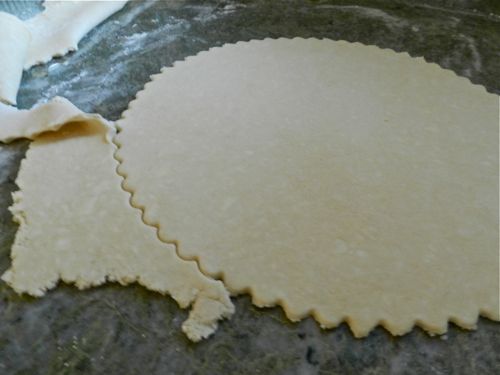
But, for crusts that I freeze, I want them in perfect circles and so I use a large, 12-inch, tart pan as a cutter.

The bonus is that the edges are prettily fluted.

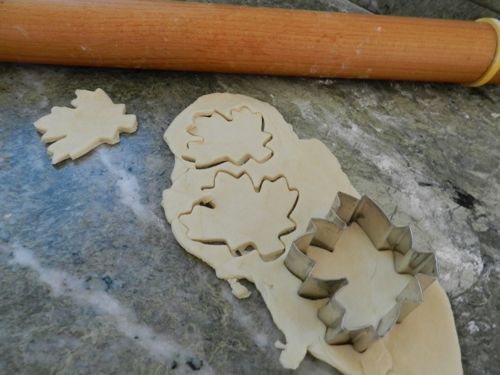
Don’t reuse the extra dough for another crust – a second rolling will make it overworked and tough. Instead, get out cookie cutters and use the pieces to decorate the pies, or turn them into cookies.

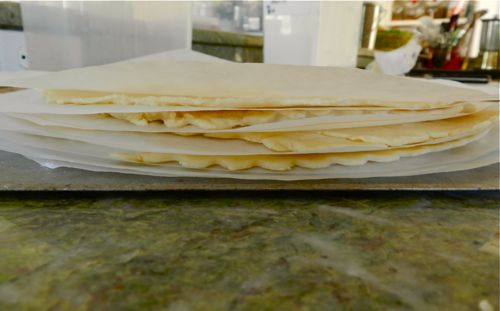
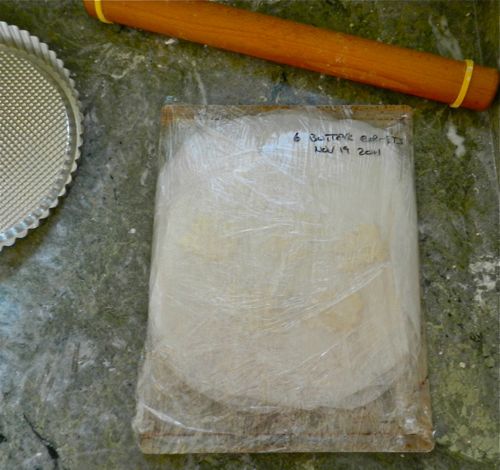
Wrapped well, butter crusts stored in a freezer will stay fresh for a half year. To freeze, place on a cookie sheet, with parchment paper circles between them.

Then wrap tightly and label. To use frozen crusts, take one out of the wrapping and place on a pie plate. As it defrosts, it will sag into place. When it is just soft enough to press into the pan it is ready to use.

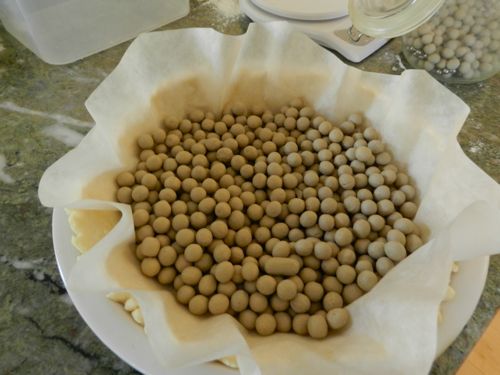
NOTE: To prebake a pie shell: Preheat the oven to 375ºF. Lay a piece of tin foil or parchment on the crust and then fill the pie with weights. If you don’t use weights, the center will bubble up and the sides will shrink down. I have ceramic weights designed for this task, but in a pinch you can use uncooked rice or beans. Bake for 12 minutes, remove the weights and foil and continue to bake. If you are filling the crust with pudding, then bake until thoroughly done and lightly brown. If the pie will be cooked further with the filling then bake until only slightly golden.

Making pie crusts is one of those cooking skills that you get better at each time you do it. I enjoy the seeing the transformation from such simple ingredients to a glossy crust. I like the feel of working with the dough. Embrace the process. Don’t expect perfection the first time (or two or three). But, do keep in mind that it’s hard to go wrong with butter and flour. If you make a mess, if you’ve overworked the dough, or added too much flour, roll it out anyway, toss on some grated cheese and make crackers (bake at 400ºF for 15 to 20 minutes). Have fun. Let me know how it goes.

Blueberry Clafoutis


DSCN4315

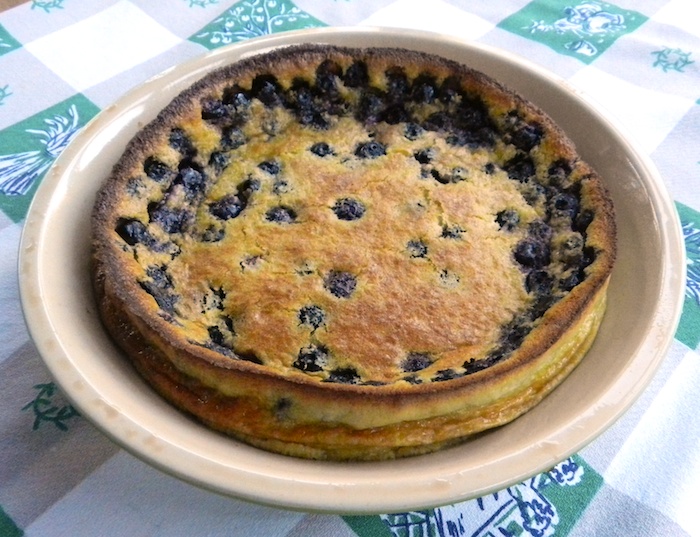
The classic French dessert, clafoutis, is not as popular as it should be here in the USA. It’s truly easy to make and absolutely delicious. It’s rather like a Dutch Baby Pancake, but thicker and dotted with fruit.

Blueberry Clafoutis

1 teaspoon sugar
3 large eggs (I used 4 pullet eggs)
1/3 cup organic turbinado raw cane sugar*
1/2 teaspoon vanilla extract (real, not imitation!)
1 1/3 cups milk
1/2 cup all-purpose flour
1/2 cup blueberries (fresh or frozen— don’t defrost)

1. Preheat the oven to 375 degrees F. Spray a 9-inch pie plate or baking dish with non-stick spray (or butter the dish.) Dust the bottom with the 1 teaspoon of sugar.
2. In a blender, puree the eggs, raw cane sugar, vanilla and milk. Note: I’ve used whole milk, lowfat milk, and skim milk combined with 1/3 cup cream. All variations set nicely.
*I specify the turbinado sugar for the subtle flavor. Regular sugar is sweeter and not as nuanced. Also, regular granulated sugar is finer which means you use more of it when measuring in dry cup measurers. You can use regular sugar, but reduce the amount by 2 tablespoons so that the clafoutis doesn’t turn out too sweet.)
3. Add the flour and puree until combined.
4. Put the blueberries into the baking dish and shake the pan to distribute evenly in one layer.
5. Pour the batter into the pie plate.
6. Bake for 35 minutes, or until the clafoutis puffs up and is set in the center. As it cools it collapses, but that doesn’t affect how good the leftovers are!

Makes 8 servings.

Clafoutis lend themselves to so many delicious variations. A classic is cherry. I make a apple version, in which the apples are sauteed in butter and brandy first. That recipe will be in my upcoming The Farmstead Egg Guide & Cookbook, coming in March of 2014.

Share on FacebookShare on Twitter+1Pin it on Pinterest

“It’s Too Hot” Tomato Sauce

In the garden at the end of August, it’s a race against time. There’s a small window of opportunity to get the crops in when they are ripe. A few days too late and the bugs and rot get them. I have a friend who is an avid canner, and I every August, she puts up spiced pears, tomato sauce and pickles. Me? It’s just too hot and the last thing that I want to do is to stand over a hot stove. Thank goodness for my crock pot and freezer. I make “It’s Too Hot” Tomato Sauce.

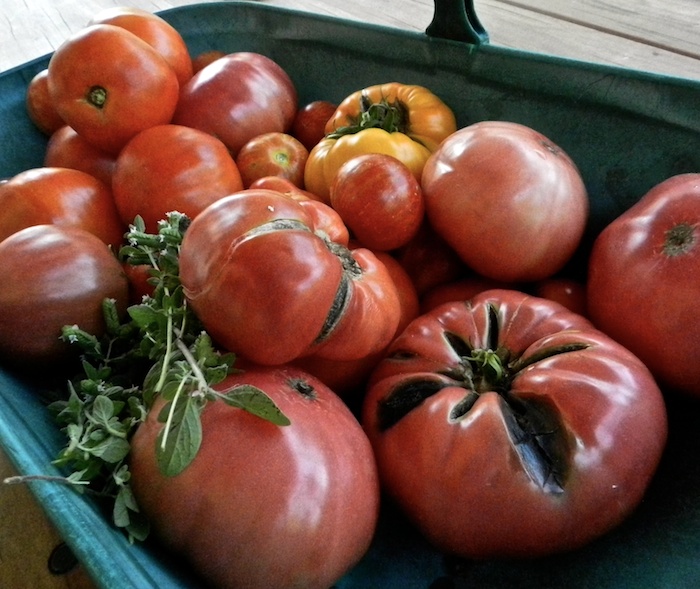
Before going out to harvest tomatoes, I turn the crockpot on high, add enough olive oil to coat the bottom, and toss in chopped onion and minced garlic (I use a garlic press). I let this sauté to develop flavor while I go out to the garden to get a trug-full of tomatoes.

DSCN2983

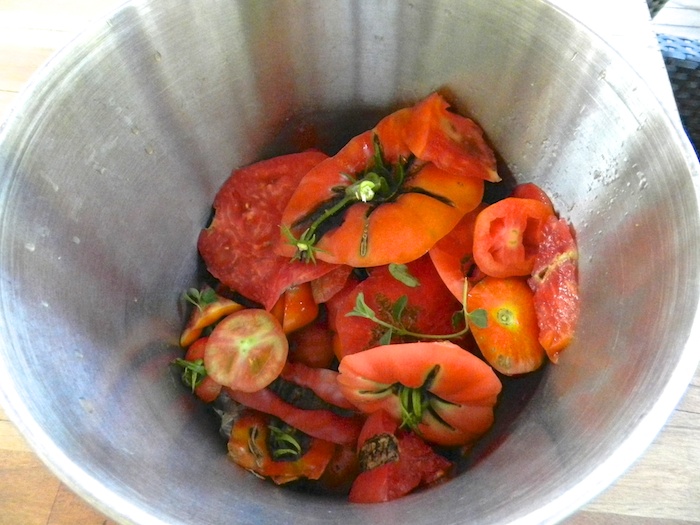
I also pick oregano and basil. All get a good washing. The tomatoes have cracks and big stem ends. That’s okay. The trimmings go to the chickens.

DSCN2996


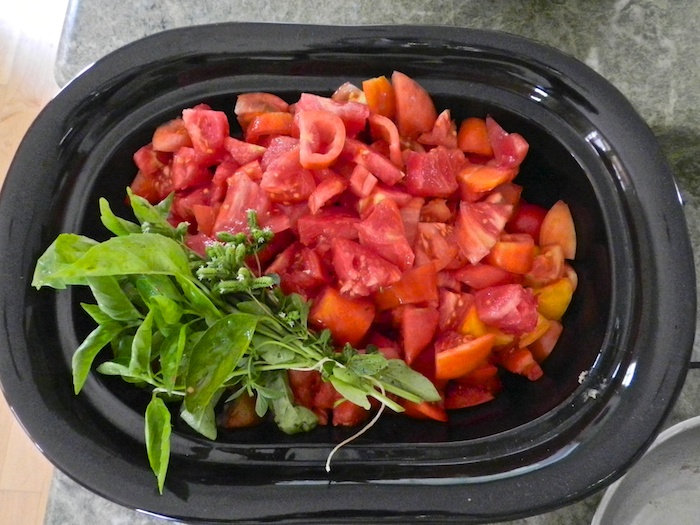
I chop the tomatoes and put them into the crockpot. (I leave the skins on.) The herbs are tied with string (for easier removal later) and tucked into the pot. I stir in some good sea salt. Cover. And wait.

DSCN2995


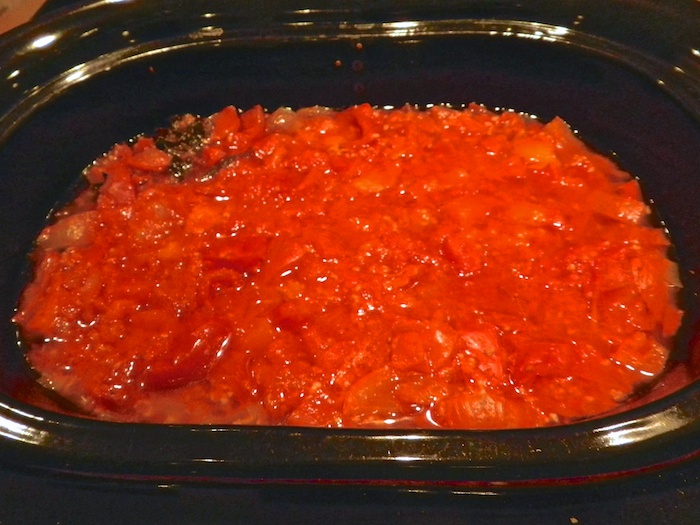
Six hours later the tomato sauce is ready for the freezer. I’ll eat it this winter, when I want to add some warmth to my days!

DSCN3014


Handling and Storing Eggs

In the summer of 2010, 380,000,000 eggs were recalled due to a salmonella outbreak directly caused by the consumption of eggs from factory farms. Obviously, this has raised concern about the risks of eating eggs. Rest assured that if you keep chickens in a healthy, humane environment, (or buy eggs from such farms) that the risk of disease is miniscule. There are reasons for this that I’ll explain below. However, you still have to be careful with egg handling and storage. I’ll talk about that, too.

An egg that comes out of a hen’s oviduct is clean. In order for an embryo to grow and survive, it has to stay that way. If a hen has a choice (and is not in a crowded, manure and fly-infested factory farm) she’ll lay her eggs in a clean nesting box. In fact, a broody hen never defecates in her nesting box.

The egg is designed to protect the developing embryo. Obviously, the shell is the first line of defense. Cracks let in bacteria, so a thick shell is best. Stressed hens don’t sit in the nesting boxes long enough to form a sturdy shell, so it really is true that “happy hens lay healthy eggs.”

A freshly laid egg has a coating called “bloom” that acts like a sealant against dirt. However, the shell also has about 8,000 tiny pores that let in oxygen for the chick. These pores can also let bacteria in. To protect itself, the egg has further defenses. There are two inner membranes, and beyond those, the egg white contains three antibacterial agents, which kill germs, and inhibits the microbes’ use of iron and vitamins (which they need to survive.)

Combined, these defenses are very effective. Although salmonella is almost always lurking around a farmyard, it doesn’t become problematic unless the hens’ health is weakened due to stress and the sort of horrific environments as seen at the factory farms (a bacterial load as found on those farms is overwhelming!) Still, it is sensible to discard cracked eggs. Also, wash your hands after handling your chickens.

Sometimes eggs get dirty. In the rainy springtime, my hens get muddy feet. Sometimes hens roost on nesting boxes and leave manure. Never store eggs with fecal matter on them – it will work its way in through those pores. Nor do you want to crack a dirty egg into a mixing bowl. Not only will your hands be contaminated, but also so will the batter. A damp paper towel is usually all that is needed to clean the eggs up. If you have to wash the eggs, do it in gently running water that is warmer than the egg – this will cause the membrane inside of the egg to swell and prevent contaminants from getting in. Scrubbing with detergents and disinfectants is counter-productive, and in fact, those chemicals can be pushed through the pores and you’ll end up tasting and eating them.

Although a fresh egg remains edible if left on the kitchen counter for a week or longer, it’s best to store them in the refrigerator. A day at room temperature equals about four days in the fridge. But, a day on the counter is still better than what happens at the huge egg processing plants. After being washed in a hot bath, the eggs are about 100 degrees F when packed into cartons. According to an industry researcher, Thirty dozen eggs are then packed in a case, and 30 cases are stacked onto pallets and placed in refrigerated coolers. The eggs in the middle of the pallet can take up to 142 hours – nearly six days – to cool to 45 degrees. This article goes on to say that a 2005 US government report showed that if eggs were cooled and stored at 45 degrees within 12 hours of laying, there would be about 100,000 fewer salmonella illnesses from eggs in the nation each year. This is yet another reason that backyard eggs from backyard hens, collected daily and put in the fridge, are a far safer food item than what comes from the industrial producers!

Many changes happen to the egg as it ages. The egg white thins and the yolks flatten. The chalazae – which look like white strings that hold the yolk centered – disappear. The fluids inside shrink and air pockets form. The membrane just inside the shell toughens. The egg takes on flavors and aromas from the outside, which is why it’s best to keep them protected in cartons. Throughout all of these changes, a refrigerated egg will remain edible for ten weeks, but will taste best within the first three.

Long-term Egg Storage

Before refrigeration, people were desperate for a safe way to store eggs. They oiled them, packed them in sawdust, sealed them in “water-glass,” pickled and salted them, to various success. I say, thank-goodness for the freezer!

Egg whites can be frozen as is. It’s convenient to freeze the whites in ice cube trays; one white fits in each cube. Yolks, however, become gelatinous when frozen, and so need to have 1 tablespoon of sugar or 1 teaspoon of salt added to 2 cups of yolks. Whole eggs can be frozen, but also require ½ teaspoon of salt or 1 ½ tablespoons of sugar per cup of eggs (about 4 large eggs.) The eggs need to be mixed, but not so vigorously that air is whipped in. Stirring with a fork will do. Freeze in as airtight a container as possible.

Fruit Crisp

Fruit Crisp

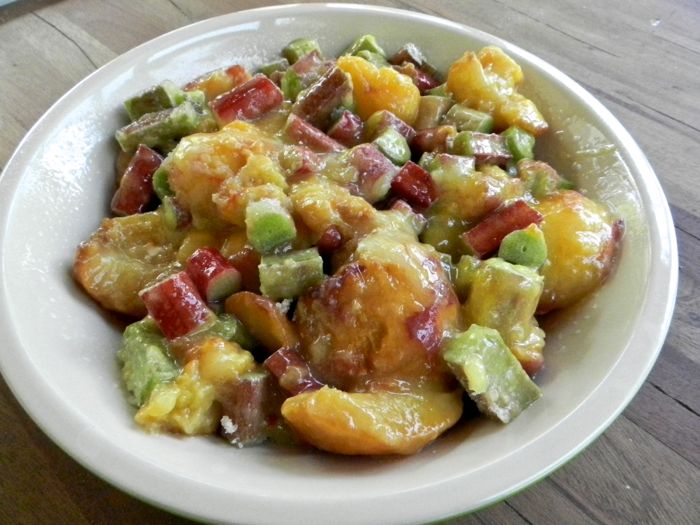
It doesn’t really matter what fruit or combination of fruits that you use. During rhubarb season I use 3 cups of rhubarb along with another fruit. This recipe makes enough topping for 4 crisps. Freeze the extra and you’ll be able to make a crisp on short notice.
6 cups of fruit, sliced or cut into pieces
1 egg, lightly beaten
1/2 cup of sugar, preferably coarse organic (better flavor than pure white sugar)
1 tablespoon of quick tapioca or instant clearjel (to thicken the juices)

Universal Crisp Topping: 
1 cup whole wheat flour
1 cup all-purpose flour
1 cup rolled oats
1 stick (1/2 cup) unsalted butter, cold, cut into 8 pieces
1/2 teaspoon kosher salt (less if using salted butter)
1 teaspoon cinnamon
2/3 cup sugar, preferably coarse organic (better flavor than pure white sugar)
2 tablespoon chopped crystallized ginger (optional)
1/2 cup nuts of choice (optional)

1. Preheat the oven to 350 degrees F. Coat a baking dish or pie plate with non-stick spray.
2. Combine the fruit and egg in bowl. In a small bowl, mix the 1/2 cup sugar and thickener, then stir into the fruit.
3. Put the fruit into the baking dish.

fruit


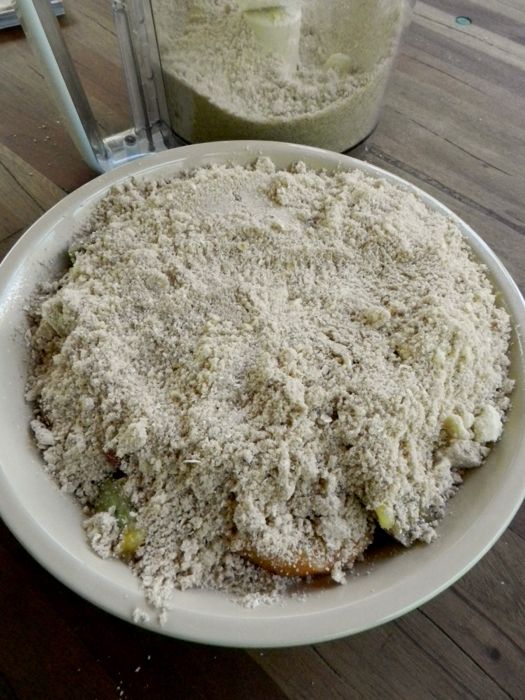
4. Put all of the topping ingredients into a food processor and pulse until the mixture is coarse and crumbly.
5. Evenly distribute about 1 cup of the topping over the fruit.

unbaked


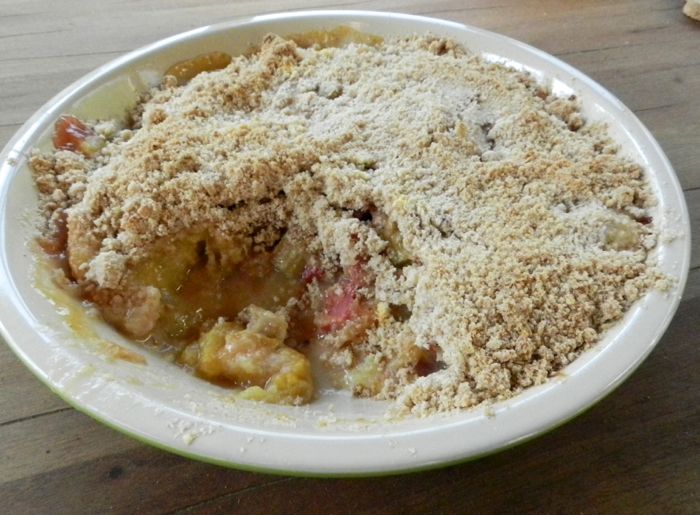
6. Bake for 45 minutes to an hour, or until the crisp is bubbly and the topping is lightly browned.

crumble


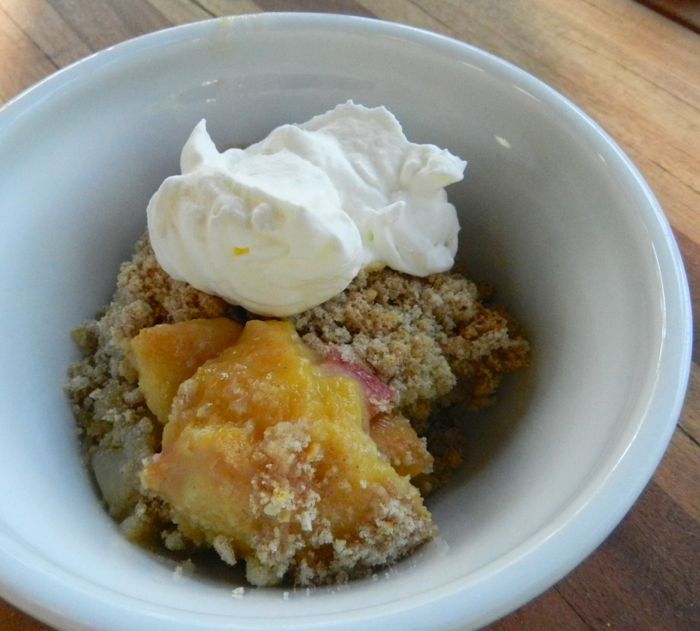
This is delicious plain. It’s excellent for breakfast with yogurt. I happened to have a bit of heavy cream in the fridge, which I whipped by hand (which yields a better texture than when done in a mixer) and had it for dessert.

serving