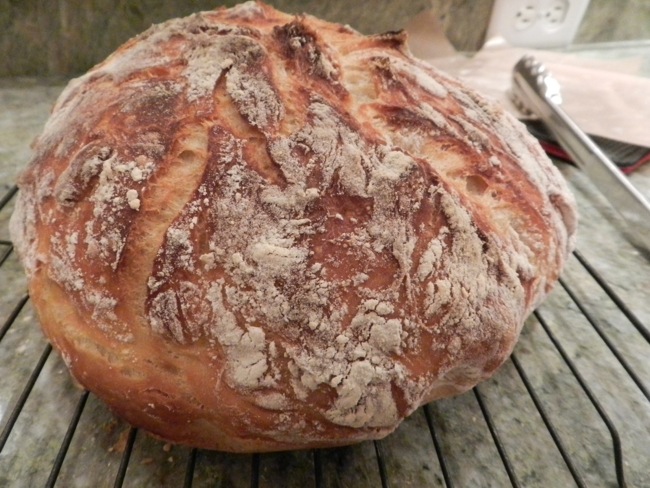
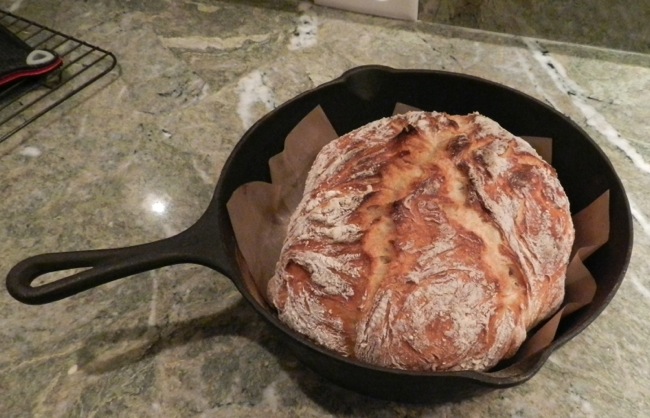
A loaf of bread that looks like this
can either be an expensive splurge from a bakery (if you can find it, as the “artisan” loaves at the supermarket are usually pale knock-offs) or you can make it for under a dollar a home. All you need is five basic ingredients and fearlessness. Yes, sometimes baking takes bravery, and this bread requires handling heavy and dangerously hot cast iron. It also requires a quick, surety in handling. That said, once you get the feel for the technique, you’ll find it fun and rewarding to make.
Back in 2006, Mark Bittman, the New York Times food writer, posted baker Jim Lahey’s No Knead Bread recipe and it went viral. Since then there have been many variations. What follows is mine.
2 cups bread flour (this has a higher protein then all-purpose, but all-purpose will do if that’s all that’s available)
1 cup whole wheat flour (or you can use all white)
1/2 teaspoon instant yeast (this is different than the regular yeast. I use saf-instant)
1 1/2 teaspoons salt (I use bread salt from King Arthur)
2 cups water
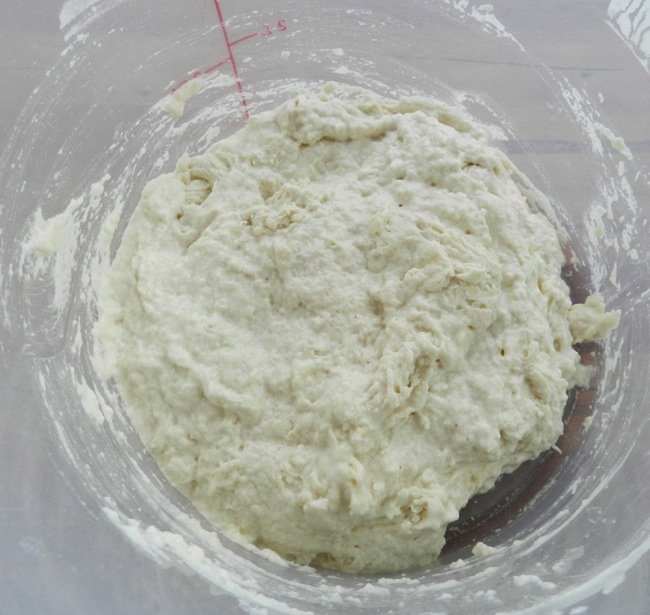
Stir the dry ingredients to evenly disperse the salt and yeast, and then pour in the water. Stir until well combined. It will be wet and has more in common with a sourdough starter than a regular homemade bread dough.
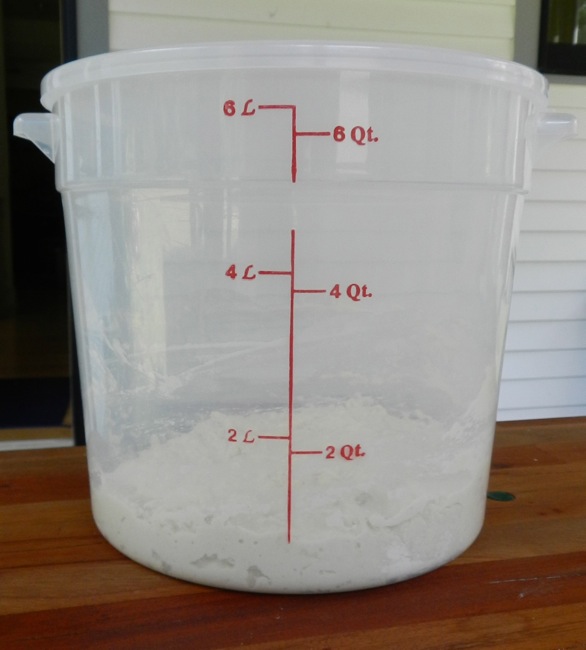
I do the mixing and the raising in a plastic bucket with a lid and marked measurements. The lid keeps the dough moist and I can clearly see when the dough is “doubled in bulk” (one of those admonishments you never know if you have right!)
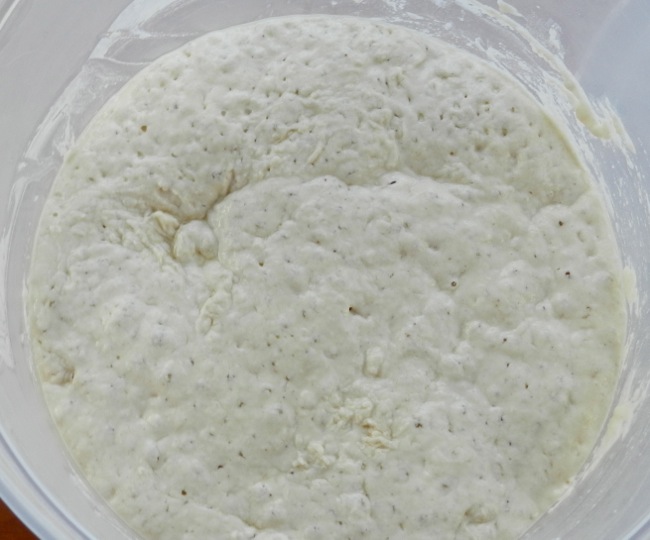
It starts out looking like this:
Let it rise. Many of these no-knead recipes say to let rise for a full twenty-four hours, and yes, you’ll get more of a sourdough flavor. But on a warm day I start it in the morning and bake it off for dinner. But, don’t rush it. The first rise needs to be at least four hours.
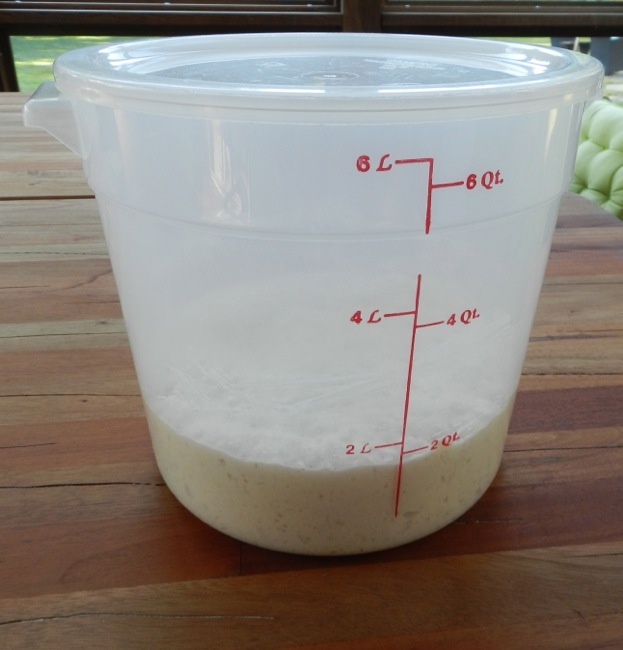
It’s ready for the next step when it doubles,
and looks like this:
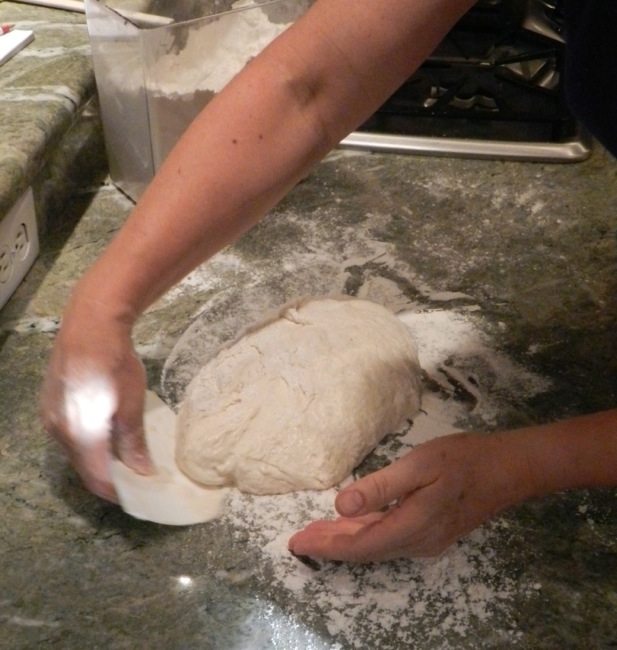
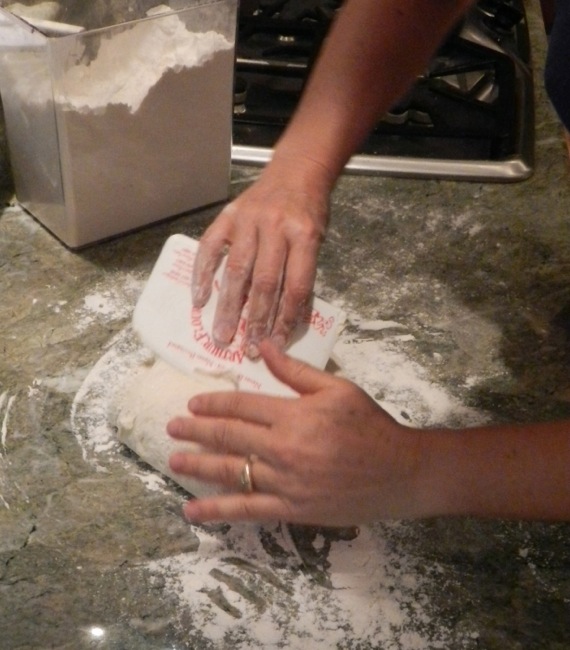
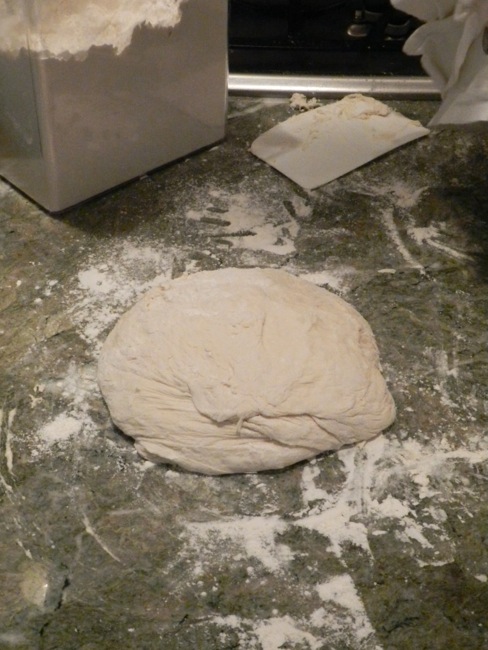
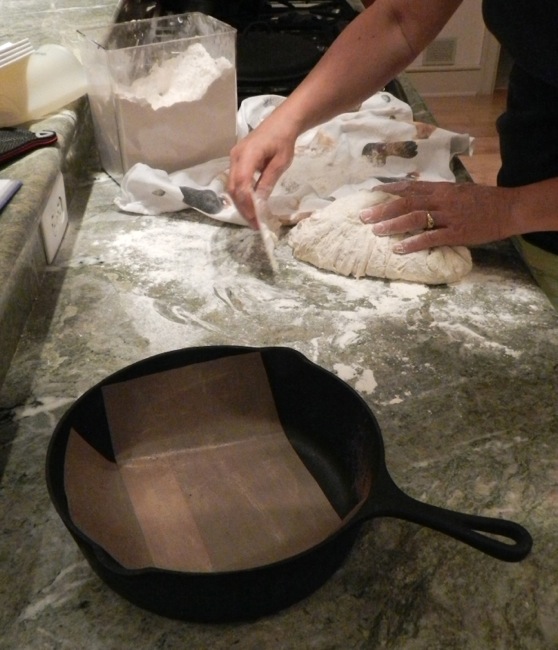
Generously flour a board or your countertop. Using a dough scraper, turn the sticky mass onto the work surface. Handle as lightly as possible, dusting with flour now and again to keep it from sticking to the board and your hands, while folding it over until it has some semblance of a round.
Dust with flour and cover with a linen towel that has also been dusted with flour (nothing worse than uncovering it later and having half of it stuck to the towel.)
Let rise an hour or two, until it looks more like a typical dough. It will be springy and still wet, but should have some shape.
Meanwhile, get out your heavy, lidded pot. I use a vintage, cast iron one. The reason that this bread ends up so beautifully chewy and crusty is because for the first half of the cooking it steams while it bakes at a high temp. Cast iron is ideal for this. The pot shouldn’t be more than 10 inches in diameter; too much width and the bread will flatten like a focaccia. Put the pot into a 450 degree F oven and preheat the pot for 30 minutes. Remove it from the oven VERY CAREFULLY. It’s heavy, awkward and dangerously hot.
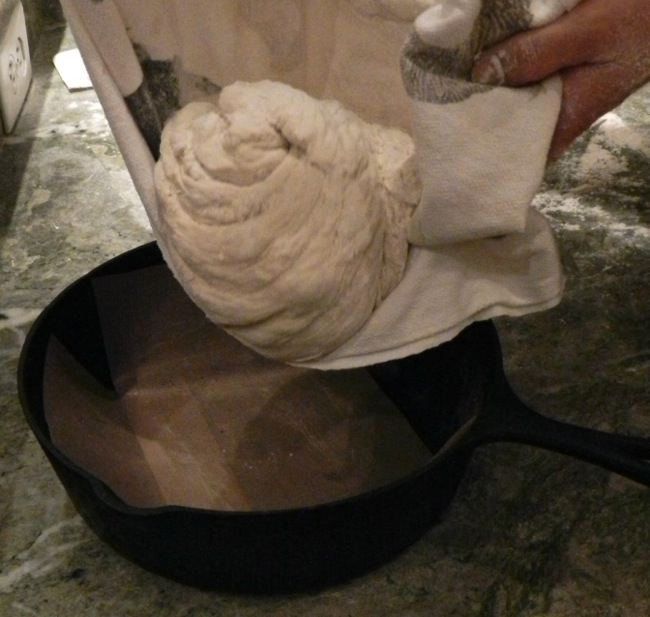
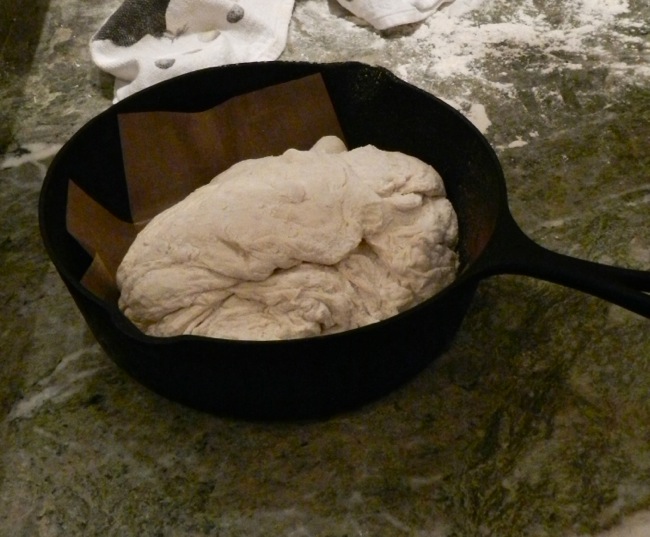
Once again, dust the towel generously. Using the dough scraper, lift the dough onto the linen, and then roll it off and into the pot. Although the bread shouldn’t stick, once in awhile it will, so I use non-stick baking liner that I cut into a strip to fit the bottom of the pot. This also works as a convenient tab when removing the bread from the pot.
It will look rough with some dustings of dry flour. That’s good.
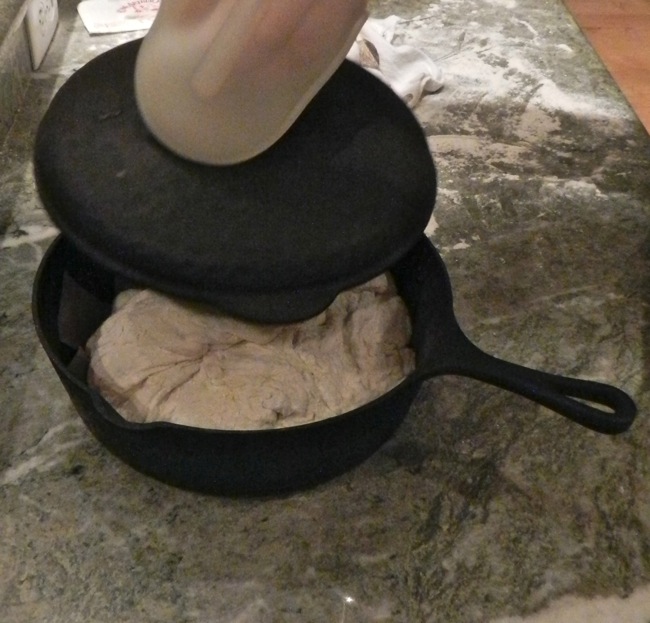
Cover and bake for 25 minutes.
Then, reduce the oven temperature to 350 and remove the lid WITH CAUTION as it is very, very hot. Set the lid down somewhere safe, like your cooktop. Continue to bake for about 30 minutes until the bread develops a browned crust. Remove from the oven with two sets of oven mitts.
Turn out the bread and let cool on a wire rack.
Enjoy!
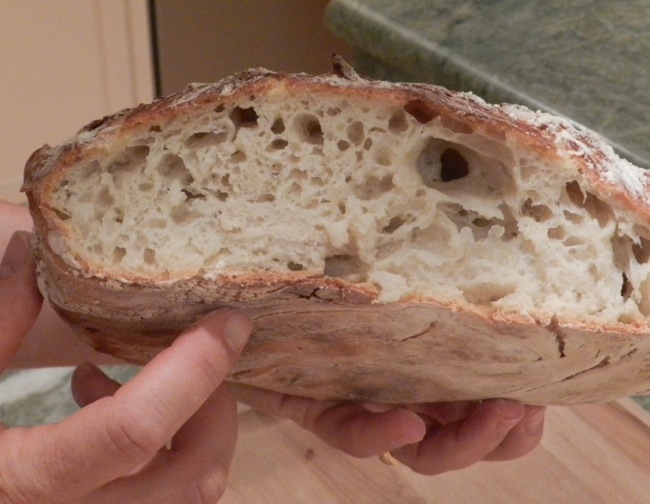

My husband loves to make this bread. In fact, for some reason his comes out better than mine. We use our cast iron dutch oven pot. I butter the top right as soon as it comes out of oven to make the crust just a little softer as it tends to be quite crunchy. Good to have with spaghetti and sauce.
Celia
How long does this sort of loaf keep? Or is that the kind of problem you’ve never needed to know the answer to?!? ;-)
Oh and in common with Celia, my husband makes bread that’s so much better than mine too. He says “Thoughts are free!” when he’s giving the dough a good kneading!
It lasts about three days here (mind you right now it’s heat and humidity.) Once it begins to stale, IF there’s any left :), I cut into cubes and make croutons. Or, I dry out and make bread crumbs – much better than store-bought. Sometimes, though, if there’s one last piece that stales, the hens get it.
Looks great! I am going to have to try this one….as nothing is better than fresh, warm bread right out of the oven.
Thanks for posting! I’m absolute bread addict and can’t wait to try it.
I would love to make this as a sourdough loaf. Anyone know if Sourdough starter can be substituted for the yeast? Also, I’ve heard that adding some Vitamin C will increase the life of the loaf. There are just two of us and I do find that my homemade breads don’t have the counter life that store bought ones do.
This looks oh so yummy!!
I worked in a bakery that used ascorbic acid (vitamin C) as a dough conditioner. Yes, you can use sourdough starter. In fact, I believe the original recipe used half the yeast that I do, and that all you have to do is let it sit 24 hours. Also, you could try making two small loaves and freezing one.
This is great bread — thanks for reminding us of it. Yours has better texture than mine did. I have also used parchment paper under the second rise and just lifted the whole thing into the pre-heated pot. The parchment will be browned at the end, but still strong enough to serve as a sling to get the loaf out of the pot. Over time my Le Creuset pot handle crumbled from the higher-than-recommended temps, but metal replacements are available. Don’t know if the smell or the taste is better.
That bread is gorgeous..I paid $6.00 for one very similar yesterday….bet yours is better…..
Bread can be so expensive, and now that I can make it for under $1 I feel guilty when I buy it!
I love no knead bread! Have you ever tried Jim Lahey’s no knead pizza dough recipe? It is seriously the best and rivals the best restaurant wood fired oven pizza’s I have tried.
I confess that this is the only no knead I do. I should expand my repertoire!
mouthwatering.
thank you for this recipe.i’ve never made bread before..always seemed intimidating..this seems easy enough!just ordered the bread salt and insta yeast! so excited.
Let me know how it goes. It’s all technique, so cut yourself a lot of slack. If it doesn’t work out the first time, the hens will enjoy it!